Showing posts with label Breakfast dishes. Show all posts
Friday, December 30, 2011
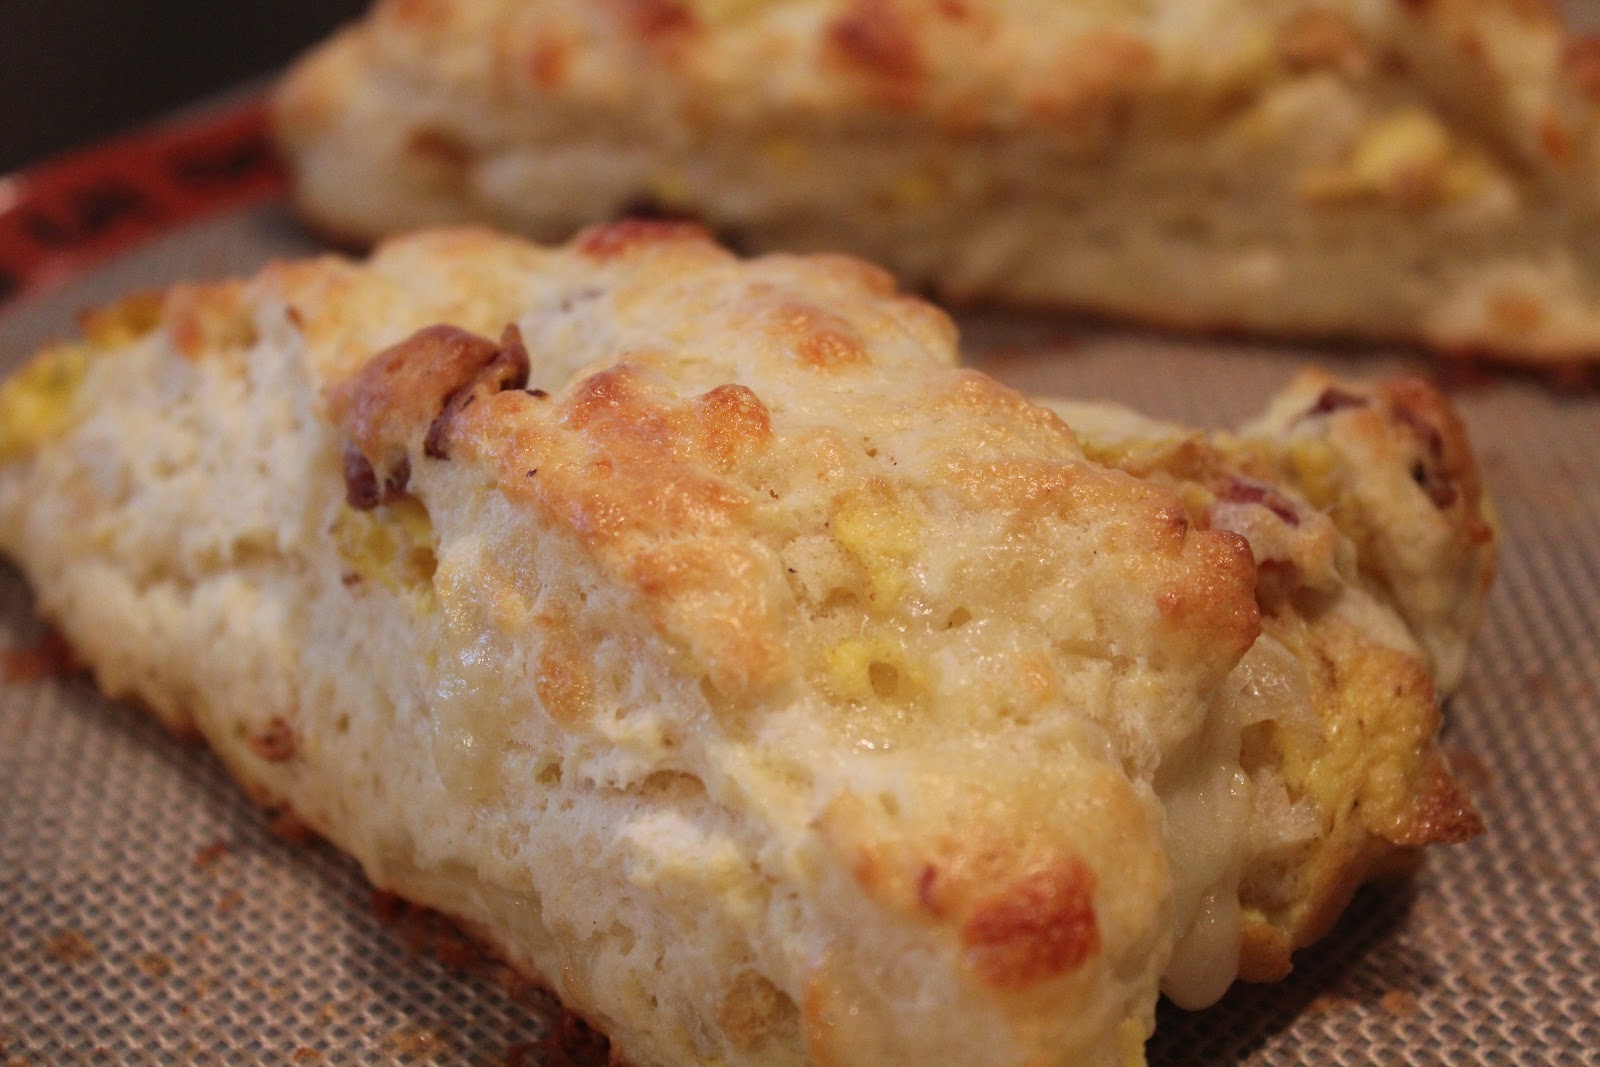
Bacon, Egg, And Cheese Scones
The morning after New Year's Eve pretty much requires a hearty but effortless breakfast -- the kind of breakfast that you can easily throw together after rolling out of bed just past 10 a.m. because let's face it: We're not as young as we used to be and staying up past midnight is getting more and more difficult. That lost sleep time needs to be made up somewhere, and I doubt many of us are willing to jump out of bed at 7 a.m. to start preparing an extravagant breakfast.
These scones are both effortless and filling, and they're also a complete breakfast in handheld form so they're perfect for a sleepy morning. Think of a bacon, egg, and cheese sandwich that's neither greasy nor messy but fluffy and light. Serve the scones with a half of a grapefruit or a little fruit salad on the side, and you'll have one satisfying meal.
The original recipe is from The Cheese Lover's Cookbook and Guide and can be found on Leite's Culinaria. I stayed pretty true to the recipe when I made these (though I did cook the eggs in bacon grease to add flavor and I simplified the process a little), but I have a few changes I would make if I made them again. First, the recipe makes six scones but only calls for three pieces of bacon. Maybe it's just me, but I'd up this to six pieces, so there's one piece of bacon per serving. The recipe also calls for only two scrambled eggs, which is such a small amount of egg per serving. I'd scramble at least three eggs next time. I think the dough can handle a little more egg and bacon.
The recipe also only calls for two ounces of shredded cheddar, and I used three ounces, but I'd even up this to four next time. (Clearly, I'm looking for a very indulgent, but simple, breakfast.) And lastly, the scones are made with heavy cream, and I can't help wondering how they'd be with buttermilk because their texture sort of reminded me of buttermilk biscuits. I'll be testing that out soon.
Oh, and if you're having more than six guests, the scones are definitely big enough to cut in half before baking. That way you'll end up with 12 smaller scones. This is also a good option if you're doing more of a potluck brunch and want to be able to pair the scones with a bunch of other dishes. Either way, you're in for a hearty, satisfying breakfast if you make these.
Bacon, Egg, And Cheese Scones (adapted from The Cheese Lover's Cookbook and Guide)
Makes 6 large scones
Ingredients
3 to 6 strips bacon (use more or less depending how much you love bacon)
6 tablespoons cold unsalted butter
5 to 6 eggs (2 to 3 eggs will be used for the scrambled egg filling; 3 will be used raw)
2 cups flour
4 teaspoons baking powder
1 teaspoon kosher salt
3/4 cup heavy cream
3 to 4 ounces shredded cheddar cheese
Preparation
Preheat oven to 450 degrees. Line baking sheet with Silpat mat.
In medium skillet, cook bacon over medium-high heat, turning occasionally, until crisp.
Transfer to paper towel-lined plate. Once cool enough to handle, crumble bacon.
Meanwhile, lightly scramble 2 to 3 eggs in small bowl. Once bacon has been removed from pan (leave 1 to 2 tablespoons grease in pan for flavor), lower heat to medium, melt 1 tablespoon butter in pan, and cook eggs. (I cooked them omelet style so I had a thin sheet of eggs, but you can just scramble them if you prefer.) Turn off heat, and break eggs into 1-inch or smaller pieces using spoon or spatula. Set aside.
Pulse flour, baking powder, and salt in bowl of food processor just until combined. Cut remaining 5 tablespoons butter in pieces, add to flour mixture, and pulse to combine. Mix heavy cream and 2 raw eggs together in measuring cup, and pour over flour mixture. Process until mixture comes together.
Dump mixture into medium bowl. Fold in bacon, scrambled eggs, and cheese using hands (trust me, I snapped the spatula that came with my food processor while trying to fold the mixture). Try not to overwork the mixture (we're going for fluffy here).
Transfer dough to Silpat mat, and pat into 12- by 4-inch rectangle about 3/4 inch high.
Using bench scraper, cut dough into three 4-inch squares. Cut each square on diagonal to form 6 triangles. Space triangles about 1 inch apart on Silpat mat, using bench scraper to lift and move them.
Beat remaining 1 raw egg with 2 tablespoons water. Brush scones with egg wash.
Bake 10 to 12 minutes, until golden brown. Serve warm. (Scones are best warm out of the oven, but they can be cooled, wrapped in plastic, and stored in refrigerator. Rewarm in oven or toaster oven.)
What will you be eating for breakfast on New Year's Day?
Wednesday, November 30, 2011
Baked Pumpkin Oatmeal With Greek Yogurt
When it comes to breakfast, I'm most likely to get excited about egg dishes, like eggs Benedict, interesting takes on eggs Benedict, veggie-laden omelets, and egg sandwiches on soft rolls. I rarely get excited about things like oatmeal. And I won't even claim that this particular oatmeal recipe is going on my favorite breakfast dishes list. But I will say that it is flavorful, warming, and filling -- and that's just what I need in the morning before embarking on my 45-minute-plus walk/T-ride to work.
I'd been eating toast with avocado slices or bagels with cream cheese until I made this oatmeal. My other breakfasts would have my stomach grumbling shortly after I arrived at work, but the oatmeal keeps my stomach quiet until almost 11. That's when I dig into a granola bar, homemade granola, or something similar for my second breakfast. (And usually shortly after that there are tons of tastings in the kitchen -- which equals lots of stuff to keep me full for the rest of the day.)
I first read about this baked oatmeal on The Clean Plate Club and followed Alicia's link back to the kitchn, where I found the original recipe. I modified the recipe slightly, mainly subbing Silk for milk and serving the sweet, spicy oatmeal with tangy Greek yogurt. (The Greek yogurt packs some extra protein.)
The recipe is fairly hands-off, especially for steel-cut oats, which were pretty much my nemesis when I worked at Flour. (I can't tell you how hard it is to bake cupcakes, prepare tarts, and finish cakes while constantly running over to the stove to stir oatmeal.) It requires a little mixing on the stove and then goes in the oven for about a half-hour. After that, you can let it cool, store it in the fridge, and simply microwave a serving each morning.
Baked Pumpkin Oatmeal With Greek Yogurt (adapted from Not Your Mother's Casseroles via the kitchn)
Ingredients
2 tablespoons unsalted butter
1 1/2 cups steel-cut oats (I used Bob's Red Mill)
1 cup pumpkin puree
1/3 cup brown sugar
1 teaspoon cinnamon
1 teaspoon ginger
1/2 teaspoon cloves
1/4 teaspoon nutmeg
2 cups Silk Vanilla Soymilk
2 1/2 cups warm water
1 teaspoon vanilla
1/2 teaspoon salt
Greek yogurt
Maple syrup
Preparation
Heat oven to 375 degrees.
Melt 1 tablespoon butter in Dutch oven set over medium-high heat. Stir in the oats, and fry them, stirring frequently, for about 3 minutes, until they look and smell toasty.
Create a well in the center of the oats and drop the remaining 1 tablespoon butter in the well. Add the pumpkin puree, and fry it in the butter, stirring after about 1 minute.
Stir in sugar and spices, and fry for another 3 to 4 minutes, until puree darkens sightly.
Stir in soymilk, water, vanilla, and salt.
Cover pot, transfer to oven, and bake for 35 minutes.
Remove pan, uncover carefully, and stir oatmeal. Oatmeal will look loose, but it will thicken as it cools.
Serve warm, or let cool, refrigerate, and reheat in microwave. Top with a dollop of Greek yogurt and a drizzle of maple syrup.
It's not nearly as good as pumpkin pie, but it does make for a hearty breakfast. And I suppose it's more acceptable to eat oatmeal for breakfast.
After making this baked oatmeal, I am interested in finding other baked oatmeal recipes to simplify my mornings. If you have any suggestions, please let me know!
Thursday, November 3, 2011
Cherry-Cacao Nib Granola Plus A Coffee Giveaway
When I came home from the Boston Brunchers' Birthday Brunch a few weekends ago, I found a copy of Salty Sweets from Harvard Common Press in my goodie bag. I quickly flipped through it, and I thought it was a nice book with gorgeous pictures. None of the recipes really jumped out at me as being new or different though. It wasn't until I actually read through the book more carefully that I realized that the recipes use different types of salt (and salt is actually carefully considered), and that's what makes them unique.
Author Christie Matheson writes:
A few years ago I realized that the most satisfying and rewarding sweets are the ones that have something going on other than straight-up sweetness. Sweet is sweet, but it can be kind of one-dimensional. But when you add a salty element to said sweet--even if the result is not an overly salty flavor--the treat in question gets seriously amped up.As one who loves salt, I can definitely see that. I looked through the recipes again, cognizant of the use of salt, and this time a recipe for granola with dried cherries and cacao nibs caught my eye. I thought about how mouthwatering the combination of tart cherries; intense, roasted cacao nibs; sweet, toasty oats; and salt would be, and I headed into the kitchen.
The recipe calls for fine sea salt, but I only had coarse sea salt, kosher salt, Hawaiian pink sea salt, and fleur de sel on hand. Since Matheson encourages experimenting with a variety of salts, I read through her salt descriptions and decided to sub in the fleur de sel.
I also had both cacao nibs and chocolate-covered cacao nibs in the house and thought the granola would be a little more decadent if I swapped in the chocolate-covered nibs.
Chocolate-Covered Cacao Nib And Dried Cherry Granola (adapted from Salty Sweets)
Ingredients
1/2 cup honey
1/2 cup maple syrup
1/4 cup packed light brown sugar
3 tablespoons unsalted butter
1 teaspoon vanilla extract
4 cups old-fashioned oats
1 teaspoon fleur de sel
1 cup dried cherries
1/2 cup chocolate-covered cacao nibs
Preparation
Preheat oven to 325 degrees. Line a rimmed baking sheet with parchment paper.
Combine the honey, maple syrup, brown sugar, butter, and vanilla in a medium-size saucepan.
Bring to a boil over medium heat, and then reduce heat and simmer for 5 minutes, stirring often.
Mix the oats and salt in a large bowl.
Pour the hot honey mixture over the oat mixture, stir to coat, and spread evenly on prepared baking sheet.
Bake for 15 minutes, stirring occasionally, and then stir in the cherries and bake for another 15 to 17 minutes, stirring occasionally, until golden brown.
Remove granola from oven and let cool completely.
Transfer granola to a container that has a lid, and stir in cacao nibs.
Granola can be stored in airtight container at room temperature for up to 2 weeks.
I've been starting my mornings with a piece of quinoa toast topped with avocado slices and a cup of coffee. Then I bring a small container of this granola to work with me and munch on it for my mid-morning snack. It's nice and filling and holds me over until the tastings start at work.
And speaking of coffee... I'm doing a coffee giveaway!
One of you can win a one-pound bag of Farmhouse Blend, a reusable travel mug, and coupons for two free hot or iced coffees from Cumberland Farms.
I know what you might be thinking, coffee from a convenience store?
Farmhouse Blend has just the right blend of 100% Arabica beans, giving it a wonderful blend of aroma, body, and flavor. And it’s just $0.99 for any size, iced or hot, at any time, so quality coffee doesn't have to be a “splurge.”
And for those who don't win but still want to try Farmhouse Blend, Cumberland Farms is hosting Free Coffee Fridays on November 11, 18, and 25 at all Cumberland Farms locations, while supplies last.
Cumberland Farms has been a family-owned and operated New England business since 1939.
To enter to win, please leave a comment about your morning coffee and eating habits.
For a second entry, follow @cumberlandfarms and tweet "I want to win Farmhouse Blend from @deliciousdish and @cumberlandfarms" and leave a separate comment letting me know you tweeted.
You have until Sunday, November 6, 2011, at 11:59 pm EST to enter. Good luck!
Thursday, July 21, 2011
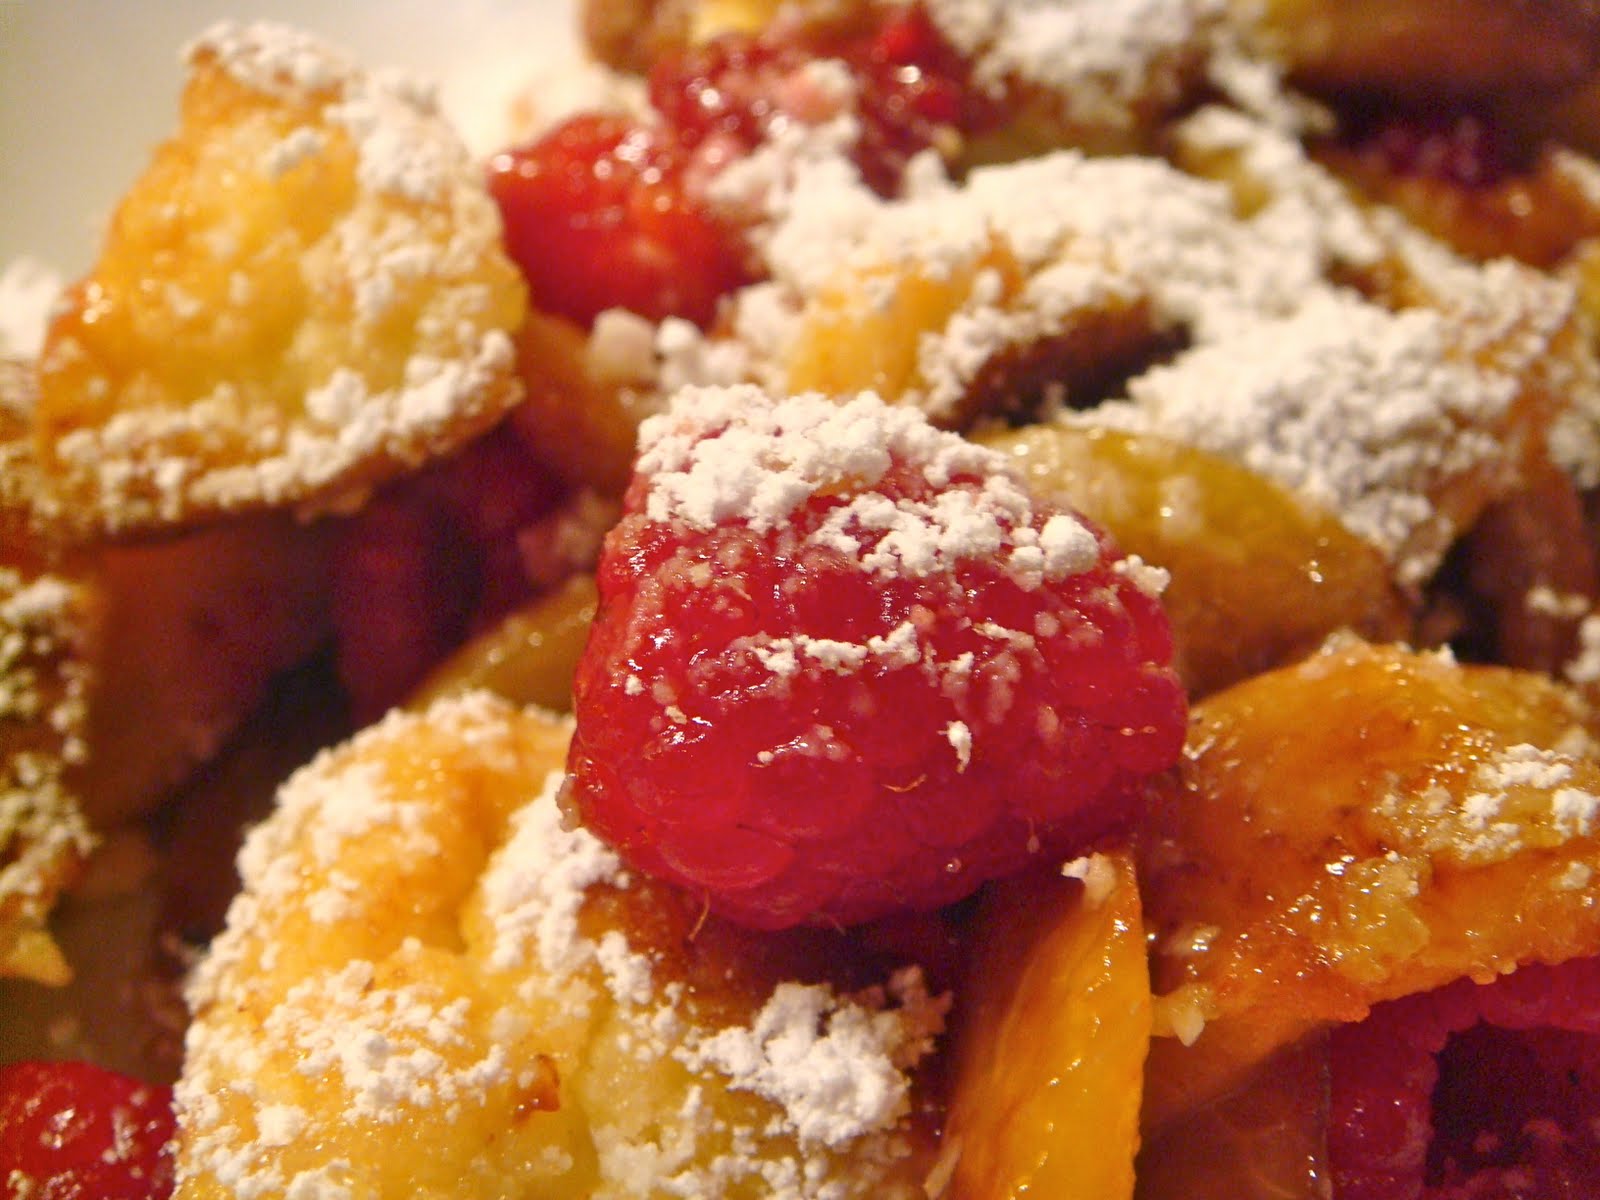
Kaiserschmarrn With Peaches
Do you prefer sweet or savory foods for breakfast? I tend to choose egg dishes over pancakes, waffles, and other sweet dishes. When I'm out, I like to order eggs Benedict, and when I'm home, I like to make poached eggs and hash or loaded-up omelets. Most of the time when I make pancakes and waffles at home, it's really for Jeff. But when I saw the kaiserschmarrn with peaches in the August issue of Food & Wine, my preference for savory breakfast foods was suddenly swayed. After I found peaches and raspberries at the Union Square Farmers Market on Saturday, it was a done deal.
Kaiserschmarrn is an Austrian pancake that's usually served as a dessert, but the recipe note in Food & Wine suggested that it could also be served for breakfast. That sounded like the way to go to me. The original recipe called for blackberries, but since I only found raspberries at the farmers' market, I used those instead. I also cut the recipe in half since there are only two of us. And the final change I made was to remove Jeff's half of the pancake from the pan before adding the peaches and raspberries because he prefers his pancakes without fruit. Instead of giving you the crazy recipe with all of my changes, I'll direct you to the recipe on Food & Wine's website and give you the step-by-step photos here.
Kaiserschmarrn With Peaches
Saute peaches in butter with lemon juice and sugar until caramelized, and then transfer peaches to a plate.
Mix egg yolks, flour, lemon zest, milk, and sugar in one bowl. Whip egg whites with salt and sugar in bowl of electric mixer.
Fold the egg whites into the egg yolk mixture.
Melt butter in skillet, and pour in the batter.
Let cook 4 to 5 minutes, until bottom is golden brown and top starts to set.
Slide the pancake onto a plate, and then place the skillet over the pancake, and carefully flip the pancake back into the skillet.
Cut the pancake into squares.
Add butter and confectioners' sugar to the skillet, and toss the pancake squares around so they get coated with the butter and sugar.
If someone you're making breakfast for doesn't want fruit in their pancake, transfer some of the pancake to a plate, dust with powdered sugar, and serve.
For those who want fruit, which I highly recommend, return the peaches to the pan and cook them with the pancake for a few minutes, and then add raspberries or blackberries, and cook those for about 1 minute.
Transfer the mixture to a plate, dust with confectioners' sugar, and serve.
This recipe yields a light, fluffy pancake, with hints of lemon, lots of fresh fruit, and a touch of sweetness. I really enjoyed it and didn't miss my savory breakfast foods the morning I made it. It was also great to find a dish that let me incorporate my farmers' market finds.
Do you go sweet or savory for breakfast?
Monday, June 6, 2011
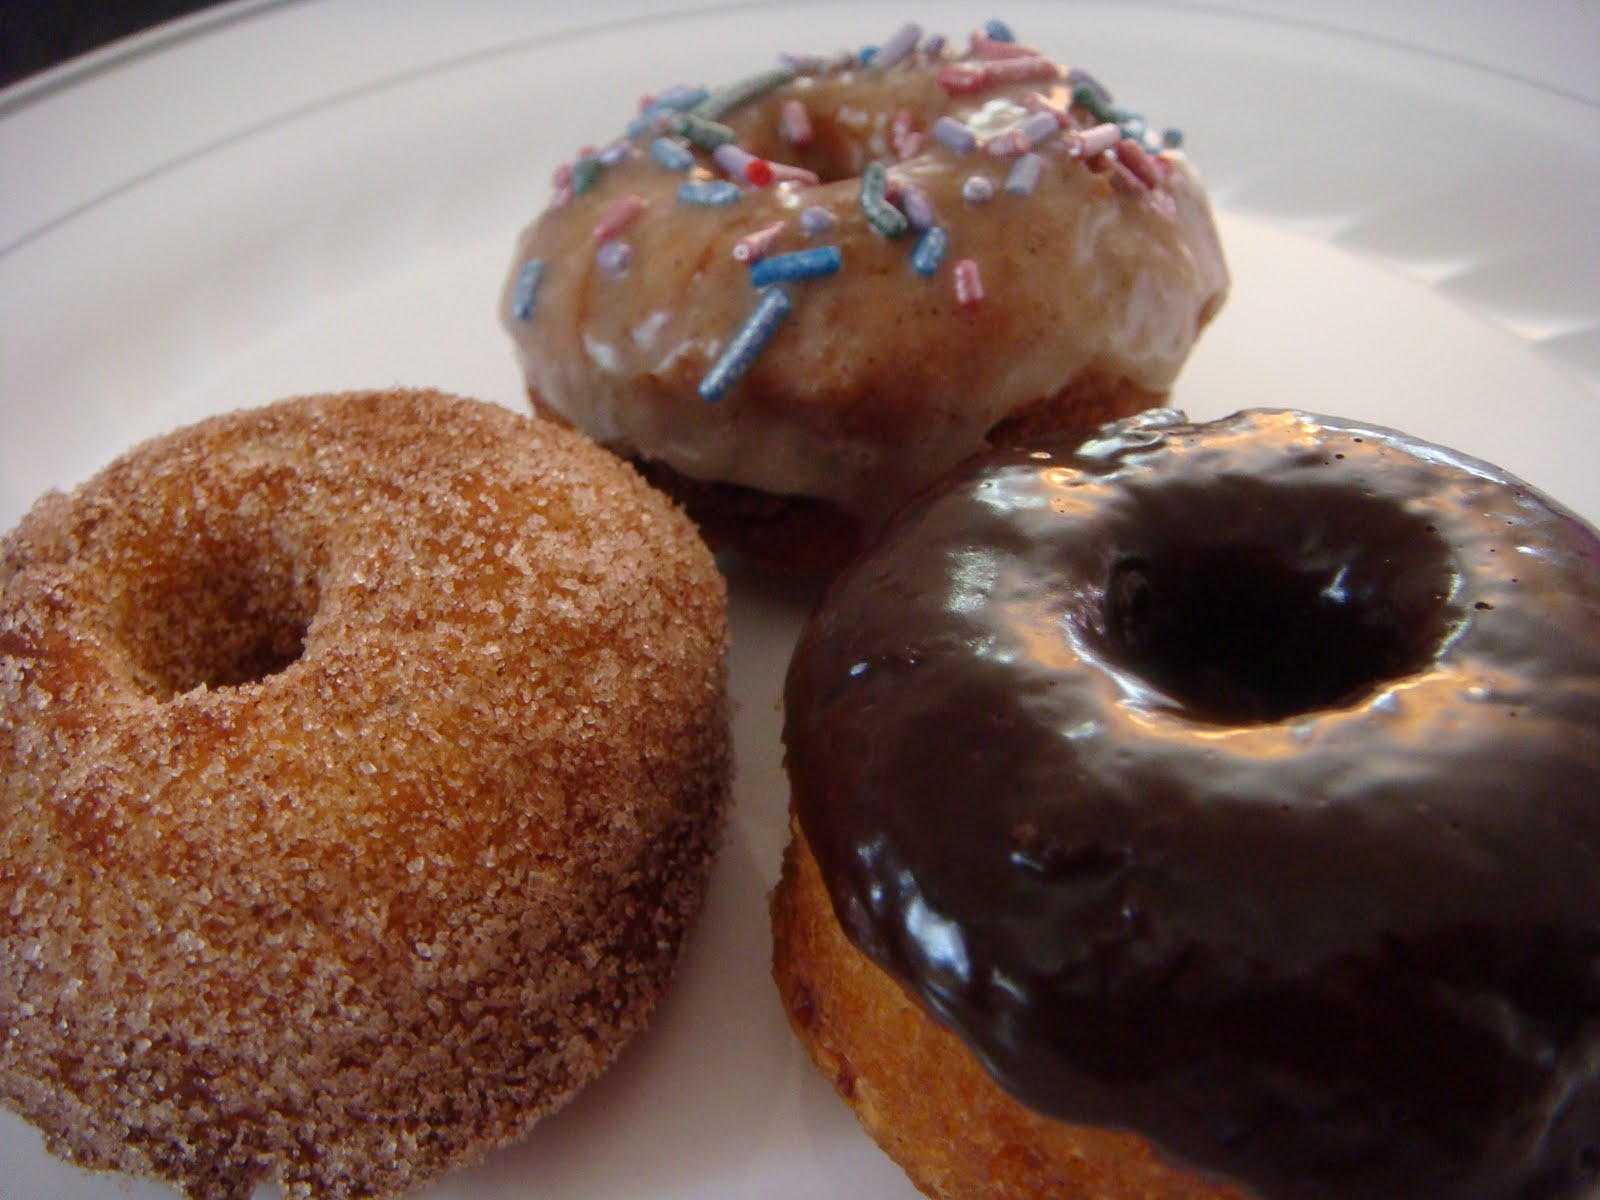
Mini Farm Stand Buttermilk Doughnuts
Not too long ago, I awoke bright and early on a Sunday morning, pulled back my hair, threw in my contacts, and headed to the kitchen to make a batch of doughnuts. The adorable farm stand buttermilk doughnuts pictured in Baked Explorations
Sometimes for me, it's more about wanting to make things than wanting to eat them -- as strange as that sounds. Don't get me wrong... I wanted to eat these doughnuts after I made them, but I wanted to make them just to make them and glaze them and decorate them and marvel at their adorableness. I think I coo at mini foods the way some people coo at babies. Hey, we all have our priorities.
Mini Farm Stand Buttermilk Doughnuts (adapted from Baked Explorations
Printable version
Ingredients
Doughnuts
3 1/2 cups flour
3/4 cup sugar
1/2 teaspoon baking soda
2 teaspoons baking powder
1 teaspoon salt
1 teaspoon nutmeg
1 teaspoon cinnamon
2 eggs
3/4 cup buttermilk
1/4 cup sour cream
4 tablespoons unsalted butter, melted, slightly browned, and cooled
Vegetable oil for frying
Chocolate Dip
4 ounces Ghirardelli bittersweet chocolate chips
1/2 cup heavy cream
2 tablespoons unsalted butter
Vanilla Glaze
2 cups confectioners' sugar
1/4 cup whole milk
1 teaspoon vanilla paste or 1 1/2 teaspoons vanilla extract
Sprinkles
Cinnamon Sugar
1 1/4 cups sugar
3 tablespoons cinnamon
Preparation
Line one baking sheet with parchment and another with paper towels. (The recipe says to use two layers of paper towels, but we use Viva brand, and one layer of those is sufficient.)
In a large bowl, whisk together the flour, sugar, baking soda, baking powder, salt, nutmeg, and cinnamon.
In a medium bowl, whisk together the eggs, buttermilk, and sour cream until combined. Then whisk in the melted, cooled butter.
Make a well in the dry ingredients, and pour the liquid ingredients into the well. With a rubber spatula fold the dry ingredients into the wet ingredients until a sticky dough forms.
Lightly dust counter top with flour, and turn the dough out onto it. Sprinkle more flour on top, and pat the dough out until it is about 1/2 inch thick.
Using a 2-inch cutter and an apple corer (my trick for being able to make tiny center holes in the mini doughnuts), cut out the doughnuts and doughnut centers.
Arrange the doughnuts and doughnuts holes on the parchment-lined sheet pan.
Re-roll any scraps, and cut out more doughnuts. Transfer those to the sheet pan as well, and then chill the doughnuts in the fridge while you heat the oil.
Fill a deep skillet with oil to form a layer about 1 inch deep. Heat the oil over medium high until it reaches 365 degrees.
While the oil is heating, make the toppings.
Chocolate dip: Place the chocolate chips in a wide, shallow bowl. In a small saucepan, heat the cream until bubbles begin to form around the edges. Pour the cream over the chocolate, and let it sit for 1 minute. Whisk until smooth, and then whisk in the butter. Keep warm.
Vanilla glaze: In a wide, shallow bowl, whisk together the sugar, milk, and vanilla paste.
Cinnamon sugar: In a wide, shallow bowl, whisk together the cinnamon and sugar. (I used a Pyrex bowl with a lid, put the sugar and cinnamon inside, covered the bowl, and shook up the mixture until well combined.)
Fry the doughnuts: Once the oil has come up to temperature, fry the doughnuts in batches. Carefully lift them off the baking sheet and place them in the hot oil. Let them brown on one side, 2 to 3 minutes, and then turn with tongs, and let them brown on the other side, about 1 minute.
Using a spider or slotted spoon, transfer the doughnuts to the paper towel-lined sheet pan.
Continue frying the rest of the doughnuts, and then fry the doughnut holes. Keep in mind that the doughnut holes will take much less time.
Once the doughnuts have finished frying (or if you're comfortable with it, while you have batches in the oil), dip them in the chocolate, vanilla glaze, or cinnamon sugar.
Decorate vanilla glazed doughnuts with sprinkles.
The doughnuts are best served right away but will last about a day.
Notes: All of the topping recipes make way too much. I still have a bowl of leftover cinnamon sugar in the pantry. (Of course it's not likely to go to waste.) I wasn't a huge fan of the vanilla glaze, and I think if you decide to leave out one topping, that would be the way to go. The chocolate glaze was amazing and my favorite of the toppings. Jeff preferred the cinnamon sugar topping.
These doughnuts come out cakey with a nice crunch on the outside (kind of like what I think of as an old-fashioned doughnut). And everyone who tried them could taste the nutmeg in them. I really think it elevated the flavor.
What's your favorite kind of doughnut?
Subscribe to:
Posts (Atom)