Showing posts with label Food Network Magazine. Show all posts

Saturday, February 4, 2012

Portuguese-Style Fish Stew

Every year I tell myself that I am going to cook and eat more fish.  Well, this year is no different.  I love fish so I don't know why I don't cook it more often!  When I was perusing through my recipe binder, I found a recipe that I clipped from Food Network Magazine for Portuguese-style fish stew and it reminded me to get back to my fish resolution.  This recipe looked super simple, which made it a perfect dish for a Friday night dinner.


First, I gathered my ingredients:


  • 2 tablespoons extra-virgin olive oil (I omitted the additional tablespoon for drizzling)
  • 2 bay leave
  • 2 teaspoons paprika (smoked or sweet)
  • 1 small yellow onion, thinly sliced
  • 1 small green bell pepper, thinly sliced
  • 1 14.5 ounce can diced tomatoes
  • 1 clove garlic, finely chopped
  • 1/4 cup chopped fresh cilantro
  • Kosher salt and fresh ground pepper
  • 1 cup water
  • 1 1/2 pounds skinless cod (my Whole Foods didn't have striped bass), cut into 2-inch chunks
After I prepped the ingredients, I warmed up two tablespoons of olive oil in my Le Creuset French oven over medium-high heat.  I added the bay leaves and paprika and stirred those ingredients together for about thirty seconds.  I then added the onion, bell pepper, tomatoes garlic and two tablespoons of the cilantro.  I seasoned the vegetable mixture with salt and pepper.


I covered the French oven and let the vegetables cook until they were softened.  Afterwards, I added the water and reduced the heat to medium low.


I seasoned the fish with salt and pepper, and then nestled the pieces among the vegetables in the pot.


I covered and simmered until the fish was just cooked through.  I cooked my fish for about ten minutes.  I probably overcooked it a bit because I was terrified of the fish not being cooked through but luckily the fish didn't taste dry because of all of the moisture in the stew.

I removed the bay leaves from the pot and served the stew in shallow bowls sprinkled with the chopped cilantro. 


I loved all of the flavors in this dish, even the green bell pepper (which I'm usually not a fan of).  However, I would say that this stew recipe definitely needed more seasoning.  I rarely do it but I definitely added some salt at the dinner table.


This stew would be perfect with some rice mixed in or with some hunks of crusty bread.  But for me, it was a perfect dinner to slurp up on Friday evening to unwind from a long work week.


Tell me, do you have any food-related resolutions this year?

Thursday, May 26, 2011

Brussels Sprouts Gratin

Last week, I was browsing through my recipe binder when I came upon a recipe that I clipped from the Food Network Magazine's November 2010 issue for Brussels Sprouts Gratin.  I couldn't remember the last time I made Brussels sprouts at home and I thought that this would make a perfect dish for lunch.


First, I gathered the ingredients:
  • 2 tablespoons salted butter, cut into pieces (original recipe calls for unsalted butter but I didn't have any on hand)
  • 1 pound Brussels sprouts, outer leaves and stems removed
  • Pinch of red pepper flakes
  • Freshly ground pepper
  • 1/2 cup heavy cream
  • 1/2 cup grated white cheddar cheese
  • 1/2 cup breadcrumbs
I started out by heating a large pot of salted water to boil on the stove.  While the water was heating up, I pre-heated the oven to 400 degrees and sprayed a small casserole dish with baking spray.  I then got to work removing the outer leaves and stems of the Brussels sprouts. 


Once this was done, I gave the sprouts a rinse and added them to the pot of boiling water.  I cooked the sprouts for about five or six minutes until they were tender.  I didn't want to overcook the Brussels sprouts because nobody likes mushy Brussels sprouts!


Once the sprouts were done cooking, I drained the Brussels sprouts and coarsely chopped them.  I quartered the smaller Brussels sprouts and chopped the larger ones in eighths.  I put the chopped Brussels sprouts in the baking dish and tossed them with a generous helping of red pepper flakes, salt and pepper.  I added more than just a pinch of red pepper flakes because I always like a little heat to my food!


I spread the Brussels sprouts out evenly in the baking dish and then poured the heavy cream on top of the sprouts.


I sprinkled the grated white cheddar cheese and breadcrumbs on top of the Brussels sprouts.


And finally, I dotted the Brussels sprouts with the butter pieces.


I baked the gratin until bubbly and golden-brown.  This took me about eighteen minutes.  When it was done, the Brussels sprouts gratin was a sight for sore eyes.


The gratin would have made a great side dish but I served myself a generous helping for lunch and ate it on its own.


I loved the soft tender Brussels sprouts underneath the crispy breadcrumb and cheese crust.  I could have eaten plate after plate of this without thinking twice but I had to leave some for Bret too....reluctantly! 

Tell me, what is your favorite way to prepare Brussels sprouts?

Thursday, April 7, 2011

Beer-Braised Chicken

During the week, I like to make simple and easy recipes that don't take up too much time.  After all, I did just make Williams-Sonoma's meyer lemon poppy seed muffins from a quick bread mix.  But on the weekends, I like to pick more challenging recipes that allow me to take my time in the kitchen.  This past weekend, I flipped through some of the recipes that I previously flagged and tore out from magazines.  I settled on an April 2010 recipe from Food Network Magazine for Beer-Braised Chicken.  Sunday, however, turned into a relaxing day filled with lattes, reading and napping.  In the end, Bret and I decided to order a pizza for dinner and the recipe had to wait another day.

I'm glad that I waited another day to make the beer-braised chicken because Monday was a rainy and gloomy day.  This hearty beer-braised chicken was a perfect comfort food for this depressing start to the week.


First, I gathered my ingredients.  I stuck pretty closely to the recipe although I did alter the amounts of some of the ingredients a bit:
  • 1/4 pound slab or thick-cut bacon, cut into 1/2 inch pieces
  • 6 skinless, boneless chicken thighs (about 1 1/4 pounds) (the original recipe calls for 8 skinless, boneless chicken thighs - about 2 1/2 pounds)
  • Kosher salt and freshly ground pepper
  • All-purpose flour, for dredging
  • 1 tablespoon extra-virgin olive oil
  • 1 12-ounce beer (preferable brown ale)
  • 1 cup frozen pearl onions (the original recipe says to thaw them)
  • 1 pound small red-skinned potatoes, cut in chunks (the original recipe calls for 1/2 pound small red-skinned new potatoes, halved)
  • 1 tablespoon whole-grain mustard and 1 tablespoon bourbon molasses mustard (the original recipe calls for 2 tablespoons whole-grain mustard)
  • 1 tablespoon packed dark brown sugar (the original recipe calls for 2 tablespoons packed dark brown sugar)
  • 4 sprigs fresh thyme
  • 3 tablespoons chopped fresh parsley
I started out by slicing the bacon in 1/2-inch pieces.


I also cut the potatoes down into large bite-sized chunks.


I then warmed up the Dutch oven on the stove over medium-high heat.  I added the bacon and cooked until browned.


I removed the bacon from the pan with a slotted spoon and transferred them to a paper towel-lined paper plate. 


While I was working on the bacon, Bret seasoned the chicken with salt and pepper.  I then dredged the chicken in flour.


I added the olive oil to the drippings in the pan (although in hindsight, the olive oil was completely unnecessary).  I cooked the chickens in batches over medium-high heat until golden on the bottom and then seared the other side for just a minute.


I then added the beer to the pan.  I chose this beer with help from the helpful folks at my neighborhood package store.  I probably would have chosen this beer based on the adorable label alone!


I added the onions, potatoes, mustard, sugar thyme and one cup of water to the pot and stirred.  I made sure that the chicken was fully submerged.


My potatoes took awhile to cook through so I probably kept the Dutch oven simmering for about twenty-five minutes.  While I kept an eye on the pot, Bret helpfully chopped up three tablespoons of parsley.  When the potatoes had cooked through, I removed the thyme and added the cooked bacon and parsley to the dish.


The chicken was so tender and you barely needed a knife to cut through it.  The bacon added a lot of smokiness to the dish while the parsley helped cut through the fattiness.  The sauce wasn't too thick so the dish didn't feel too heavy, which made it a nice meal for a spring evening (even if it was a cold and dreary one).  And this dish was even better the next day as leftovers for lunch because the sauce really soaked into the chicken, potatoes and pearl onions. 


Do you like to cook more on the weekends or during the week?

Saturday, March 26, 2011

Thai Chicken Soup

After a whirlwind twenty-four hour trip to Martha's Vineyard for work, I was excited to cook a nice leisurely meal last night.  I flipped through my recipe book for recipes that were torn out from old cooking magazines and I decided to make the Food Network Magazine's Thai Chicken Soup from their November 2010 issue.  Per usual, I adapted the recipe a little based on ingredients I already had in the kitchen and to my own taste.

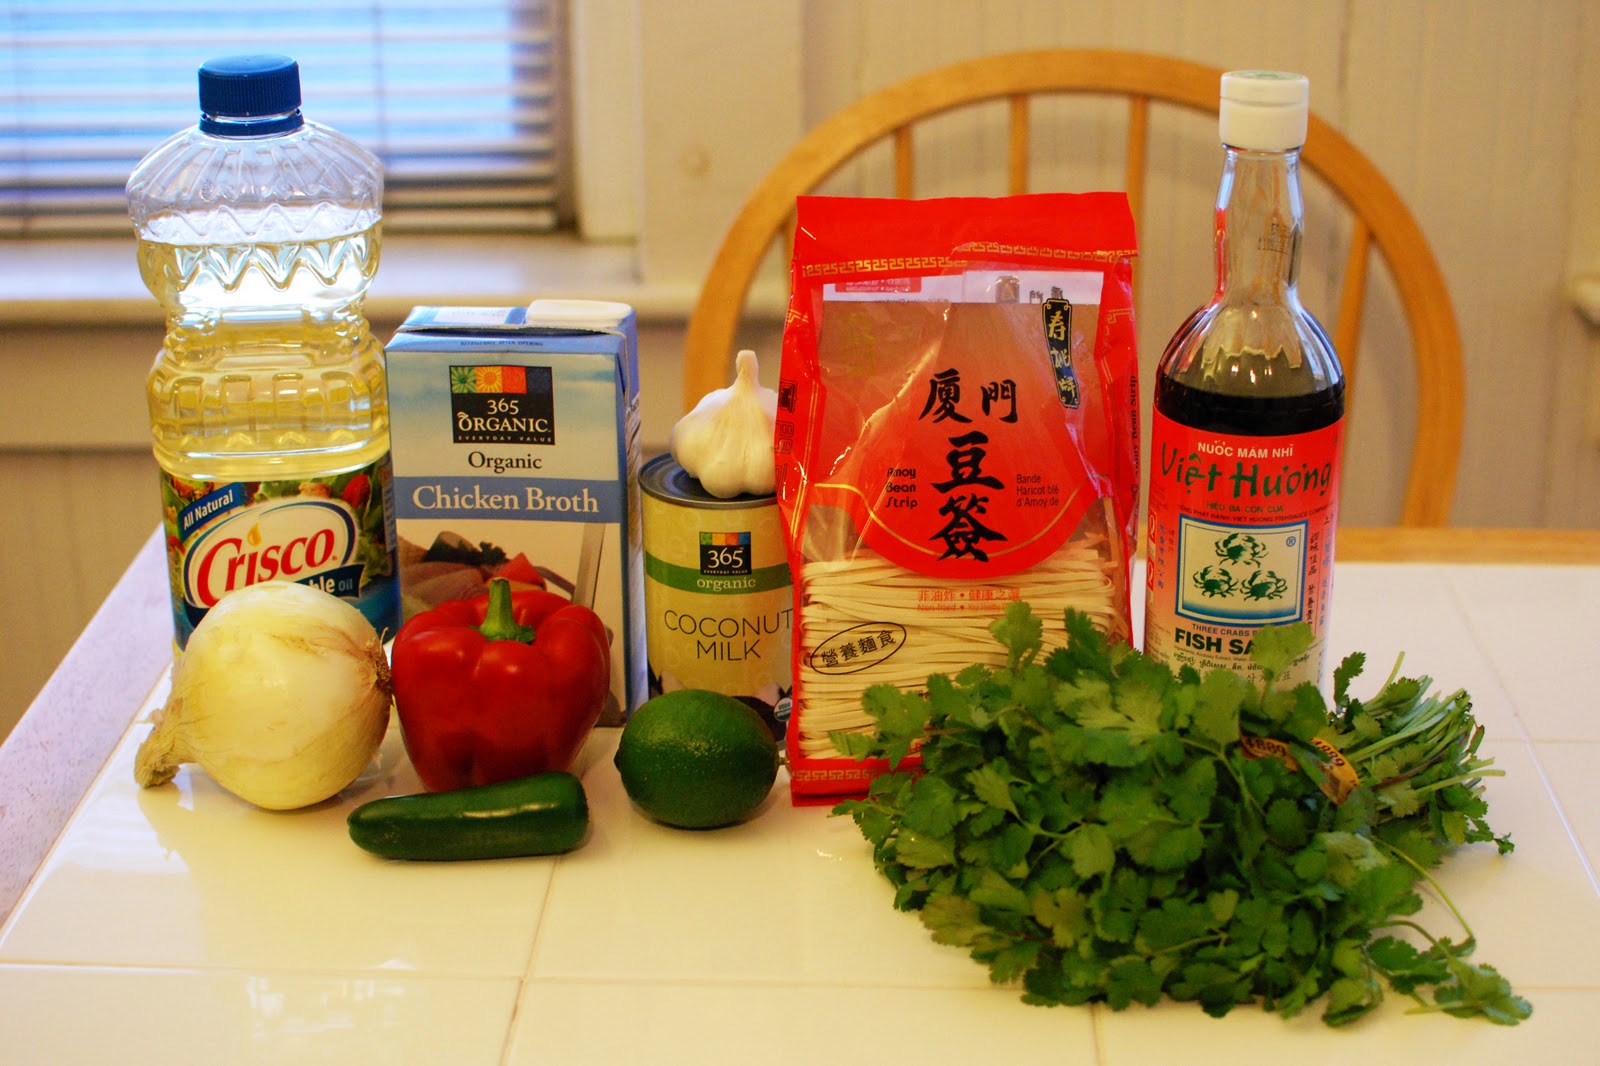
First, I took two chicken breasts out of the freezer to thaw earlier in the day.  When I was ready to cook dinner, I gathered the rest of the ingredients:
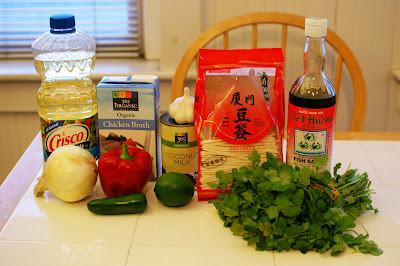

I forgot to photograph the red curry paste!
  • 1 tablespoon vegetable oil
  • 1 sweet onion, thinly sliced
  • 2 cloves garlic, minced
  • 2 tablespoons hot red curry paste (original recipe calls for green curry paste)
  • 6 cups low-sodium chicken broth
  • 1 15-ounce can coconut milk
  • 1 tablespoon fish sauce, plus more to taste
  • 1 red bell pepper and 1 jalapeno pepper, thinly sliced (original recipe calls for 2 red bell peppers and no jalapeno pepper)
  • 4 ounces soy bean strips, broken into pieces (original recipe calls for thin rice noodles)
  • 2 small skinless, boneless chicken breasts (about 1 pound), very thinly sliced crosswise
  • 1 tablespoon fresh lime juice, plus more to taste
  • 1 cup roughly chopped fresh cilantro
If you're a regular reader of this blog, you know that Bret and I love to cook together.  But since I've been working from home a lot lately, I've been doing most of the cooking.  But last night, Bret and I had all the time in the world and we leisurely cooked dinner together.  We first prepped the onion, peppers, cilantro and chicken breasts.


Then I warmed my Le Creuset Dutch oven on the stove with the vegetable oil on medium-high heat.  I added the onion slices and cooked them until they were softened and lightly browned.


I then used a garlic press to mince the garlic into the pot and I also added the curry paste.  I stirred everything together.


After a few minutes, I added the chicken broth, coconut milk, and fish sauce.


I loved the beautiful red color of the broth.  I used red curry paste because I already had an opened jar in the fridge and I'm glad I did because this added so much color to the dish. 

I covered the lid and brought everything to a boil.  Once the soup was boiling, I added the bell peppers and noodles and let the soup simmer, uncovered, until the noodles were al dente.  This just took a few minutes. 


I added the chicken to the soup and simmered until the chicken cooked through.  Because the chicken was sliced so thinly, this only took a few minutes.


I stirred in the lime juice and cilantro, and then the soup was ready to serve!


I was amazed at how easy this soup was to make!  I love a lot of Thai curry soups and until last night, I didn't realize how easy it was to make with just curry paste, coconut milk and chicken broth.  I also see a vegetarian version in my future by omitting the fish sauce and using vegetable broth and tofu in lieu of chicken broth and chicken. 


This recipe made a huge batch of soup so I put some aside for leftover this weekend and froze the rest.  I know this soup will be the perfect meal to thaw when I'm feeling lazy one weeknight and don't want to cook!

While I love the freedom of playing around in the kitchen by myself, I realized last night how much I miss cooking with Bret on a regular basis.  Tell me, do you like to cook alone or with others?  If you like cooking with others, who is your favorite cooking partner?

Wednesday, November 24, 2010

Cold Curry-Peanut Noodles

When I was searching for inspiration for the blogger potluck, I was also trying to tidy up the apartment a little bit.  I decided to go through stacks of old Food Network magazines, rip out the recipes that look interesting, add the recipes to my ever-growing recipe book, and recycle the rest of the magazine.  I try to do this kind of purging every few months.  While I was doing this, I found a fantastic recipe for Cold Curry-Peanut Noodles in the June 2010 issue and I thought I'd give it a try.

Since I'd be doing the actual cooking at Megan's place, I prepped as much of the ingredients as possible at home.  I've got to give Bret a lot of credit for helping me out.  I was still getting over the flu and was very slow-moving.  If Bret didn't help me, there is no way this dish would have come together as quickly as it did!

First, I gathered the ingredients:

Crunchy peanut butter, hot red curry paste, and rice wine vinegar.

One cucumber, one carrot, one lime, a bunch of scallions and a bunch of cilantro.

I started by getting the curry-peanut sauce together by adding 2/3 cup crunchy peanut butter, one tablespoon of red curry paste, and a 1/3 cup of cilantro leaves in the food processor.


I added two teaspoons of rice wine vinegar, the juice of one lime, 1/2 cup water, and a pinch of salt to the mixture.  I pureed all of these ingredients until it turned into a smooth sauce.  I put this in a plastic container and set it aside in the fridge to chill.

Bret was a great sous chef and peeled, seeded and thinly cut one cucumber.


He also thinly sliced one large carrot.


Meanwhile I set aside some more cilantro leaves for seasoning.


And I thinly sliced two scallions.


With all my ingredients prepared at home, I didn't have too much to do at Megan's place.  I simply cooked approximately twelve ounces of whole wheat spaghetti and tossed the sauce, vegetables and spaghetti together.  I reserved about a half cup of the pasta cooking water aside and used about a quarter cup of that water in the noodles to help loosen it up.


I also sliced up a lime to squeeze some fresh lime juice onto the noodles upon serving.


This was the first time I've made this dish and it was so easy!  The noodles had more of a peanut flavor than a curry flavor but I liked the small level of heat the curry paste brought to the dish.  I'm definitely going to keep this recipe on reserve for a flavorful, healthy and meat-less dish that takes such little time to prepare.

What is your favorite Asian dish to prepare at home?  Also, don't forget to enter my Dancing Deer giveaway!

Wednesday, November 10, 2010

Cat Cora's Southern Cornbread

My future sister-in-law gave me a subscription to Food Network Magazine as a Hanukkah gift last year.  I love reading the magazine for inspiration (along with behind the scenes info on some of my favorite shows) but I actually haven't made anything from it yet.  But when I saw a recipe in this month's issue for Cat Cora's Southern Cornbread, I knew that it would be perfect with my beef and bean chili!

While my chili was simmering on the stove, I quickly whipped together this cornbread.  First, I gathered all of my ingredients.  I had all of the ingredients in my pantry but I did have to go out and buy some buttermilk.


5 tablespoons unsalted butter plus more for the pan
3/4 cup all-purpose flour
3/4 cup yellow cornmeal
1 1/2 teaspoons baking powder
1/2 teaspoon baking soda
1/2 teaspoon kosher salt
1 cup buttermilk (shake before measuring)
2 large eggs

I started out by preheating the oven to 425 degrees.  I was happy to find that one of my oven racks was already in the middle since the cornbread needs to bake in the middle.  I didn't have an 8-inch square baking pan so I used a smaller rectangular brownie pan and sprayed it generously with baking spray.

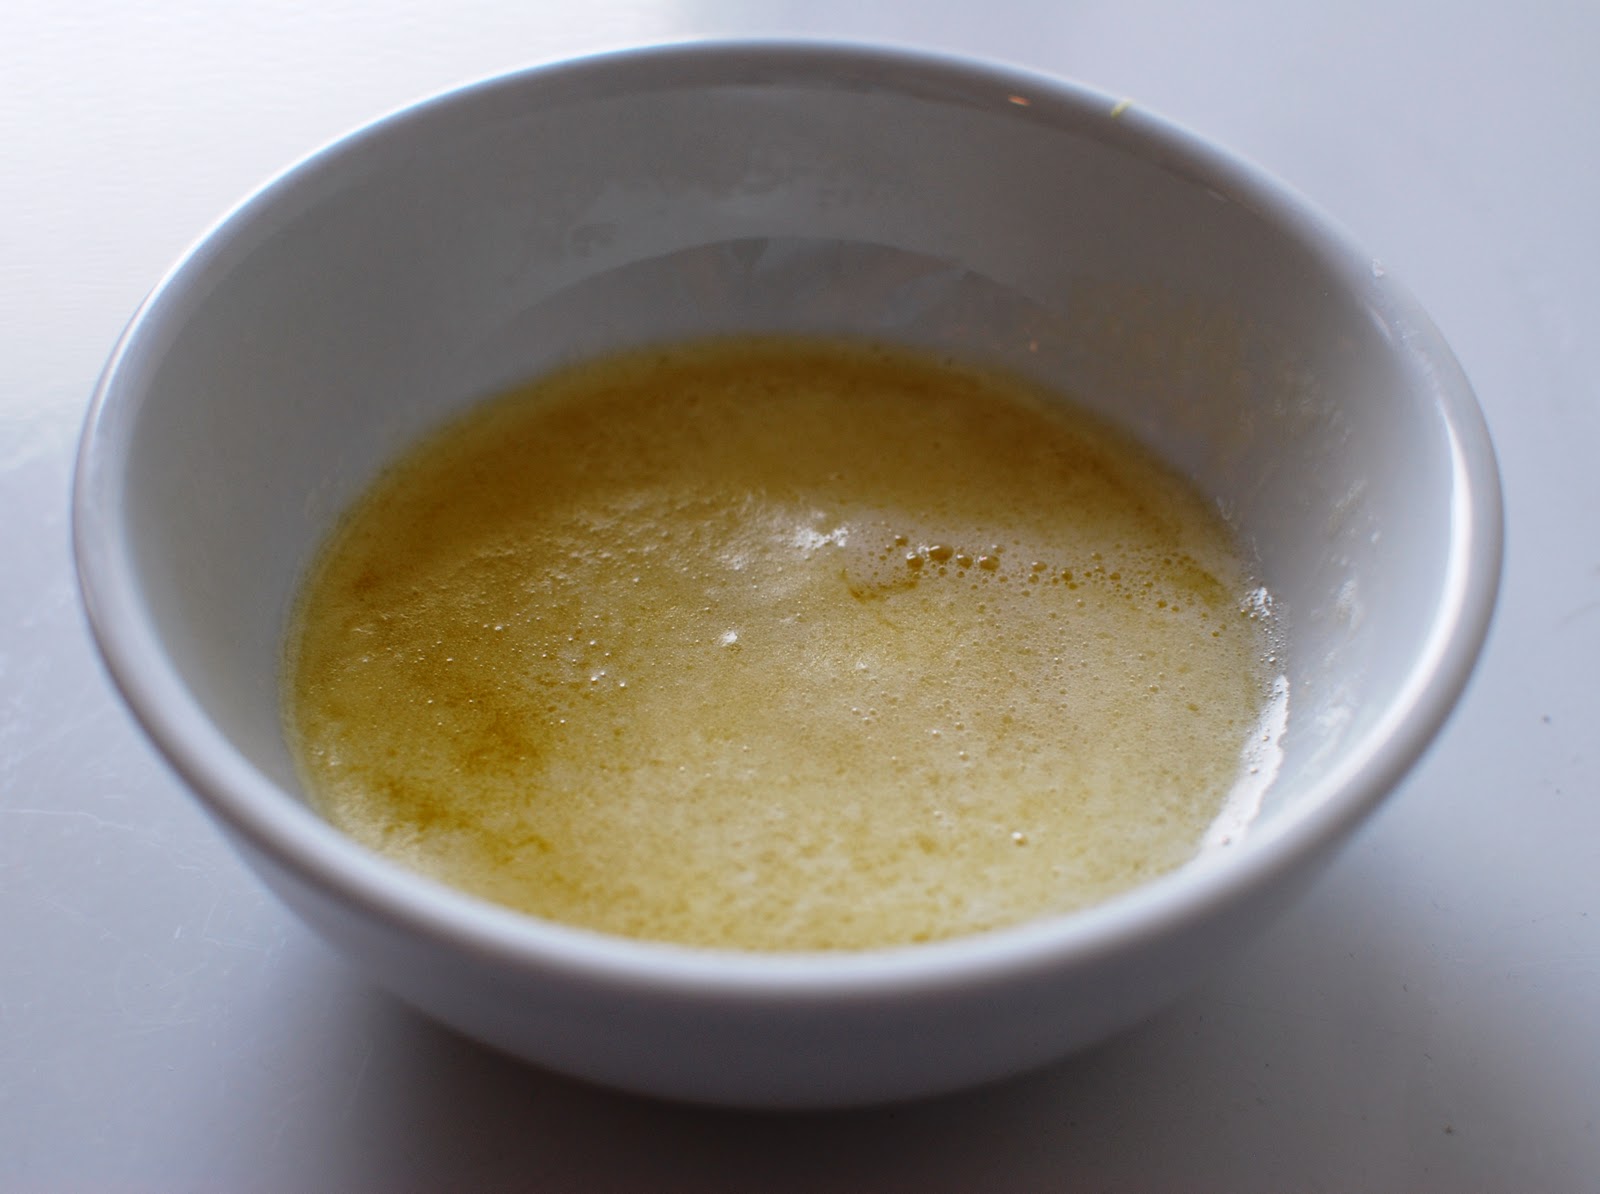
I then melted the butter in the microwave at three fifteen-second intervals and then set it aside to cool.


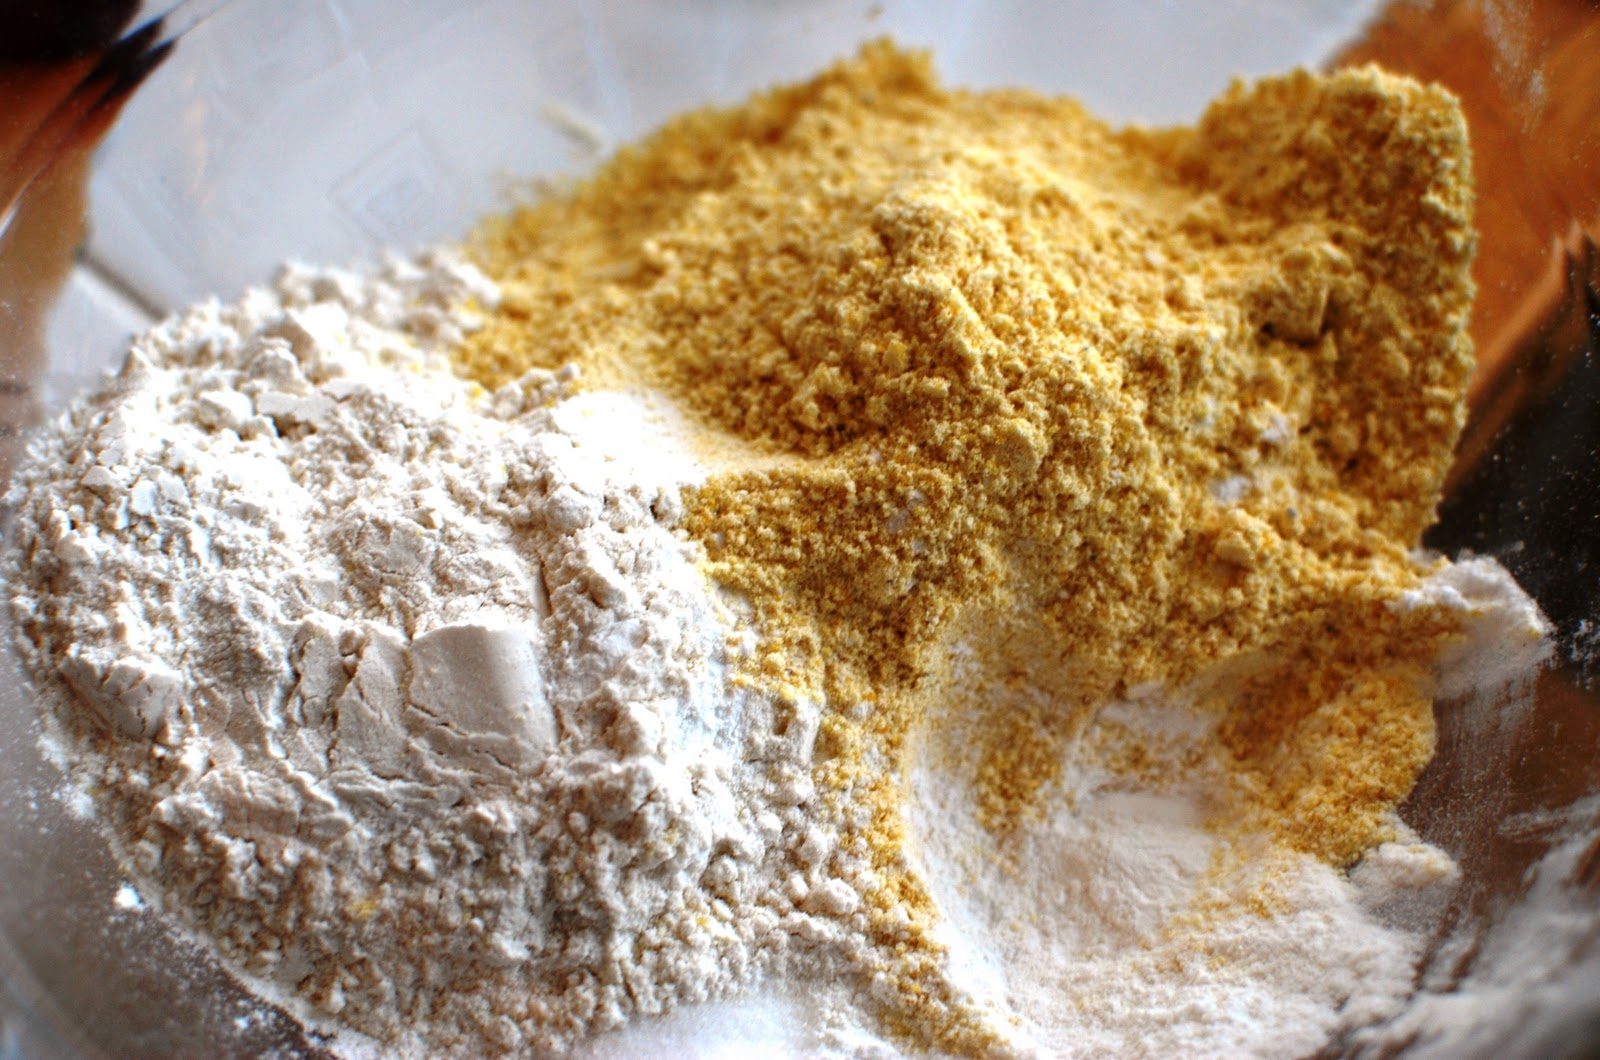
While the melting butter was cooling, I whisked together the dry ingredients - the flour, cornmeal, baking powder, baking soda and salt -  in a medium-sized bowl.


In a larger bowl, I whisked together the buttermilk and the eggs.


And then I added my now-cooled melted butter to the egg and buttermilk mixture.


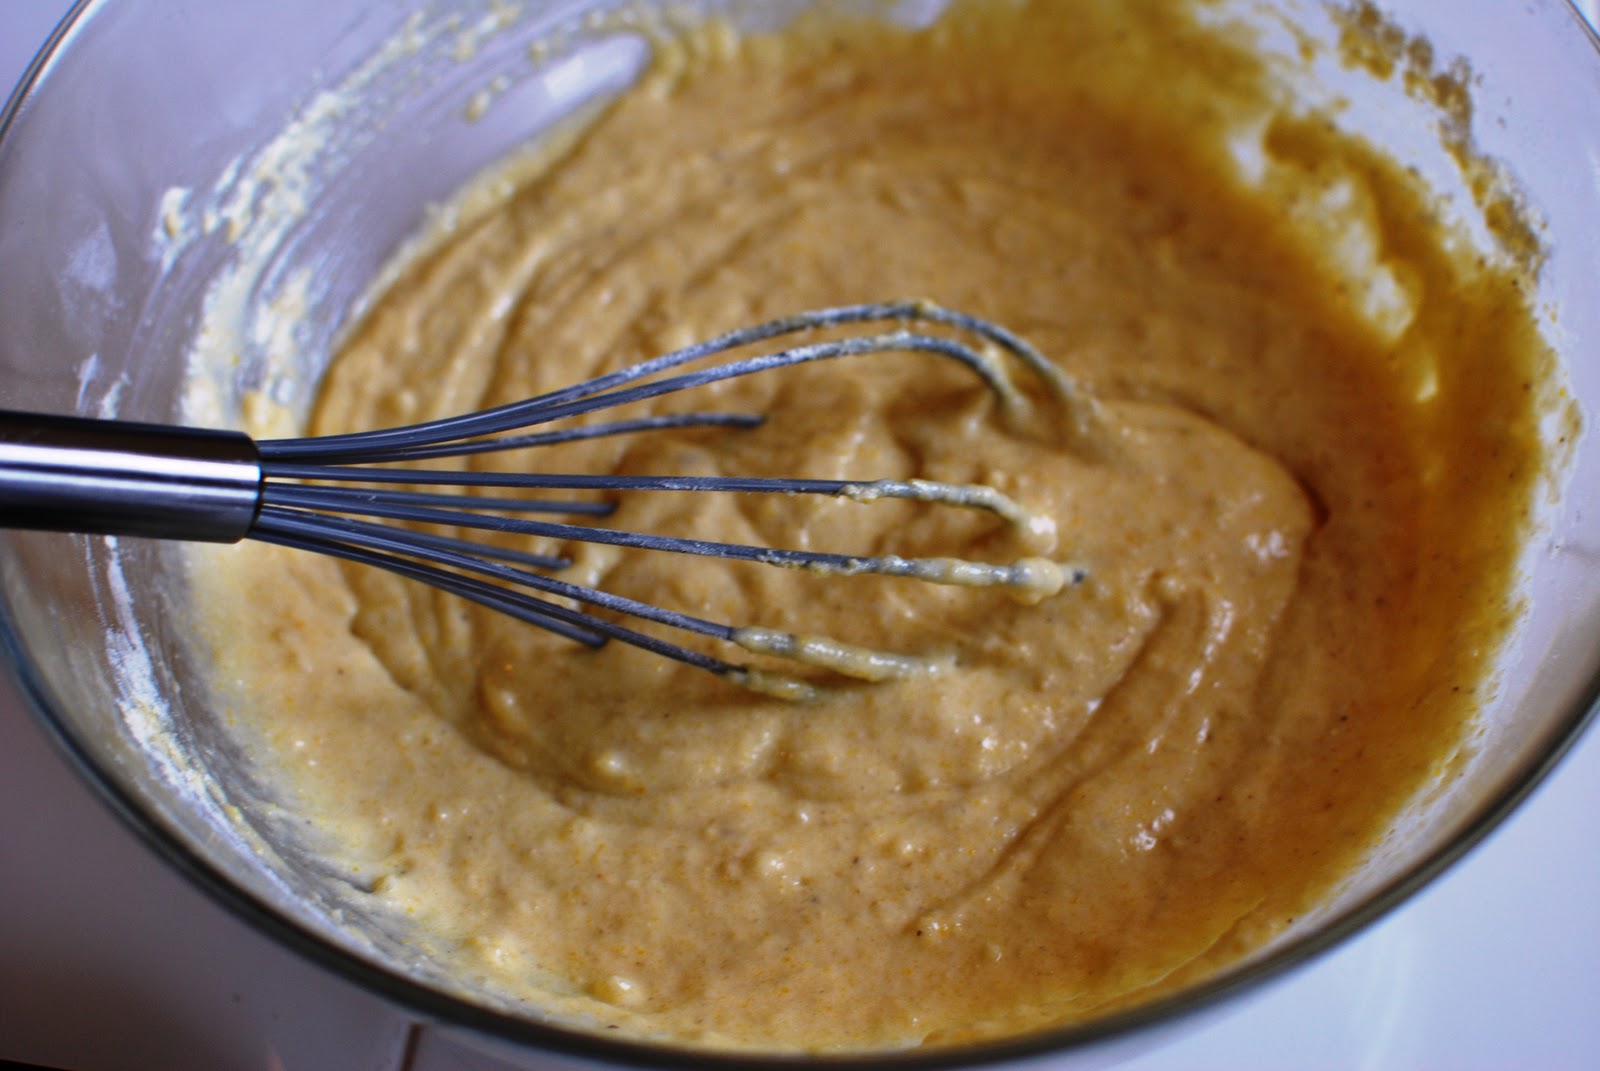
I then slowly added the dry flour mixture to the large bowl and mixed it until it was just combined.


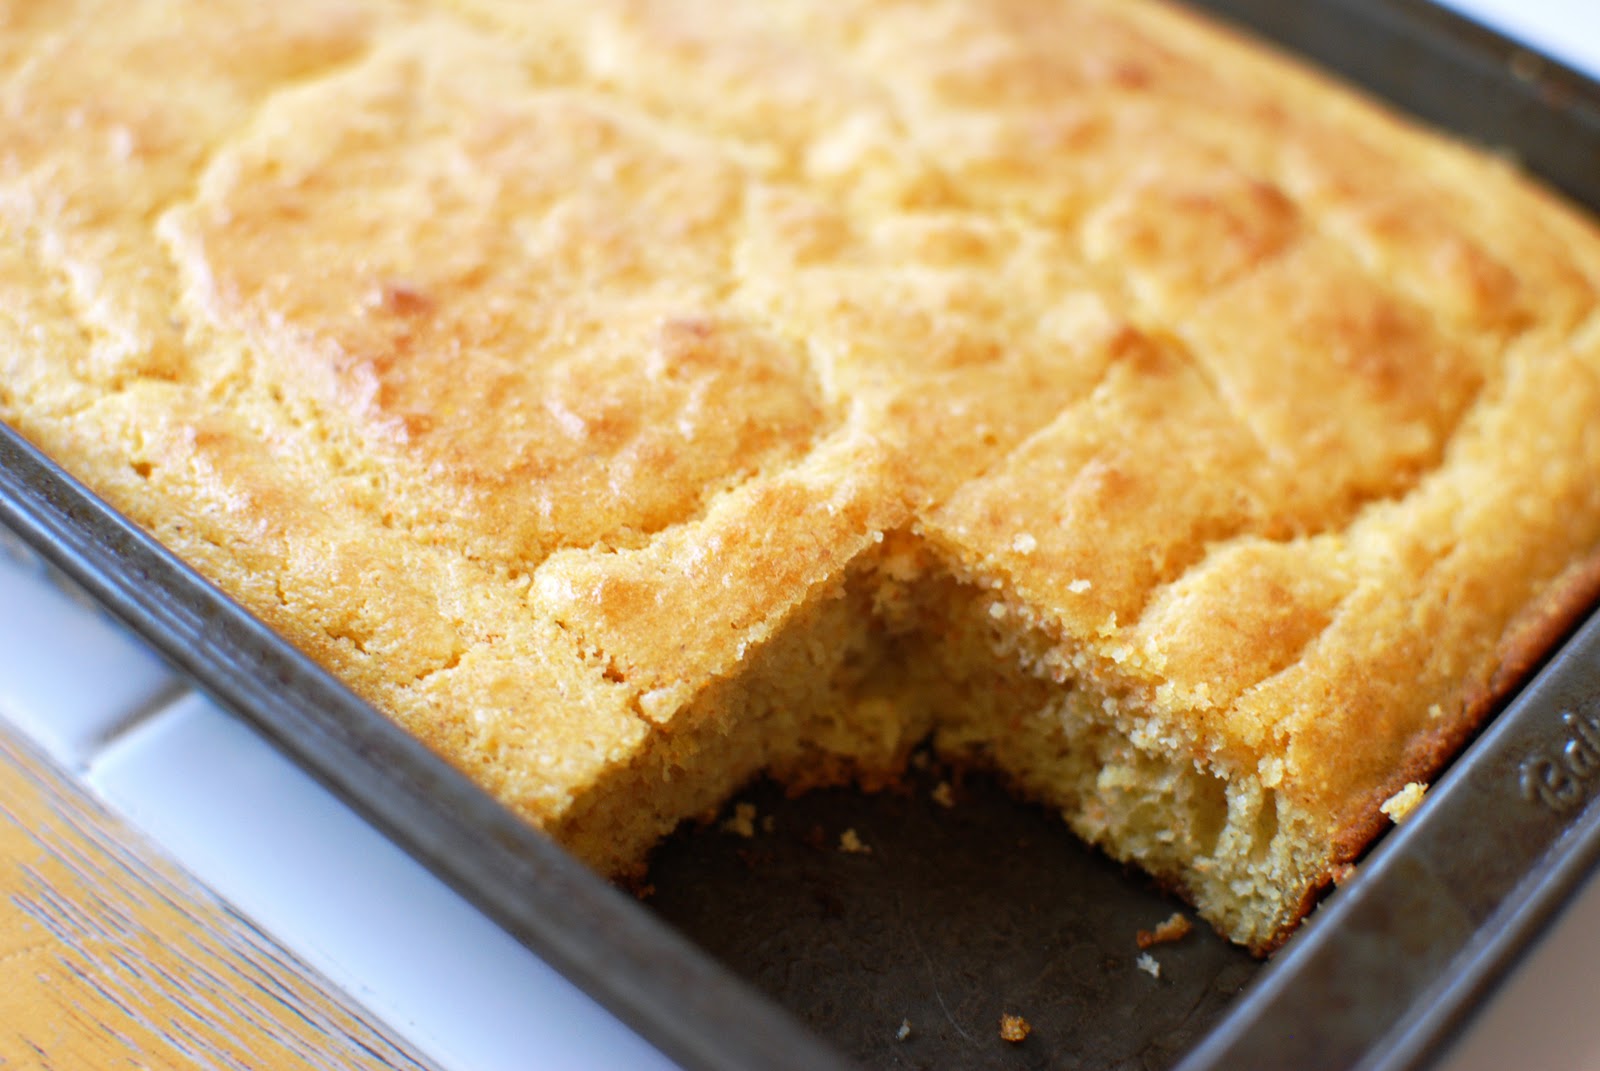
I poured the batter into my pan and placed it in the oven.  Since the pan was smaller than the 8 x 8 pan the recipe called for, I cut my baking time down to fourteen minutes.  After fourteen minutes, I did a quick toothpick test and the cornbread was done!  The cornbread smelled so delicious and had a nice golden brown color to it.


I let it cool in the pan for twenty minutes (which gave my beef and bean chili some extra time to simmer on the stove).  When the cornbread had cooled, I ladled a bowl of chili and cut a piece of cornbread.


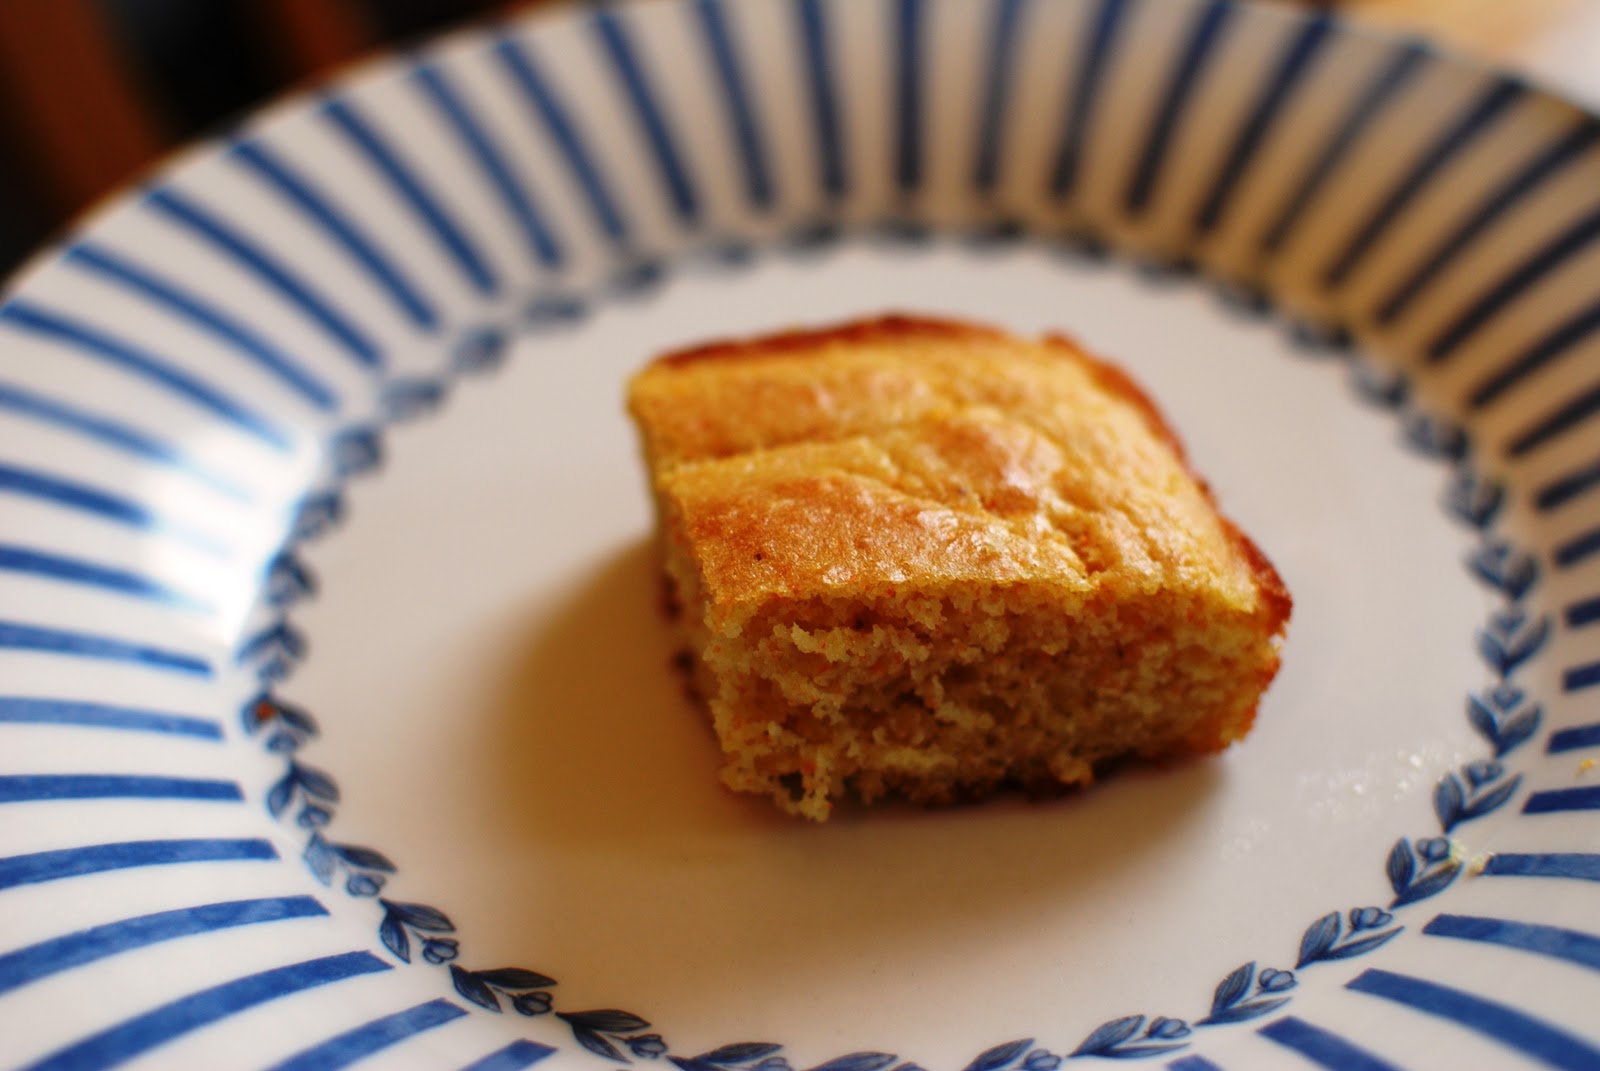
While I do like sweet cornbread, this version didn't have any extra sugar in it (besides what was in the buttermilk) so you could really taste the cornmeal.  The cornbread was nice, crumbly but not too dry....and it provided a nice relief to my spicy chili.


What food magazines do you read for great recipes or to find inspiration in your kitchen?


Have you voted yet for the Best Local Blogger?  I'm currently in third place and would love your vote here!