After going to Joanne Chang's
class at Flour, I was inspired to finally christen the
Flour cookbook, and what better thing to attempt than to recreate the amazing dessert we had at
Myers and Chang for dim sum: Coconut Cream Pie with a Lime Whipped Cream.
 |
| Coconut Cream Pie with a Lime Whipped Cream |
Coconut is one of Nick's favorite things - if there is a coconut flavor listed among any groupings, he is going for it. Really though, the same holds true for me as well. However, the addition of the lime is what makes this dessert even more special. When I saw the title of this recipe, I knew it had to be the first one to try from the cookbook, and thank goodness I did!
The Flour cookbook is a lot of fun to look through. The beginning pages have so many helpful hints and notes on ingredients - a great way to settle in and get comfortable with the pages of yumminess to come. Most (if not all) of the recipes begin with a fun anecdote or some sort of note from Joanne about the recipe and how it relates to her life and how it took shape. This personal start is then seen through the rest of the recipe. As you read, you feel like you are standing in the kitchen with Joanne looking over your shoulder (in a good way!) helping you along. The recipes are written almost in a conversation format with little tips throughout. One thing in this particular recipe are her reminders to keep stirring...and actually they were placed perfectly because I got a little sidetracked and needed the reminder!
To begin, I gathered all my ingredients...
 |
| The Ingredients |
However, I will say that I obviously did not read through the recipe very thoroughly to begin with because this first step actually required significant refrigeration time that was not going work for us. So the group shot above was taken a few days before I actually made the pie! Once I got started though, I mixed together the lime zest and the heavy cream in a saucepan on medium to high heat, and once it was just boiling I removed it from the heat, let it cool a bit and then put it in an air tight container and allowed it to sit in the refrigerator overnight.
 |
| How amazing whipped cream begins... |
Once the whipped cream was settled I started to get into the "meat" of the pie. In a large bowl I whipped together the sugar and the flour, and once it was all combined, I added the eggs, which I had combined in a separate bowl.
 |
| Egg, Flour and Sugar |
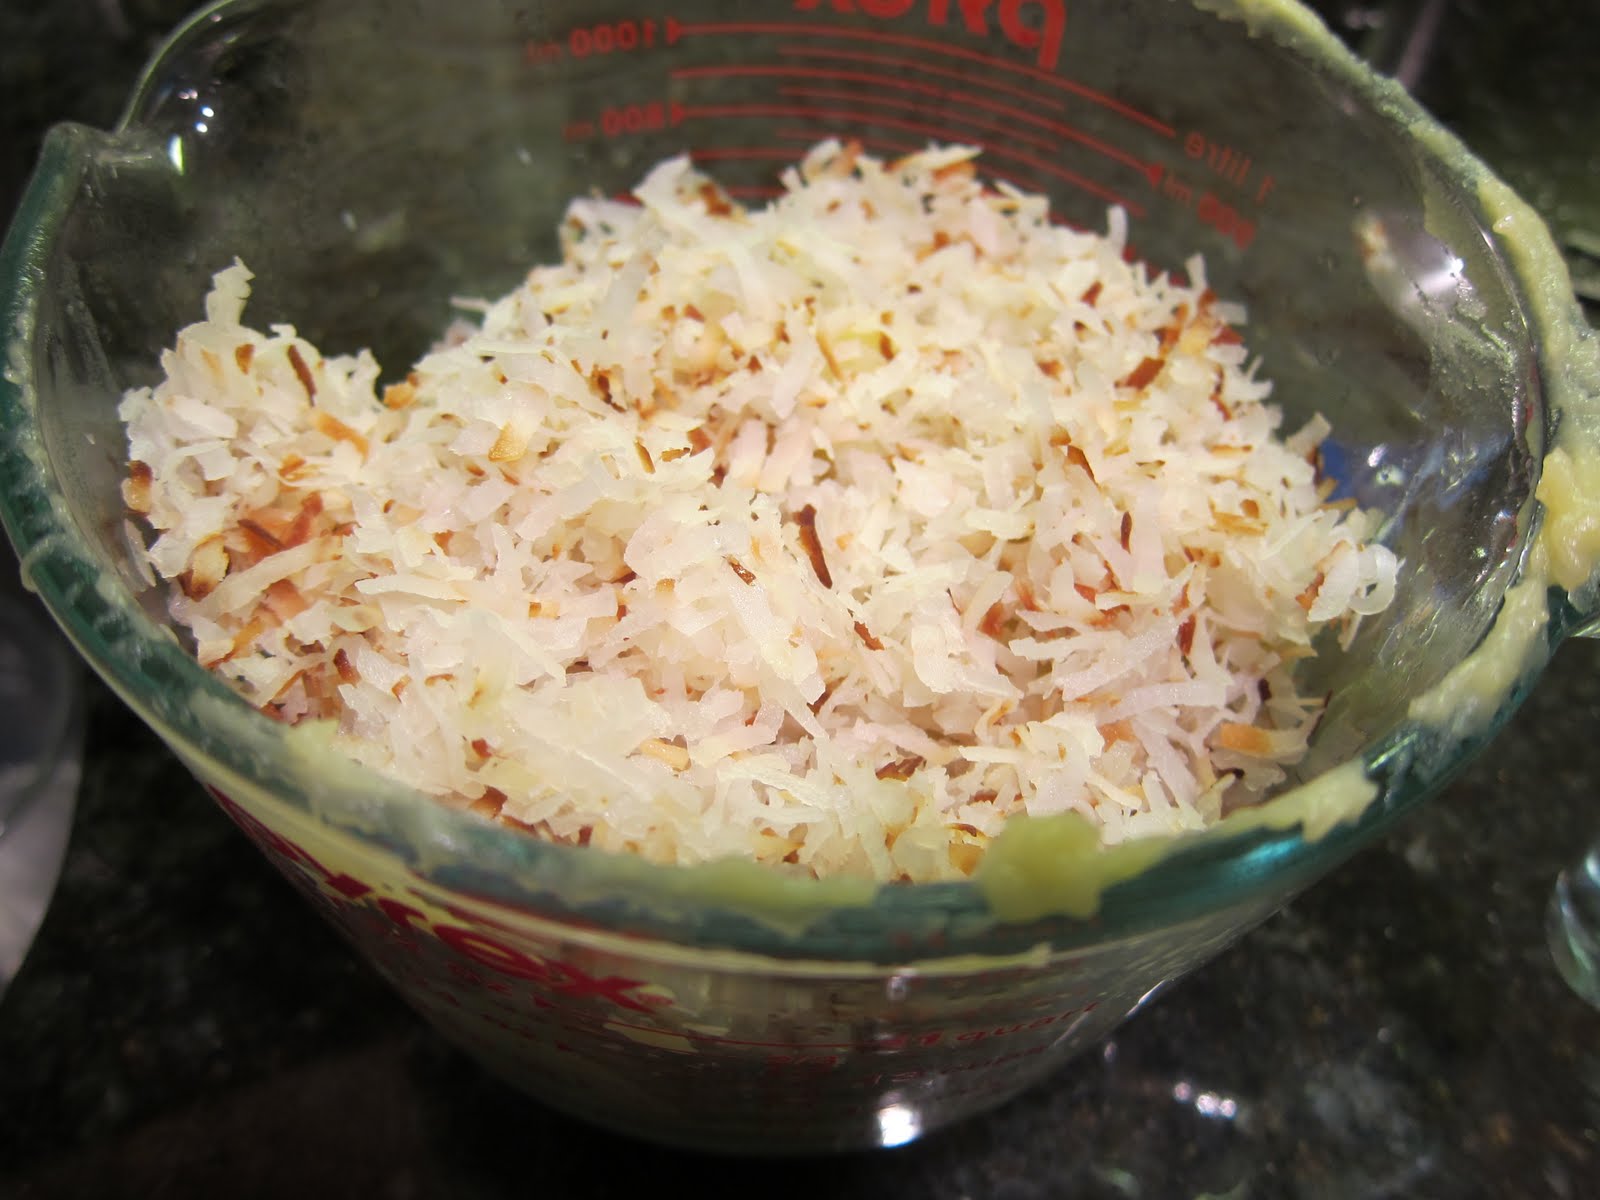
Meanwhile, on the stove top, I had my coconut toasting away - just enough to get the flakes a bit browned.
Also, I had my coconut milk and regular milk heating up in a sauce pan, being sure to stir occacionally.
Once the milk mixture started to boil, I removed it from the heat and slowly added it to the flour, sugar and egg mixture, making sure I was stirring it constantly. Once it was all mixed up, I returned it to the saucepan and placed it over medium heat. Again, I allowed this mixture to boil, which takes a bit of time because it gets thicker and you have to still stir continuously (seriously, my arms started to get a bit tired!) Once it came to a boil again, I was still not done stirring. Actually I had to stir harder than ever for another 30 seconds, and THEN it was finally ready to come off the stove and put through a mesh sieve (strainer).
 |
| Going through the strainer... |
Once it was all through, I added the vanilla, salt and a portion of the toasted coconut.
 |
| Toasted! |
Once it was all mixed I poured it into the pie shell and let it sit in the fridge for another 4 hours. I must disclose the other really dumb thing I did while making this pie. Being a bit lazy, I bought a pie crust that was even fitted to it own metal pan. However, not thinking, I did not bake the crust before I put in all the coconut yumminess I just spent a lot of time and energy putting together - whoops! So after I added it to the crust, I realized my mistake and had to take all the coconut mixture out and stuck it in the fridge while I cooked my pie crust! YES - so dumb!!
 |
| Coconut Cream in a COOKED pie crust |
Shortly before the pie finished up in the fridge, I started to make the whipped cream, which was really simple. I merely combined the cream and lime mixture I made the night before and some confectioners sugar and corn starch and started to whip - or, actually, made the Kitchen Aid mixer do the whipping.
 |
| Almost whipped cream |
The whipped cream was done when stiff peaks formed. Once it was done, I added mounds of it to the top of my coconut cream mixture, topped it off with the rest of the toasted coconut, and it was ready to serve!
 |
| Ready To Be Eaten! |
This pie came out surprisingly well given the mishaps during the process. The coconut flavors really came through and the lime in the whipped creme added a great contrast and really brightened up the pie. That really should prove how great this recipe is. I think it was gone within three days, and that was with us making a huge effort not to eat it every time we went into the fridge afterwards, which was tough!
I really cannot wait to make this again. Overall it was pretty simple - as long as you actually read through the recipe first!