Showing posts with label Tasting Table. Show all posts

Thursday, March 24, 2011

Gruyere and Black Pepper Popovers

On Wednesday night, I found that I had a lot of the slow cooker beef stew leftover, which was good because the weather was cold and dreary out.  Unfortunately, I didn't have any more honey-whole wheat biscuits leftover to go with the beef stew.  I decided to bake some kind of bread to go along with our leftover beef stew and I decided to bravely attempt making Gruyere and Black Pepper Popovers.  I originally received the recipe from Tasting Table via email way back in September and flagged it to make someday.  I knew that popovers aren't the easiest to make and I've never attempted baking them before.  I was a bit nervous but decided to give it a try.

First, I gathered my ingredients:

  • 2 cups buttermilk (original recipe calls for whole milk)
  • 4 large eggs
  • 1 1/2 teaspoons salt
  • 1/2 teaspoon freshly ground black pepper
  • 2 cups all-purpose flour
  • 2 ounces Gruyere cheese, cut into 16 small cubes, plus freshly grated cheese for garnish
Next, I preheated the oven to 375 degrees and made sure to have a rack in the bottom third level of the oven.  I placed a twelve-cup muffin pan in the oven to warm while the oven preheated.

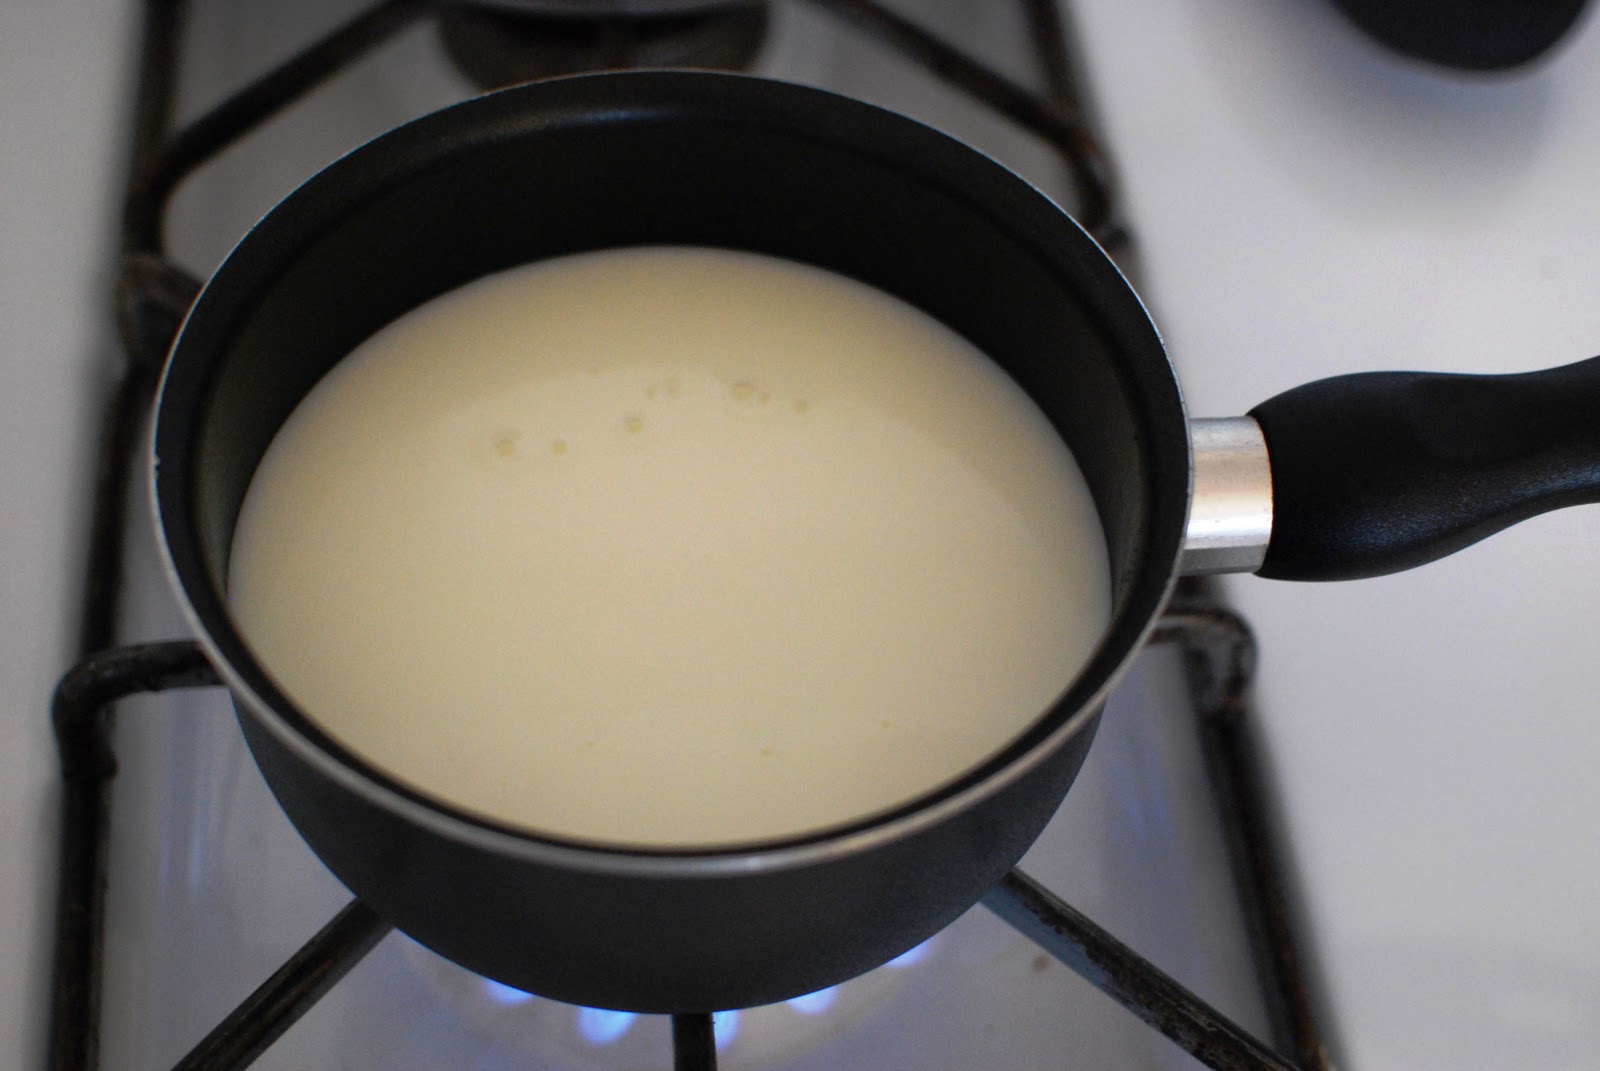
In a small saucepan, I warmed the buttermilk over medium heat until it was hot (about 125 degrees) but not boiling.  I kept an eye on the buttermilk and kept stirring it to keep it from curdling.  When the buttermilk was hot enough, I took it off the stove to cool.


I next cut the Gruyere cheese into twelve cubes and set the cheese aside.


In a large bowl, I whisked the eggs with the salt and black pepper until smooth.  I then slowly whisked in the warm milk.  I then added the flour and whisked it until the batter was combined.  The batter looked bumpy, almost like cornbread batter.


I then removed the muffin pan from the oven and sprayed it generously with baking spray.  I poured about 1/3 cup of the butter into each of the muffin cups.  Set a cube of the cheese on top of the batter in each cup.


I baked the popovers until they puffed and turned a deep golden brown, which was about forty minutes.  I anxiously kept checking the oven with the oven light but didn't open the oven door for fear of the popover collapsing.


When the first batch of twelve came out, they had definitely collapsed.  Still, I grated Gruyere cheese over them immediately and plated them.  I couldn't tell if they had collapsed because the cheese was too big or from the substitution of the buttermilk or what.  Still, I tried one and the flavor and consistency was there even if it didn't have a popover appearance.


I had enough batter for about seven more popovers so I put in a new batch.  This time I put smaller cubes of cheese into the batter and allowed the popovers to bake for about thirty minutes.  The popovers came out more puffy the second time around but they deflated a bit by the time I plated them and shredded more gruyere cheese over them.


My first attempt at baking popovers wasn't a success but I wouldn't call it failure since the flavor and consistency were spot on.  I was more than happy to enjoy one (or two or three) of them with the leftover beef stew - even if they were deflated.

Have you ever made popovers before?  Any suggestions on how to keep my popovers from deflating?

Tuesday, September 14, 2010

Cherry Tomato and Goat Cheese Tart

Last week, I received an email from Tasting Table sharing some fabulous tomato recipes for the end of summer. I perused through it and stopped when I got to the recipe for Cherry-Tomato Tart with Goat Cheese and Pecorino Romano.  I knew immediately that this was something that I wanted to make, although I did adapt the recipe and ingredients a little to make it my own.

I preheated the oven to 400 degrees.  While the oven was heating up, I lined a baking sheet with aluminum foil and sprayed it with cooking spray.  I washed a pound of cherry tomatoes.  I'm going to warn you that there are going to be quite a few tomato photographs because they were simply gorgeous.


I halved the cherry tomatoes lengthwise. 


I tossed the tomatoes in a bowl with olive oil, salt, pepper, and chopped fresh thyme.


I placed the tomatoes on the baking tray in a single layer into a 12-inch square and baked the tomatoes for about 25 minutes.


While the tomatoes were in the oven, I placed the thawed puff pastry sheet on another baking sheet.  I whisked together the egg and heavy cream to make an egg wash.  


I brushed the egg wash on one side of the puff pastry and put it in the freezer while the tomatoes were baking.  The aroma in my kitchen was heavenly.  I think that roasted tomatoes are one of my top kitchen scents, along with roasted garlic and bacon.


When the tomatoes were done, I placed the puff pastry (egg wash side down) on top of the tomatoes.  I brushed the top of the puff pastry with egg wash and then made four slits in the puff pastry.


I put the puff pastry-topped tomatoes back to the oven to bake for about 45 minutes until the pastry was golden brown.  I probably left the puff pastry in a little too long because it was a little past golden brown.


I let it rest for fifteen minutes.  While the tart was resting, I turned on the broiler.  I used this as a time to take more photos of my tart.


Now came the tricky part.  I carefully flipped the tart onto a baking sheet and removed the tin foil.  I sprinkled the top of the tart with the goat cheese and a bit of Parmesan cheese.  I broiled the tart for about two minutes until the goat cheese began to melt.  I should have left the tart in longer for the goat cheese to brown but I was afraid of burning my tart and a few edges got burnt.


When it was done, I transferred the tart to a cutting board and I patiently waited for it to cool.  I cut myself a slice and dug in with a side of Olivia's Organics 50/50 Blend.


The tart was overall really food but the ratio of tomatoes to puff pastry was way off.  I even used more tomatoes than the recipe called for but it just didn't seem like it was enough.  I think next time I will make this in a muffin pan for individual sized tarts, which will also help me keep an eye on not overcooking the puff pastry!


Still, I loved the flavors of the roasted tomatoes and the tangy goat cheese.  The tart also made for great leftovers later that evening after a few too many cocktails! 

I'll be sad when I can't get any local seasonal tomatoes soon.  Do you have any great tomato recipes you'd like to share?

Wednesday, August 18, 2010

Pasta Made From Wine: Fettuccine Caberneti Carbonara

Last night, despite participating in a huge Italian feast the night before, I was really excited to make a pasta dish for dinner.  You see, about a month ago, I received an email from Tasting Table describing a really interesting brand of pasta made with Cabernet flour!  Pasta made from wine? I was intrigued and immediately placed an order for some fettuccine.  The pasta soon arrived but it has been sitting in my pantry for several weeks because I just haven't had the time to use it!


Before I get into my pasta dish, I have to tell you a little bit more about this pasta.  Cabernet flour is made from the milled pomace (i.e. leftover grape skins) of Niagara wineries.  The flour is really healthy and rich with iron, fiber and antioxidants.  Baker Rachel Klemek began using the Cabernet wine to make brownies, pastas and pizza dough for some cooking classes at her bakery, Blackmarket Bakery, in Irvine, California.  The flour became so popular that she started Marche Noir (French for "black market") to sell the flours, the brownies and a dry version of the pasta in stores and online.  The fettuccine caberneti was super easy to order online and I even received a few emails from Rachel herself about my order! 


The pasta comes in a really gorgeous package.  The pasta is a deep purple and almost black color and it smells ever so faintly like wine! 

I really wanted the pasta to be the highlight of the dish so I decided to make a simple dish that has been on my list of dishes that I've wanted to make in my kitchen - pasta carbonara.  I've always been hesitant to make this because it is not the healthiest dish but the fettuccine caberneti seemed like the perfect excuse to indulge!  I found a really simple Bon Appetit (May 2000) recipe on Epicurious and I was on my way!

First, I set my pasta water on the stove to boil with a generous dash of salt.  I got to work on everybody's favorite ingredient - bacon! I chopped up ten slices of thick-cut smoked bacon and added it to a skillet with a tablespoon of butter on medium-high heat.  Like I said, this is definitely not your healthiest meal but here are some gratuitous bacon photos for your enjoyment.


The bacon actually took awhile to crisp up and I found that the butter was completely unnecessary as we had to drain the skillet several times of the bacon grease to help the bacon crisp up.  In complete honesty I'd have to say that I made Bret drain the bacon grease because it really started to gross me out.  When the bacon was done cooking, Bret put the bacon on a paper towel lined plate to soak up the grease while I whisked together the creamy sauce consisting of heavy cream, Parmesan cheese, four egg yolks and a few tablespoons of the bacon drippings.


When the pasta was done cooking, I drained the pasta and the pasta water was such a beautiful purple color and smelled faintly of wine.  I'm not sure if it is because of the Cabernet flour or not but the pasta was a bit more sticky than usual.  In hindsight, I wish I added a drop or two of olive oil to my pasta water as the fettuccine cooked.


I returned the pasta to the pot and added the sauce.  The pot was on the stove at medium-low heat as I tossed the pasta to make sure it coated evenly.  When the sauce was cooked through, I added the bacon to the pasta.  We had way too much bacon and only used about half of it.  The pasta was plated and topped with some additional grated Parmesan cheese and a few pieces of chopped bacon.


Overall, I was very happy with the dish.  My pasta carbonara was a bit more grainy than I would have liked but I think part of the reason it was so noticeable was that it contrasted dramatically with the fettuccine's dark hues.  But it tasted wonderful with the rich creamy sauce and the light taste of wine in the pasta.  In fact, this dish was so decadent that Bret and I made sure to eat a large bowl of salad (using Olivia's Organics 50/50 blend, cucumbers, grape tomatoes and goat cheese) to cut the richness of our dinner.


I was proud of my first attempt at pasta carbonara and I was thrilled to finally use this really interesting fettuccine caberneti.  I think it is a perfect gourmet to add to a gift basket for any wine lover.

What would you make with pasta made from wine?