Showing posts with label Epicurious. Show all posts

Saturday, May 21, 2011

Garlicky Lentil Soup

This past week, it was cold and rainy in Boston, and Bret was feeling a bit under the weather.  I had a bag of lentils in my pantry and I looked up a few warm, hearty lentil recipes to make for dinner.  I let Bret choose which recipe for me to make and he settled upon a recipe for Garlicky Lentil Soup from Epicurious.

This recipe was really simple and only required a few ingredients:
  • 8 large garlic cloves
  • 4 cups cold water
  • 2/3 cup lentils
  • 1 tablespoon herbs de Provence (the original recipe calls for chopped fresh thyme leaves but the fresh thyme at Whole Foods didn't look so great and I was out of dried thyme)
  • 2 tablespoons chopped fresh flat-leafed parsley leaves
  • 1 1/2 to 2 teaspoons salt
  • Extra-virgin olive oil, to taste
  • Red-wine vinegar, to taste
The preparation was equally simple.  I poured the water and lentils in my Le Creuset French oven and slowly brought the water to a boil.


While the water was warming up, I sliced up the garlic cloves and added both the garlic and the herbs de Provence to the water.  Once the soup began to boil, I let it simmer until the lentils were tender.


While the soup was simmering, I chopped up the parsley leaves.


Once the lentils were tender, I poured the entire soup mixture into the food processor and pulsed it until it turned into a coarsely pureed mixture.  Once this was done, I poured the pureed lentil mixture back into the pot.

I stirred in the parsley, salt and pepper, and brought the soup to a simmer.


I served the soup with a loaf of nutty flax seed and sunflower seed wheat bread.


And right before serving, I drizzled it with the olive oil and red wine vinegar.


Honestly, the soup wasn't the prettiest and it was a little bland.  I rarely season dishes with more salt but I definitely had to add a little more salt to my bowl of soup.  The red wine vinegar helped the soup but it still wasn't enough.  I think the soup needed some fat - whether through butter or bacon fat.  Still, Bret seemed to enjoy the soup and had a second serving.

Sometimes you can follow a recipe carefully but the end result is a little disappointing.  Have you made or eaten something recently that was a little disappointing?

Wednesday, April 27, 2011

Green Beans with Coriander and Garlic

With the warm spring weather finally here, I've been craving foods that are a bit healthier.  I'm ready to give up my heavy slow cooker meals and trade them in for lots of greens, fruits and veggies.  Bret and I may have been a little over-excited for spring since we somehow managed to order two pounds of green beans in our latest Peapod order.  I typically prepare green beans by steaming them or sauteeing them but I wanted to try something different so I did a quick search on Epicurious and found this recipe for Green Beans with Coriander and Garlic

The ingredients were are all really simple: 
  • 2 pounds green beans, washed and trimmed
  • 3 quarts boiling water plus 1 1/2 teaspoons salt
  • 3 large garlic cloves, peeled and minced (the original recipe calls for two large cloves)
  • 2/3 cup coarsely chopped fresh coriander (note, fresh coriander is cilantro)
  • 3 tablespoons extra virgin olive oil and 3 tablespoons herbs de Provence extra virgin olive oil (the original recipe just calls for top-quality olive oil)
  • 1 tablespoon lemon juice
  • 3 to 4 tablespoons cider vinegar
  • 1/4 teaspoon freshly ground black pepper
First, I cooked the green beans in the boiling salted water for about ten minutes.


While the green beans were cooking, I placed the garlic and cilantro in a large heat-proof bowl.


As soon as the beans were done, I drained the pot and returned the green beans to the pot.  I turned the heat up to medium-high heat and shook the pan for about a minute to drive out the excess moisture.


I dumped the hot green beans on top of the garlic and coriander and let them stand for about ten minutes.


I then added the two types of olive oil to the bowl.


I tossed the bowl well to mix.  The garlic had cooked from the heat of the hot garlic beans and the aroma was unbelievable.


I covered the bowl with plastic wrap and let the green beans marinate in the fridge for about four hours.

About an hour before serving, I took the bowl out of the fridge and left it covered on the table.  Right before I served the green beans, I added the lemon juice, vinegar and pepper.  I tossed the green beans well and gave it a taste.  I loved the garlicky flavor of the green beans and the bright acidity of the lemon juice and cider vinegar.  The green beans tasted fresh, crisp and so sharp.  I didn't need to make any additions but you can add more vinegar, olive oil, salt or pepper to taste.


This preparation of green beans were so simple but really flavorful.  I really liked how this can be made ahead of time, which makes it a great side dish if you're hosting or attending a dinner party.


Do you like green beans?  What is your favorite way to prepare green beans?

Tuesday, April 26, 2011

Not-My-Grandmother's Challah Bread

I've seen a lot of great recipes online lately for challah bread and I've been dying to try it on my own.  I did some research and found a recipe on Epicurious for Almost Grandmother's Challah.  I'm certain that neither of my Korean grandmothers would have ever made (or even tried) challah bread so I've playfully renamed it "Not-My-Grandmother's Challah Bread".


First, I gathered my ingredients.  You should note that this recipe makes two loaves of challah bread:
  • 1/2 cup plus 2/3 cup warm water
  • 2 tablespoons dry yeast
  • 1 tablespoon plus 3/4 sugar
  • 5 large eggs
  • 3/4 cup vegetable oil
  • 1 teaspoon salt
  • 7 1/2 cups (about) all-purpose flour (I ended up only using about six cups)
  • 1 large egg yolk
  • 1 tablespoon water
I combined the 1/2 cup warm water, yeast and 1 tablespoon sugar in a small bowl and stirred it until the yeast dissolved.  I let the yeast mixture stand at room temperature while I got the rest of my ingredients together.


In a large bowl, I beat the five eggs until blended.


I added the oil, salt, and 3/4 cup sugar and beat after adding each ingredient until the mixture was pale yellow and slightly thickened.


I beat in 2/3 cup warm water and then added the yeast mixture.  The yeast mixture had foamed and risen quite a bit!


I then started adding flour one cup at a time until the mixture turned into a smooth dough.  I only ended up using six cups of flour in total.  I turned the dough onto a floured surface and kneaded the dough for a few minutes.  I lightly oiled a large bowl.  I added the dough and turned it over to coat it with oil.


I covered the bowl with plastic wrap and then with a clean kitchen towel.  I let the dough rise in a warm draft-free area until doubled in volume, about one hour.  I punched the dough down and re-covered it with plastic wrap and the kitchen towel.  I let it rise for another thirty minutes.

I then lined two large baking sheets with parchment paper.  I turned the dough onto a lightly floured surface.  I divided the dough into two equal portions.  I further divided each portion into three equal pieces.  I rolled each piece into a nine-inch long rope.  I braided the ropes together and pinched the ends together to seal.


I repeated this with the other portion of dough.  I placed each braid on the baking sheet and covered with a towel.  I let the loaves rise in a warm area until almost doubled, about thirty minutes.

I then preheated the oven to 400 degrees.  I whisked one egg yolk with one tablespoon water to blend.  I brushed the dough with the egg mixture. 


I baked the bread at 400 degrees for ten minutes before reducing the temperature to 350 degrees and continuing baking for another ten minutes.  I then switched the loaves from the top and bottom racks and baked for another ten minutes.  I baked the bread until they were golden brown and sounds hollow when tapped on the bottom.


I transferred the loaves to a rack to cool completely.


The challah bread was really awesome.  I've only had challah bread a handful of times but Bret said that this tasted just like a traditional challah bread.  I ate my first slice smeared with butter and I realized how deadly it was going to be to have two loaves of challah bread in our house!  Thankfully, I brought the other loaf home for my family to enjoy.

Tell me, what was the most recent thing you baked up in your kitchen?

Friday, March 18, 2011

Banana-Peanut Butter Chip Muffins

On Tuesday night, I realized that I had two bananas that had gone way overripe in the fruit basket.  I thought that this was the perfect excuse to make some banana muffins the next day and I did a quick search on Epicurious for an easy recipe.  I was torn between a recipe for banana coconut muffins or banana-chocolate chip muffins but I finally decided on the banana-chocolate chip muffins.  Since I had some leftover peanut butter chips in my pantry, I decided to substitute the chocolate chips for peanut butter chips and the end result was awesome!


Banana-Peanut Butter Chip Muffins
(adapted from Epicurious' Banana-Chocolate Chip Muffins)


First I gathered my ingredients:
  • 1 1/2 cups all purpose flour
  • 2/3 cup sugar
  • 1 1/2 teaspoons baking powder
  • 1/4 teaspoon salt
  • 1/4 teaspoon cinnamon
  • 1 cup mashed ripe bananas (about 2 large bananas)
  • 1 large egg
  • 1/2 cup unsalted butter, melted
  • 1/4 cup buttermilk
  • 1 teaspoon vanilla
  • 3/4 cup peanut butter chips
I then preheated the oven to 350 degrees and lined a twelve-cup muffin tray with paper liners.

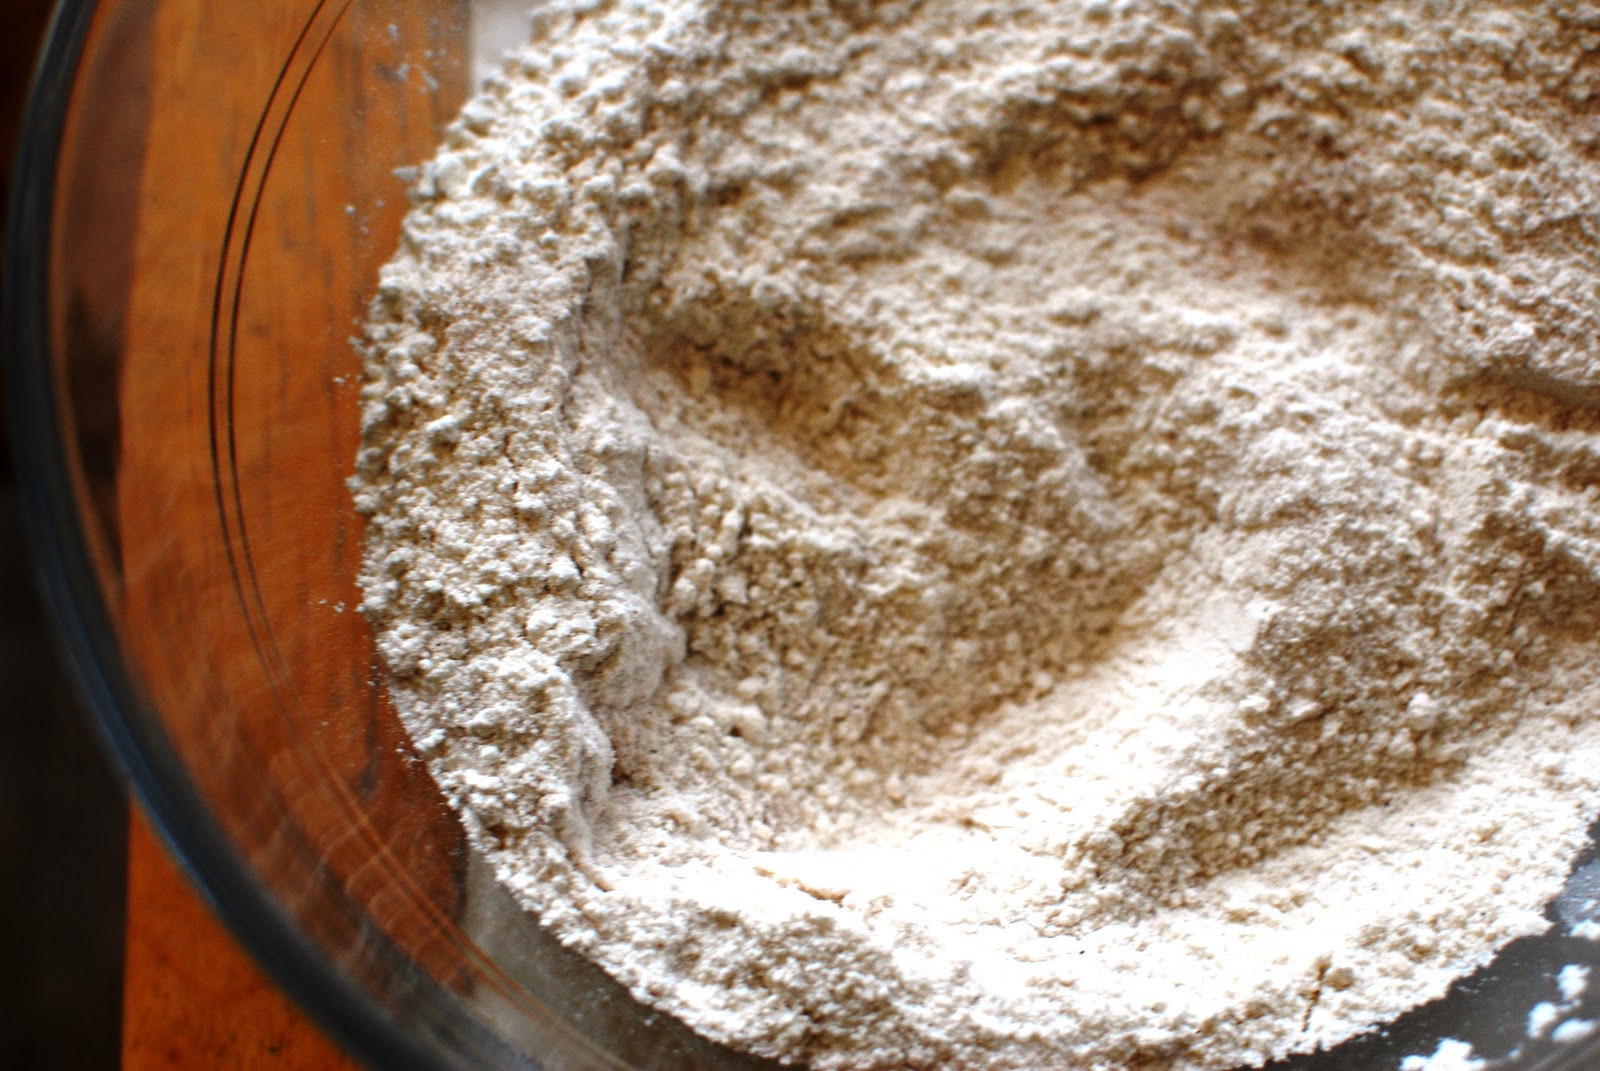
In a large bowl, I mixed together the dry ingredients - flour, sugar, baking powder, salt and cinnamon.


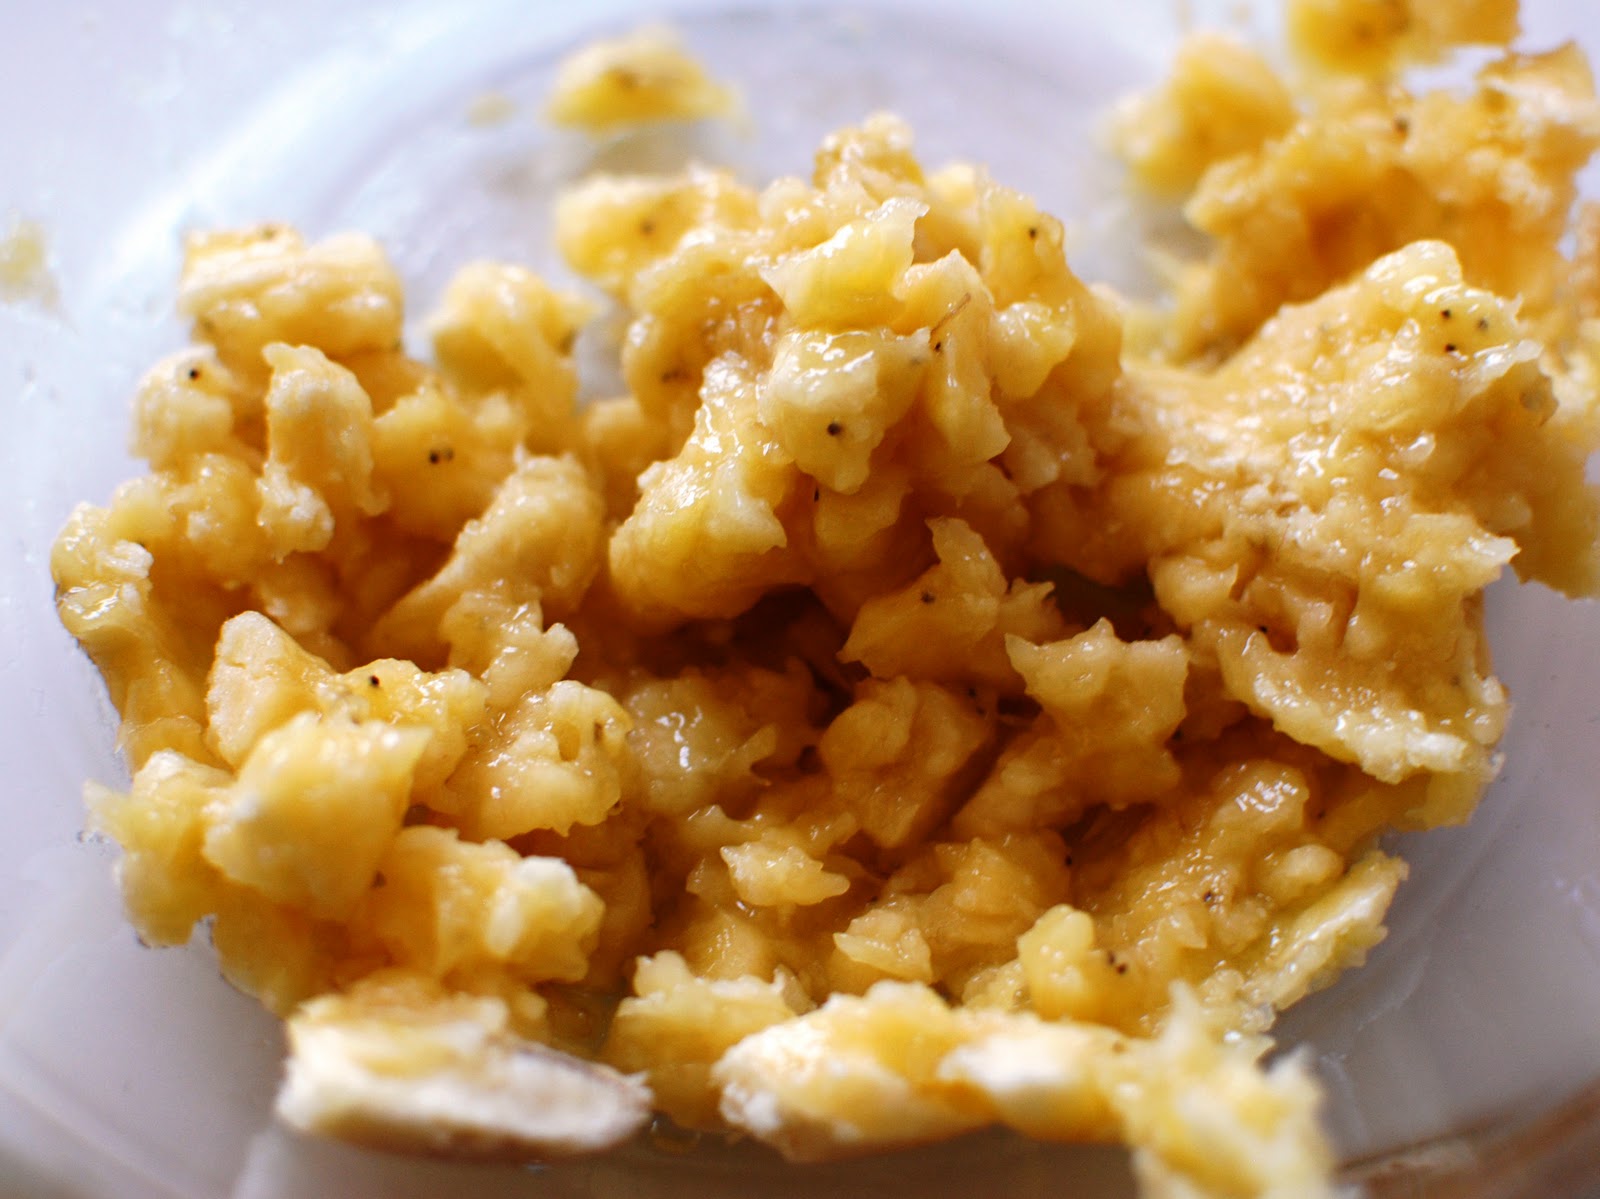
I then melted a stick of unsalted butter in the microwave while I mashed the ripe bananas in a medium-sized bowl.  You can usually just use a fork to mash the bananas but I like to use my potato masher for fun.


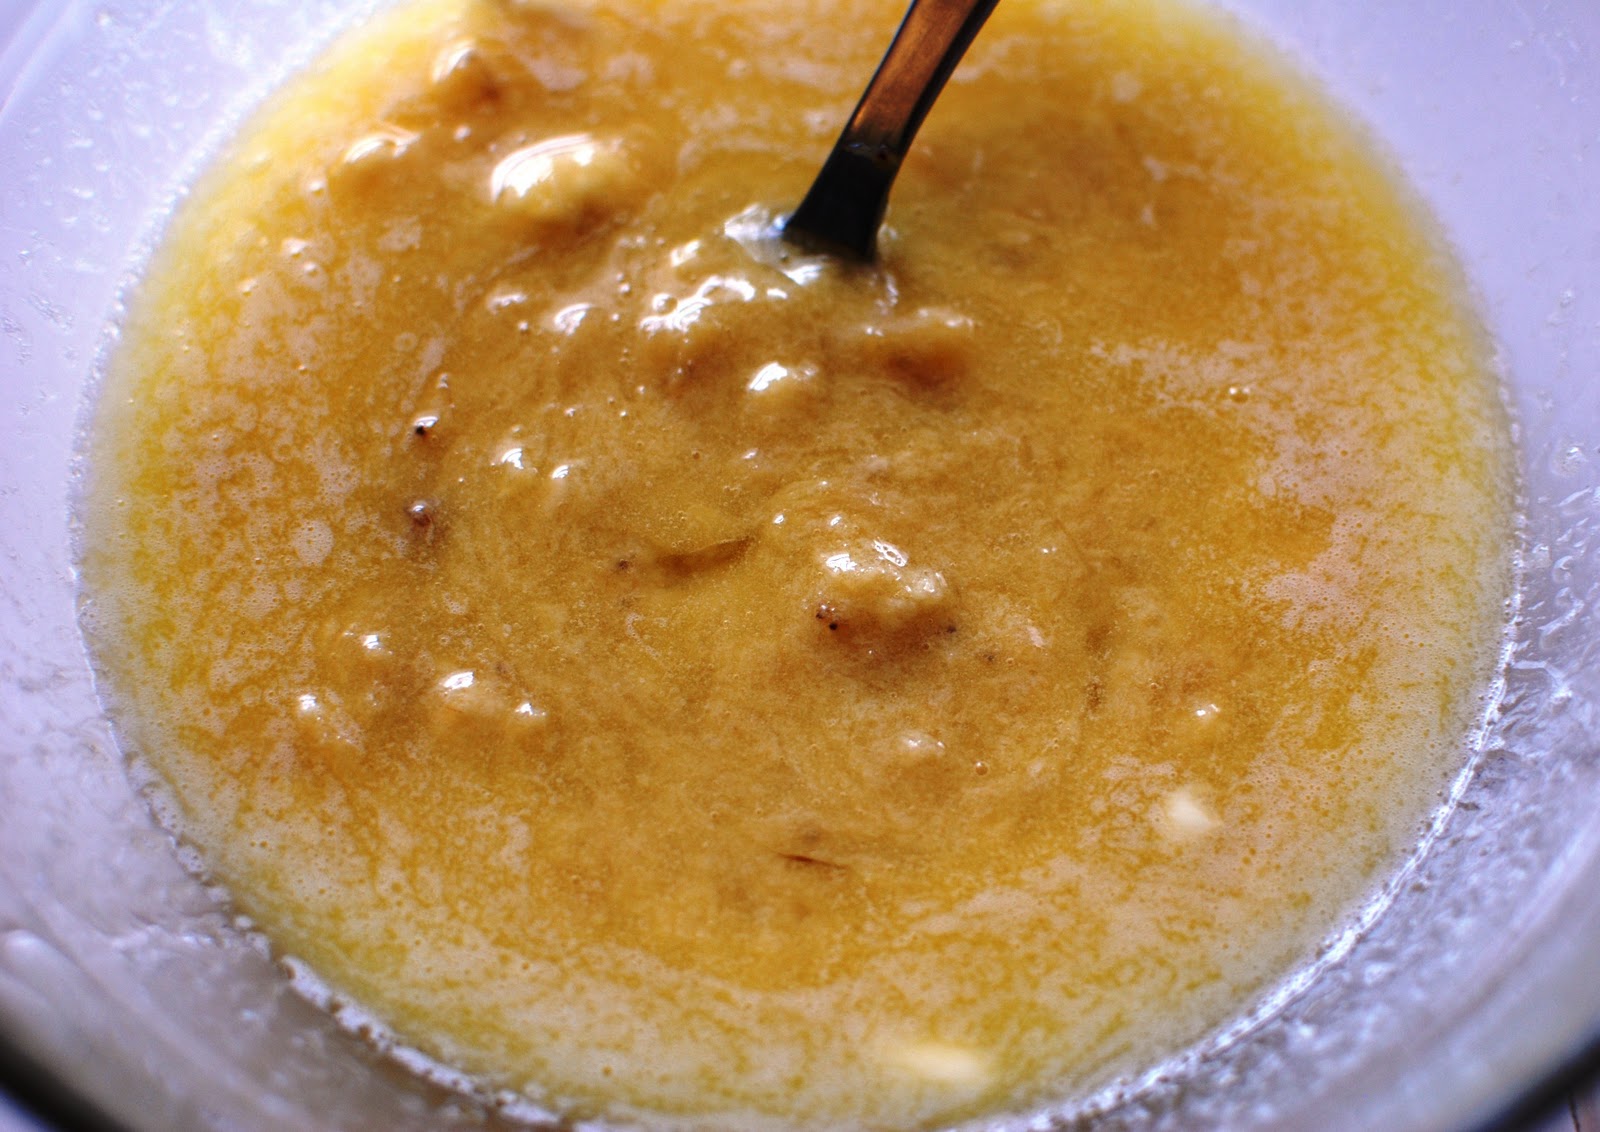
I then added the egg, melted butter (which I cooled slightly to room temperature) and buttermilk in the medium bowl with the mashed banana.


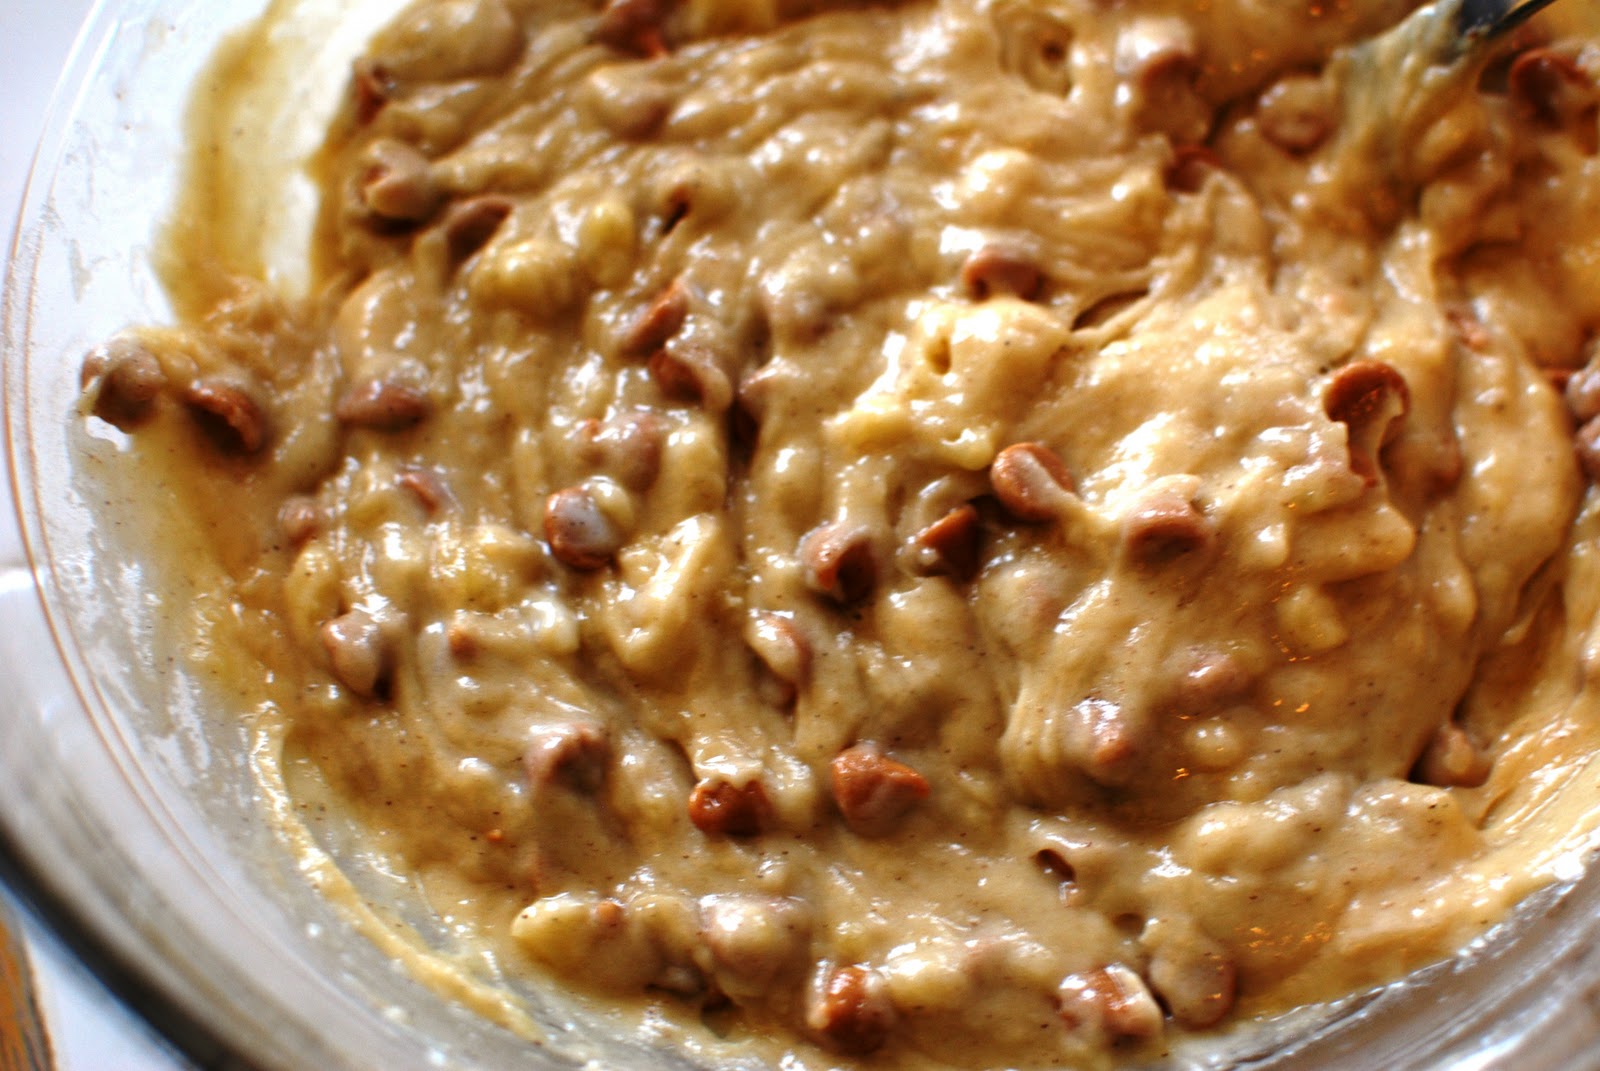
I stirred in the wet ingredients into the large bowl with the dry ingredients.  I also stirred in a very generous 3/4 cup of peanut butter chips into the batter.  My batter seemed a little dense so I added a splash more of buttermilk to the batter and gave it all a stir.


I then poured the batter into the muffin pan.  There was enough batter for twelve large muffins or probably eighteen medium-sized muffins.  I decided to go big and divided the batter amongst the twelve cups.


I baked the muffins in the oven for twenty-five minutes until the tops were golden.  I toothpick-tested the muffins and when they were done, I allowed the muffins to cool in the pan for about twenty minutes.  The cooling time was kind of arbitrary as it was the time needed for me to complete a few other items on my to-do list before I remembered to remove the muffins from the pan.


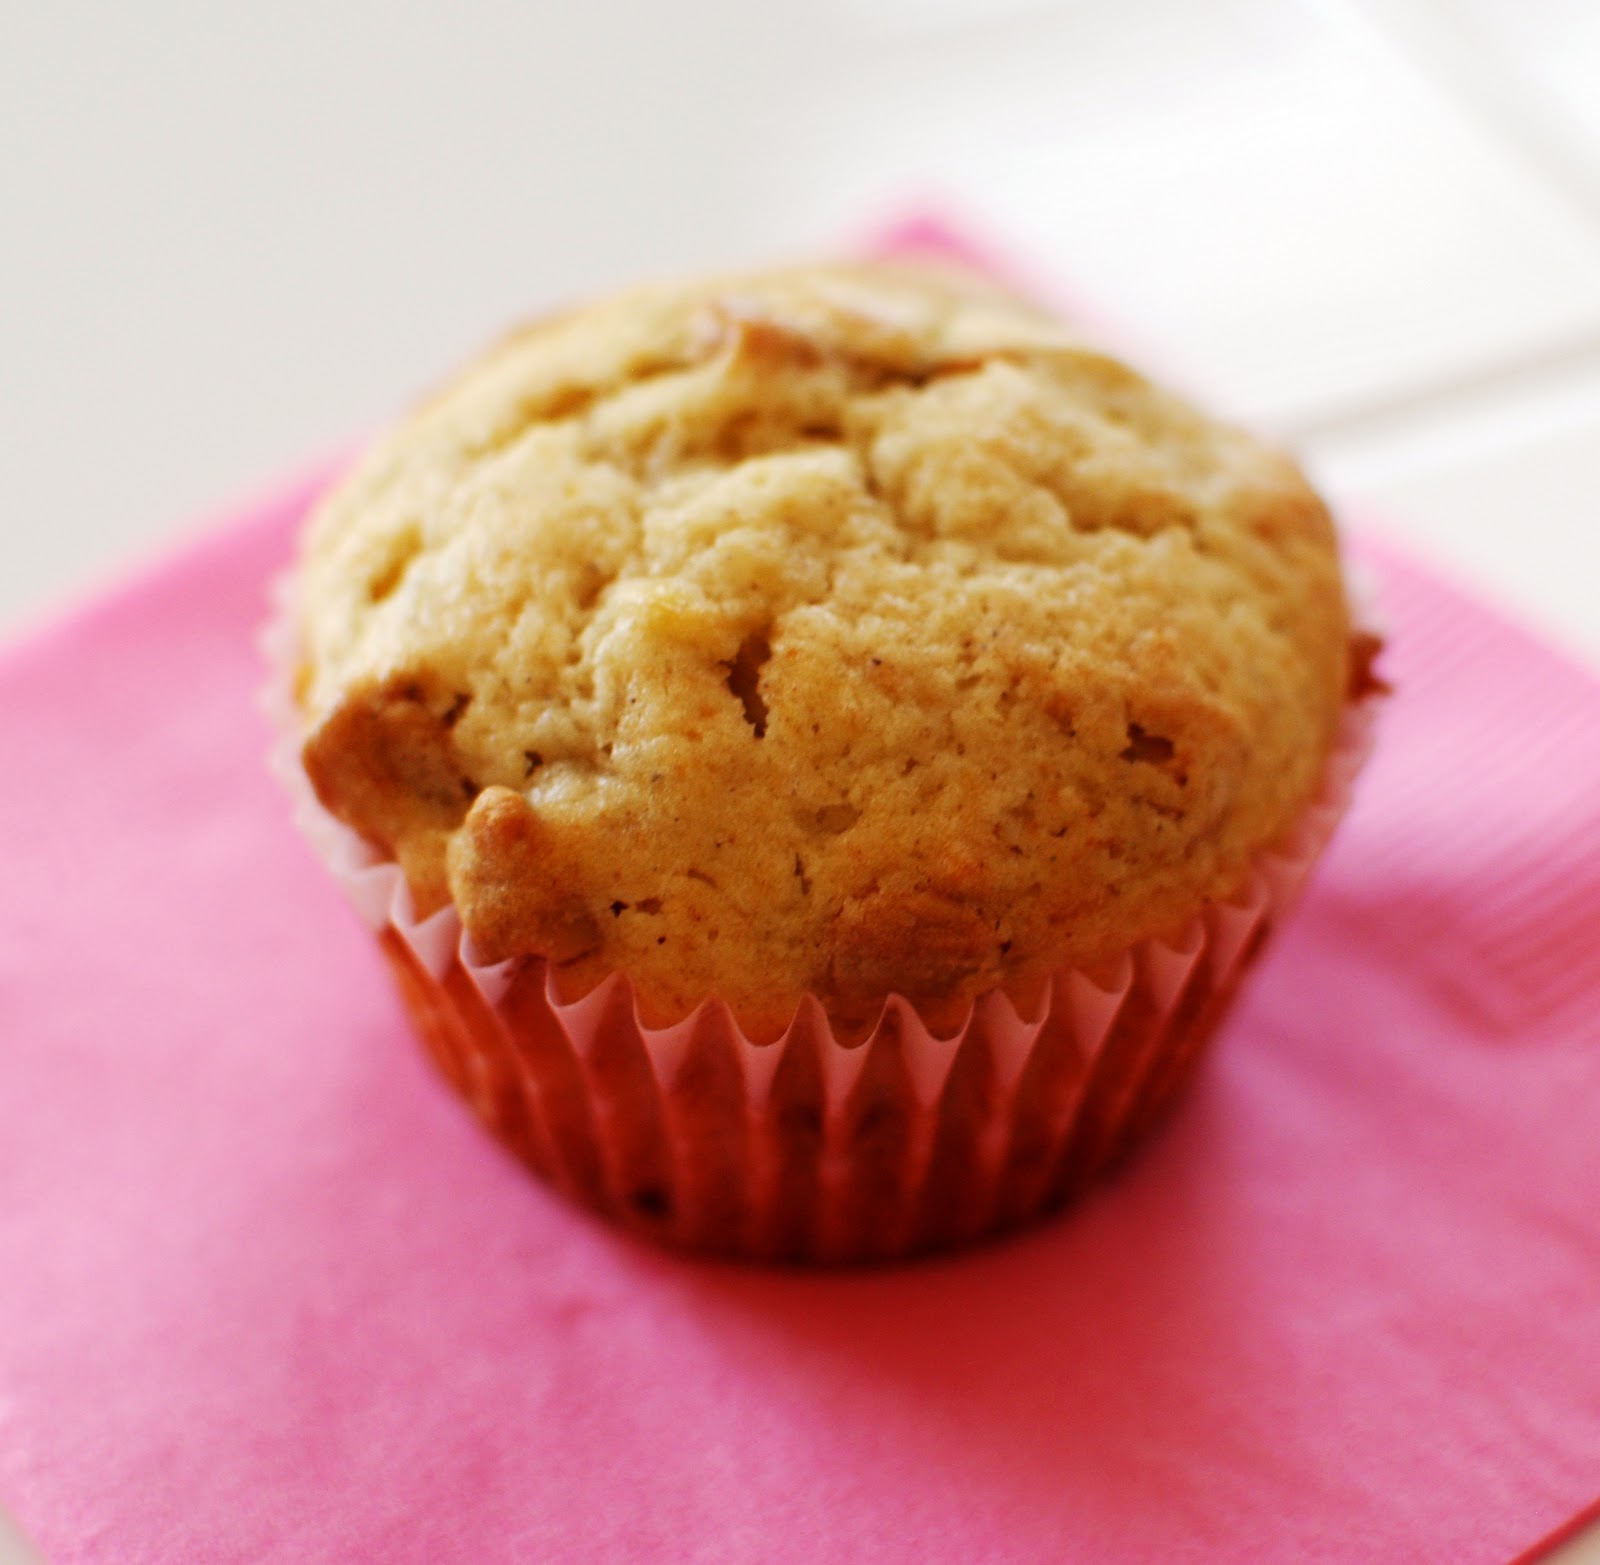
These muffins were seriously awesome.  They were light and fluffy and had a great banana and peanut butter flavor.  I almost wanted to smear some jam on them to create a perfect peanut butter, banana, and jam bite! 


Per usual, I gave some to a co-worker and sent a lot of them in with Bret for his co-worker.  But since there were only twelve of them, I definitely saved a few for us to have for breakfast!

I don't normally eat baked goods for breakfast but tell me, what is your favorite breakfast pastry?

Monday, February 21, 2011

Sweet Potato Gnocchi with Brown Butter and Sage

As I mentioned yesterday, I have been working hard at tackling my 30 by 30 List but I strangely haven't completed any of the cooking challenges!  I decided that it was time to remedy this and decided to work on #27 - Make Gnocchi for the First Time.  Since I've never made gnocchi before, I reached out to my friends via Twitter for suggestions on some good gnocchi recipes.  The response was overwhelming and with so many delicious options, I couldn't decide.  I let Bret do the picking (since he would also be eating the gnocchi too) and we decided to go with this Epicurious recipe (from Bon Appetit - December 2005) for Sweet Potato Gnocchi with Brown Butter and Sage.


As far as recipes go, this recipe was incredibly straightforward and I followed the ingredients exactly with just one substitution - dark brown sugar for golden brown sugar.  I also cooked the gnocchi in the sauce a little differently in the end but only because I had a large Dutch oven.  I recommend printing out the recipe if you're planning on making this at home. 

To start, I lined a large baking sheet with parchment paper.  I rinsed, patted dry and pierced two garnet yams (with a combined weight of two pounds) on a plate and allowed them to microwave at ten minutes total (five minutes per side).  I have to admit that I did this pretty anxiously since I rarely cook in the microwave and I had fears of sweet potatoes exploding everywhere.  Luckily, nothing like that happened.  When the sweet potatoes were done cooking, I sliced them open and allowed them to cool.


I scraped the sweet potato flesh into a medium sized bowl and Bret very nicely mashed the sweet potatoes for me.  The recipe called for transferring three cups of the mashed sweet potato to a large bowl.  My two sweet potatoes made almost exactly three cups so I just used it all.  I added twelve ounces of drained ricotta cheese to the sweet potatoes and mixed it together by hand.


I then added one cup of Parmesan cheese, two packed tablespoons of dark brown sugar, two teaspoons of salt and 1/2 teaspoon of nutmeg to the sweet potato and ricotta mixture and again mixed by hand.  At a 1/2 cup at a time, I added about two and a half cups of all-purpose flour to the wet gnocchi dough until it became soft.  Towards the end, I really started mixing the dough together by hand.


I divided the dough into six equal pieces and Bret and I got to work on making the gnocchi.  Taking one piece of dough at a time, we rolled the dough on a floured board with our palms until it made a 20-inch long rope (about 1 inch in diameter).  Each rope was cut into twenty pieces.  And each piece was rolled over the tine of a fork to get that gnocchi indentation.  All of the gnocchi pieces were put on the parchment lined baking paper to keep from sticking.

Bret's gnocchi are on the left; my gnocchi are on the right.

I hate to admit this but Bret was way better at making gnocchi than I was.  Mine just weren't uniform in size but to be honest, I didn't really care that much as I kept calling it "rustic".  When the gnocchi was done, I set the tray aside at room temperature and put a large pot of water to boil with two tablespoons of salt.  While I waited for the water to boil, I chopped up six tablespoons of sage for the sauce and set it aside.


I put in twenty pieces of gnocchi at a time into the boiling water and allowed it to cook for about five minutes - until they began to float and were tender. 


I did some "taste testing" - you know, just to make sure they wore cooked through - and the gnocchi were little fluffy pillows of heaven.  And maybe I taste tested several times but you just can't be too sure!

When the gnocchi was done, I transferred it to another clean baking sheet (which I had lightly sprayed with cooking spray to keep from sticking) and allowed them to cool.  I did six batches and by the time the last batch was done, the water was definitely cloudy and I would have had to change the water if I was making any more gnocchi!


I then began my sauce.  I melted two sticks of unsalted butter in my Dutch oven.  Once the butter started to brown, I added the chopped sage.  I then turned off the heat and seasoned the sauce with both salt and pepper.  I then added the gnocchi into the Dutch oven.  Since the Dutch oven was so big, I could fit all of the gnocchi in and then I turned the stove back onto a medium-low to get the gnocchi heated through.  In the end, I had a LOT of brown butter and sage sauce and I could definitely cut back on the butter the next time I make this.

Bret and I ate the gnocchi in small shallow bowls with some fresh grated Parmesan cheese sprinkled on top. 


The sweet potato gnocchi were so light and fluffy, which contrasted nicely with the deeply flavorful and decadent brown butter sauce.  This recipe made for a LOT of gnocchi, so this also made for some great leftovers throughout the long weekend.

Have you ever made gnocchi or any kind of pasta before?  If so, please share your favorite recipes!

Friday, January 7, 2011

Marinated Baked Tofu

On Wednesday night, I made my first attempt at baked tofu.  People tend to either love or hate tofu.  I grew up eating tofu a lot in traditional Korean dishes so you can count on me to be one of the people who love tofu.  Bret, on the other hand, is slowly learning to like tofu and I've realized that he only really likes it when it has a lot of flavor and texture.  For this reason, I've mostly pan-fried tofu for stir-fry dishes but I've heard great things about baking tofu and I wanted to give it a try.

First, I purchased a package of extra firm tofu.


I drained the package and carefully sliced it.  I totally need to get a tofu press like this (hint, hint - my birthday is coming up after all) but in the meantime, I have to use what I can.  I laid down a hand towel and on top of that, I put down a clean washcloth.  I carefully placed the tofu slices on half of the washcloth and folded the other half over it.  And then I put a flat cutting board and a heavy iron skillet on top of the washcloth.  Trust me, it looked as crazy as it sounds.  I pressed the water out of the tofu for about half an hour and in the end, it looked like this:


While the tofu was being pressed, I had put together an easy marinade from this Epicurious recipe for Marinated Baked Tofu.  I used all of the ingredients except for the honey or sugar.


Using a small shallow baking pan, I carefully laid the tofu out and poured the marinade over the tofu.  I made sure to brush the marinade on top of the tofu.


I put a plastic wrap on the pan and put it in the fridge for fifteen minutes.  After that, I turned the tofu over and brushed the marinade on the top side again and put back in the fridge for another fifteen minutes.  By the time I took the tofu out of the fridge, most of the marinade has been soaked up by the tofu.


I laid the tofu out on a parchment-lined baking tray and baked the tofu for twenty minutes at 350 degrees.  I flipped the tofu over and baked it for another twenty minutes.  I've got to tell you that the aroma of the marinade made our kitchen smell unbelievable!


When it was done, the tofu had a nice chewy texture and plenty of great flavors!  Bret liked it so much that he asked that I bake tofu the next time we make stir-fry!

Tell me, do you like tofu or do you hate it?

Friday, December 31, 2010

Savory Bread Pudding with Asparagus, Gruyere and Fines Herbes

Happy New Years Eve!  As 2010 slowly winds down, I've decided to spend the last day of the year cooking and baking up a storm for a New Years Eve party tonight.  This should be a low-key evening filled with lots of bubbly, board games and laughter.  Everyone is bringing a dish or two and I decided to make a savory vegetarian bread pudding.  After doing some research, I found this fantastic recipe on Epicurious for Savory Bread Pudding with Asparagus, Gruyere and Fines Herbes from September 2002's Bon Appetit.

To start, I picked up all of the ingredients at Whole Foods on Thursday evening.  I laid out slices of an already-sliced loaf of French bread on two baking trays and stored them in the oven overnight.  This morning, the bread was nicely staled for the savory bread pudding.


This morning, I prepared the other ingredients, which included grating two cups of gruyere cheese and two cups of Swiss cheese.  I also added one cup of previously grated Parmesan cheese to this cheese mixture.


I then roughly chopped up 1/3 cup each of fresh chives, parsley and marjoram.  I added these herbs to the cheese mixture and set this bowl aside.


I then whisked up six large eggs, two cups of whole milk, two teaspoons salt and one teaspoon ground black pepper.  I also set this egg mixture aside.


I then put a pot of water on the stove to boil and generously salted the water.  While the water was heating up to a boil, I washed and cut one pound of asparagus in 1 1/2 inch lengths.  I also cut up the stale bread into 1 1/2 inch pieces.  When the water got to a boil, I placed the asparagus in a fryer basket and placed the basket in the water for about three minutes.


When the asparagus was cooked al dente, I removed the basket from the water and rinsed it quickly under cold water to cool and stop the cooking process.  I then got started on putting together the bread pudding.  I sprayed the inside of my Le Creuset Dutch oven with baking spray and first put down a layer of half of the stale bread.


I then sprinkled the bread with half of the asparagus.


I added half of the cheese mixture.


Finally, I poured half of the egg mixture over the bread, asparagus and cheese mixture.


I repeated this one more time with the remaining bread, asparagus, cheese and egg mixture.  This filled the Dutch oven all the way to the top! 


I let the bread pudding sit for about twenty-five minutes and I pressed the bread pieces down using my fingers.  The bread pudding compressed a few inches below the top of the Dutch oven by the time it was ready for baking.


I preheated the oven to 375 degrees and baked the bread pudding for about forty minutes until it was golden brown.


It is still cooling in my dining room as we speak and I can't wait to serve it tonight!  I can tell you that our place is filled with the unbelievable smell of baked cheese!


What are your plans for tonight to help ring in 2011?