Showing posts with label baking. Show all posts

Tuesday, January 10, 2012

Cardamom Orange Cookies

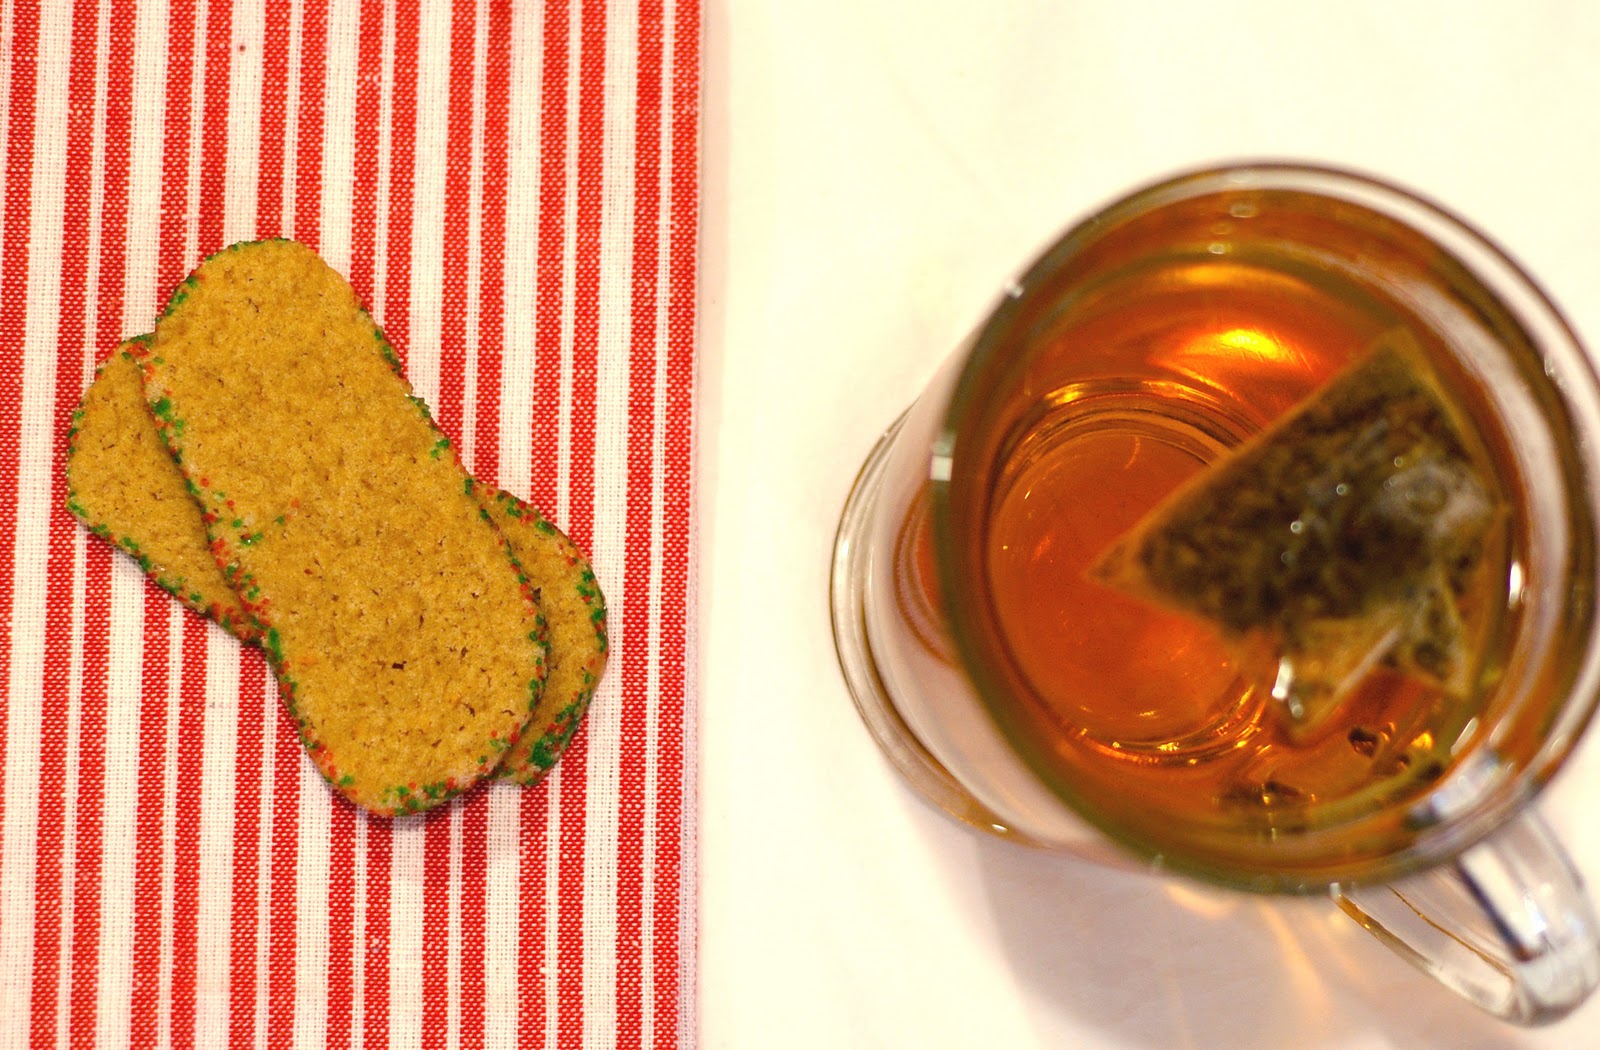
The past few years, I've taken to sending some homemade goodies to friends whom I don't get to see all that often.  This cookie was a surprising mention from a couple of people, so I knew I'd be remiss not to post the recipe for you!  These are perfect with a cup of chai tea :)


Cardamom Orange Cookies
adapted from Gourmet
yeild:  5-6 dozen

These cookies can be done in stages, the dough can be refrigerated for up to 5 days before baking, or even frozen for up to 1 month (just thaw in the refrigerator before baking).

3c white whole wheat flour
1t baking powder
3/4t kosher salt
3t ground cardamom
1/2t ground cinnamon
1/4t ground ginger
zest of 1/2-1 orange
2 sticks of unsalted butter, RT
1c evaporated cane juice (or granulated sugar)
2 lg eggs
1t vanilla extract
sprinkles, if desired

In a large bowl, whisk together dry ingredients (flour through zest).

Cream together butter and sugar until light and fluffy, preferably in a stand mixer.  Add eggs and vanilla, then beat until well combined.  Reduce speed to low and add in flour mixture until just combined.

Divide dough in half and place on separate sheets of plastic wrap.  Using a spatula and the plastic, form into logs (squares or rectangles, whatever is easiest!).  Place on a baking sheet or large plate and refrigerate for an hour or overnight.

Make sure your oven racks are in the upper and lower thirds of the oven so you can bake two sheets of cookies at a time, then preheat the oven to 350deg.

Add sprinkles to a shallow bowl, a little at a time.  Using a serrated knife, cut ~1/4" slices from one log and roll the edges in the sprinkles.  Place, 1" apart on 2 large, ungreased baking sheets.  Wrap the remaining log and place back in the refrigerator.  Bake cookies 10-12min, switching the position in the oven halfway through, until edges are golden and the cookies are set.  Cool on the baking sheets for ~3min, then transfer to cooling racks.  Repeat with the remaining dough.

Store in an airtight container.


What was your favorite holiday treat this year?

Thursday, December 22, 2011

Pumpkin Blondies

First things first, let me say thank you for entering my giveaway, you all make me smile every day.  Random.org chose the winner, Brandi!  Tomato jam and an appearance on the Dr. Oz show??  I don't know what more a girl could ask for ;)

I hope you haven't had too many cookies.  Because I've got two more for you, one a bit more decadent and another a healthy snack.  In the indulgent corner we've got a pumpkin blondie.  I did my best to retain a traditional blondie texture, but pumpkin is tough...  I did manage to retain the slightly crackly top!  The centers of the pan were a bit thinner (more gooey) than the outer edge (a bit cakier), but both parts were delicious in their own right ;)


Pumpkin Blondies

Pumpkin Blondies
adapted from Martha Stewart
Yield:  ~3 dozen

If you don't have an 11x15" pan, I'd suggest halving the recipe and baking it in a 9"square pan for the best results.

2c white whole wheat flour
1t baking soda
3/4t sea salt
1t cinnamon
1/8t freshly grated nutmeg
3/4t ground ginger
dash cloves
dash allspice
2 sticks butter, RT
1 1/4c dark brown sugar (not packed)
1 egg
1t vanilla extract
1c pumpkin butter (I used TJ's)
1c mini cinnamon chips
1/2c chopped toasted, skinned hazelnuts (pecans or walnuts would also be great)

Preheat oven to 350deg.  Spray an 11x15" pan with cooking spray.

In a medium bowl, add flour, baking soda, salt and spices (cinnamon thru allspice).  Stir to combine, then add cinnamon chips and chopped nuts and toss to coat.  Set aside.

Cream together butter and brown sugar in a mixer until light and fluffy.  Add the egg and vanilla, and beat until well combined.  Add pumpkin butter and mix well.  Fold in dry ingredients or mix on low speed.

Pour batter into pan, then spread evenly with a spatula.  Bake for 30-40min, until the center is no longer jiggly and a toothpick comes clean.  Cool completely on a rack before cutting into your desired size blondies!


pumpkin blondies (left), pumpkin oaties (right)


In the healthy corner, we have Pumpkin Oaties, which probably fall closer to snack than cookie due to the absence of added sugar.  Don't let this deter you, they're quite tasty and a nice guilt-free treat ;)


Pumpkin Oaties w/Rosemary Pecans & Cranberries
adapted from Enlightened Cooking
Yield ~2 dozen

I used a Trader Joe's mix of Rosemary Pecans and Cranberries in these cookies, but if you don't have access to a trader joe's, I'd use a mix of dried cranberries, salted pecans, and 1t fresh chopped rosemary.

1/2c mashed very ripe banana
1c pumpkin puree
1/3c mild-flavored oil (I used a mix of extra virgin olive oil and canola)
2t vanilla extract
1 1/4t cinnamon
1/4t fine sea salt (increase if using unsalted nuts)
1/2t baking soda
2c oats
1-2c Rosemary Pecans and Cranberries (see headnote)

Preheat oven to 350deg.

Mix banana, oil, vanilla, cinnamon, salt and baking soda in a medium bowl.  Let sit for 15min, then add remaining ingredients and mix well.

Scoop out ~1T cookie mix and place on a cookie sheet.  Flatten a bit with your fingers or a fork and repeat with remaining mixture.  You don't have to leave too much room in between cookies, they won't spread.

Bake for ~10-12min, then let cool on the sheet.  Store in an airtight container.


I'm submitting the Pumpkin Oaties to Ricki's Wellness Weekend!


Happy Hannukah, Merry Christmas, Happy Kwanzaa and all that jazz :)  Wishing you and yours a wonderful holiday season!!

Thursday, December 8, 2011

Rosemary Olive Oil Cake

If you are looking for a unique gift to bring to a party this holiday season, look no further.  This loaf is what you've been searching for!  Don't be afraid to bring this for your host(ess), they can just pop it in the freezer to enjoy later if there's already too much food!


The olive oil is front and center here, so be sure to use one with good flavor.  And if you're someone who doesn't care for rosemary, feel free to reduce the amount or mix it up.  I bet thyme, sage, or even lavender would create lovely versions.


Don't be scared by the olive oil and rosemary.  There's just enough chocolate here to bring you back to the sweet side of things :)  When served warm, the smallest bits of shaved chocolate melt into the loaf... it's pretty delicious!


Rosemary Olive Oil Cake
adapted from 101 cookbooks
Serves 8-12

I used a 8 1/2" x 4 1/2" loaf pan, but you should feel free to use whatever you like, just adjust the baking time accordingly.

1c AP flour
1/2c white whole wheat flour
1/2c semolina flour
2t baking powder
1/2t kosher salt
3/4c evaporated cane juice (or granulated sugar)
3oz bittersweet chocolate, chopped
3lg eggs
4.5oz olive oil (I used TJ's Spanish Extra Virgin)
1/2c greek yogurt (I used 2%)
1/4c almond milk
1 1/2T freshly chopped rosemary

Preheat oven to 350deg.

Sift together flours, baking powder and salt in a large bowl.  Add sugar and chocolate and mix well.

In a small bowl, whisk eggs.  Add oil, yogurt, milk and rosemary and whisk until ingredients are well combined.  Add this wet mixture to the dry ingredients and gently mix until just combined.  Pour into a loaf pan coated with nonstick cooking spray.

Bake for 55-65min, until the cake is nicely browned and a skewer comes clean.  Cool on a rack and serve, warm or room temperature.  Store any extras wrapped tightly in plastic wrap.


What do you bring along to a party?

Friday, December 2, 2011

Butternut Thyme Bars

I promised another use for my Butternut Coconut Jam, and here it is.  To find the recipe, head over to Beantown Baker for my guest post :)  While you're there, take a peek at some of Jen's awesome creations (cannoli cupcakes anyone?), she's quite the talented baker!


Click here for the recipe!

Friday, November 25, 2011

Apple Crisp

I hope everyone in the states had a wonderful Thanksgiving yesterday!  I'm still feeling quite grateful, for my family, for my friends... for you.  Thank you for reading and for making me smile with every comment :)

Guess what I made for you?  Apple crisp!  Fitting, I think, as apple crisp makes me think of my mom.  Along with blueberry and strawberry-rhubarb pies, it is one of her go-to desserts in the fall.


Apple Crisp w/Rosemary & Honey
Recipe by Shannon

5-6 lg apples
1T arrowroot
1t fresh lemon juice
1/2-1t freshly chopped rosemary
1t vanilla extract
1/4c clover honey

1/3c oat flour (ground oats)
1/3c brown sugar
1/3c rolled oats
1/3c chopped pecans or walnuts
1/4t salt
1/4-1/2t freshly grated nutmeg
2T extra virgin olive oil (or melted butter)

Preheat oven to 350deg.

Add chopped apples to a large bowl.  Add arrowroot, lemon juice, rosemary, vanilla and honey and toss to combine.  Pour into a large casserole (a 9x13" pan or two smaller ones).

In a small bowl, combine flour, sugar, oats, nuts, salt and nutmeg.  Add oil and stir together.  Sprinkle over the apple mixture.  Bake, until the topping is browned and apples bubbling, ~30-45min.


In case you were looking for recipes to use some leftover turkey...
Curried Turkey Salad
Crustless Turkey and Spinach Quiche
Spicy Turkey Soup w/Yogurt, Chickpeas & Mint
Sweet Potato Hash with Turkey & Eggs


What was the best thing you ate yesterday??

Monday, November 21, 2011

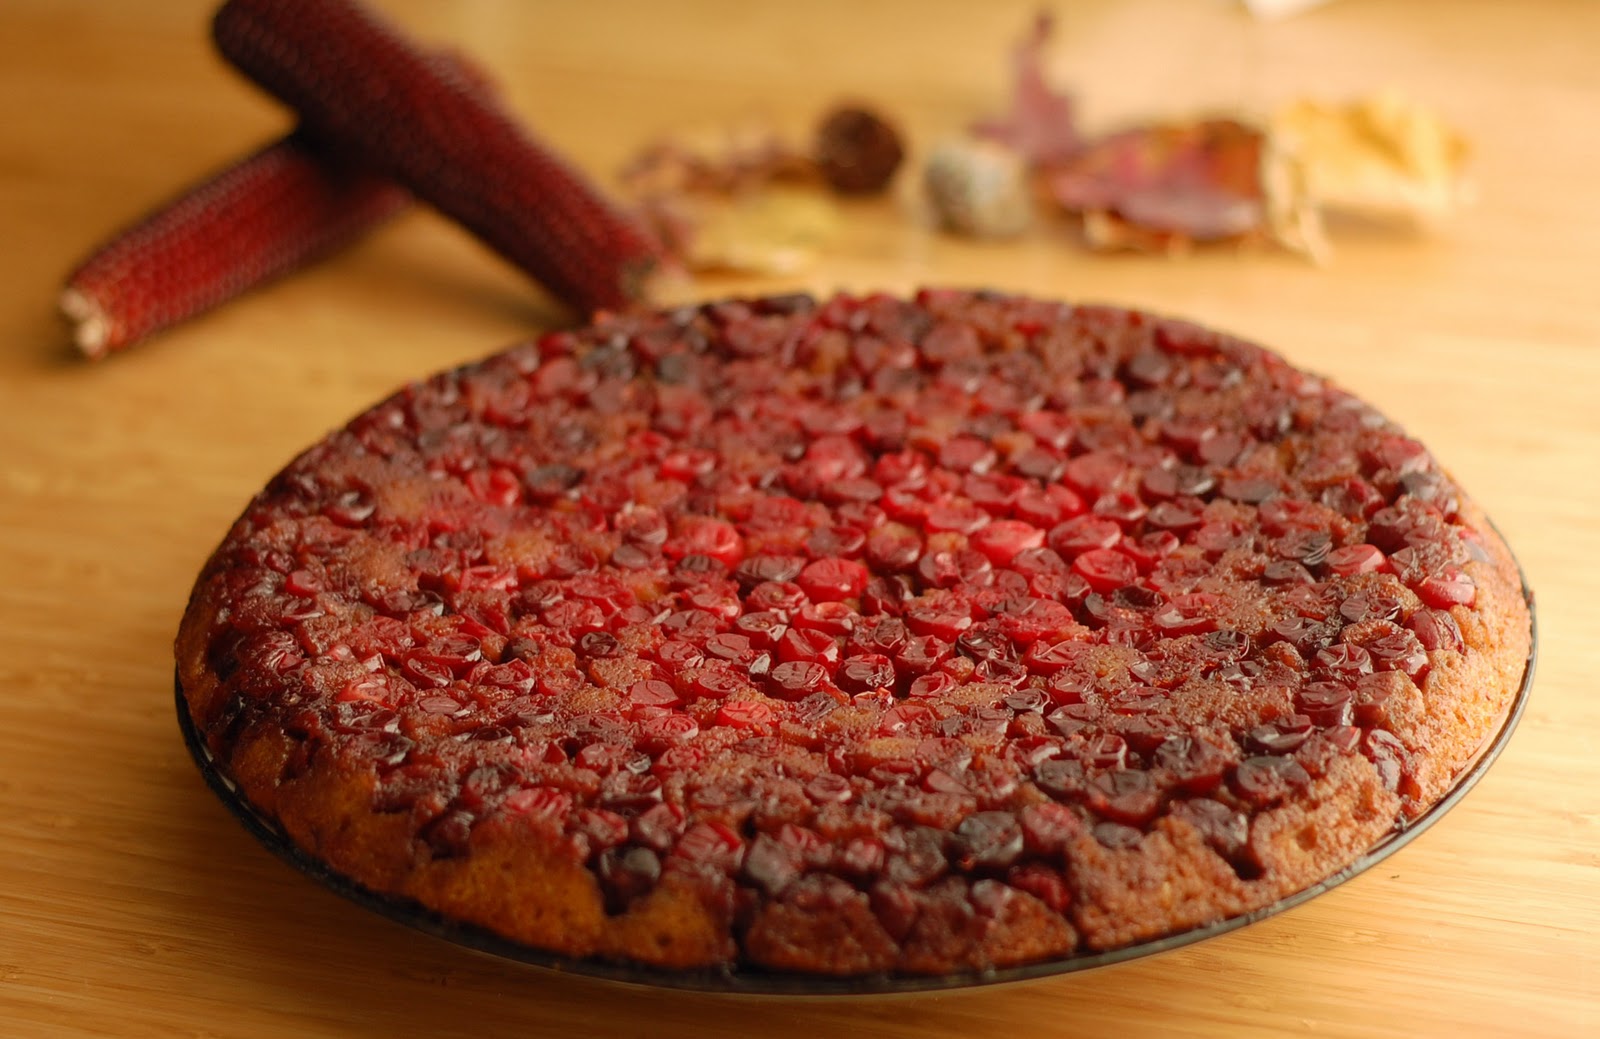
Cranberry Upside Down Cake

Cranberries are traditionally part of Thanksgiving dinner, but I wanted to come up with a slightly different way to highlight these rubies.  Deciding upon a cranberry upside-down cake, I consulted no fewer than 10 recipes for various upside-down cakes, cranberry and otherwise.  None were quite what I was envisioning, so I got to work on my own recipe.  Maple and orange were invited to the party, and a little semolina flour helped add some depth to the thin layer of cake.

Cranberries swimming in a browned-butter maple caramel

It smelled heavenly while cooking (I mean, it's essentially a browned butter caramel that ends up topping the cake), and it was delicious.   This would be a fantastic addition to your Thanksgiving table, and it might very well end up at mine again!

Cake, pre-bake

The best part about this cake?  It had nothing to do with the creative process of developing the recipe, my healthy modifications, or even how it tasted.  It was who I got to share it with.  Good friends, whom I wouldn't have met had it not been for this blog (thankful!).  We divided and conquered the meal, leaving us with time to catch up, share some laughs, relax and imbibe.

Good living isn't only about the food you eat, it's about who you get to eat it with.


Cranberry Upside-Down Cake
Recipe by Shannon
Serves 8-12

A few notes on this cake;  the cake is not too sweet and could totally pass as breakfast.  The maple sugar imparts a subtle maple flavor, but if you can't find it feel free to substitute the regular stuff.  It also could be baked in a smaller skillet if you prefer a thicker layer of cake, increase the baking time a bit.

4T butter
1c maple sugar, divided
1T maple syrup
1/4c water
2 1/2c cranberries
1c white whole wheat flour
1/2c semolina flour  (or AP flour)
1/4-1/2t orange zest (I eye-balled this)
2t baking powder
1/4t salt
2 lg eggs
1c greek yogurt (I use 2%)
6T neutral oil (I used 2T melted coconut oil and 4T canola)

In an oven-proof 12" skillet, melt butter over medium heat until it starts to brown and smell nutty.  Whisk in 1/2c maple sugar, maple syrup and water and remove from the heat.  Let cool.

Preheat oven to 350deg.

Add cranberries to the skillet once cool, making sure to cover the surface of the skillet.  Sift dry ingredients (flours through salt) together into a medium bowl.  In a separate large bowl, whisk together eggs, yogurt, oil and 1/2c maple sugar.  Add dry ingredients and stir until just combined.  Dollup the batter onto the cranberries and spread into an even layer.   Bake for 35-45min, until a toothpick inserted into the center comes clean.

Cool the cake for 15min.  Place a plate/platter on top of the cake, then flip the skillet over and remove the skillet from on top of the cake.  Serve warm or RT.

Suggested accompaniments:  maple greek yogurt, maple whipped cream or ice cream

**Edited to add:  If you don't have a large enough skillet, you can also prepare this in a springform pan or cake pan.  Simply prepare the caramel sauce in a saucepan, and then pour into your desired pan lined with parchment paper (sprayed with nonstick spray on both sides).  Add cranberries (you might not need as much) and then proceed as above.  Adjust the cooking time according to the size of your pan and thickness of the batter.


As part of the Foodbuzz Featured Publisher program, I have been entered for the chance to win a trip to Greece courtesy of FAGE.  You too can enter to win one of three trips to Greece by entering the FAGE Plain Extraordinary Greek Getaway here:  http://www.fageusa.com/community/fage-greek-getaway.

Thursday, November 17, 2011

Persimmon Apple Spice Bread

Fuyu persimmons

In late fall I look towards the appearance of persimmons in the market.  No, they're not grown locally, but they're in season somewhere, and that's ok in my book.


Trying your first persimmon shouldn't be taken lightly.  One variety (hachiya) is quite astringent when unripe, so you want to be a little careful!  The short, squat variety (fuyu) can be eaten at any time like an apple, but the acorn shaped ones must be ripe (very soft, almost mushy and bright orange) before using the flesh. 

Wanting to embrace the season, I added in another fall favorite, apples!  Together with some Chinese Five Spice I had picked up awhile back,  you've got a deliciously warming quickbread that's perfect for breakfast, a snack, or an addition to brunch.


Persimmon Apple Spice Bread
adapted from Food Blogga
Yield:  5 small loaves

You could certainly bake this in 2 normal loaf pans or even muffin tins, just adjust the baking time accordingly.

1 3/4c white whole wheat flour
3/4c AP flour
1 1/2t baking soda
3/4t baking powder
1t salt
1t Chinese Five Spice
1/2t cinnamon
1/2t nutmeg
1 1/4c evaporated cane juice (or granulated sugar)

3 lg eggs
1/2c oil or melted butter (I used a mix of melted coconut oil and extra virgin olive oil)
1/4c unsweetened applesauce
1 1/2c pureed persimmon pulp (traditionally made from hachiyas, but fuyus will also work)
3/4c chopped apple
3/4c toasted walnuts

Preheat oven to 350deg.

Add the dry ingredients (flour through sugar) to a medium bowl and whisk to combine.  Add toasted walnuts and toss to combine.

In a large bowl, whisk the eggs.  Add oil/butter, applesauce and persimmon pulp and whisk to combine.  Add dry ingredients to the wet and mix until just combined.  Fold in the chopped apples.  Divide into mini loaf pans sprayed with nonstick spray.  Bake for 25-35min, until a toothpick inserted in the center of the loaf comes clean.  Cool on a rack.

Serve warm or room temp, apple butter optional!  Wrap leftovers tightly in plastic wrap to store for a few days, or freeze to enjoy at a later date.


If you're looking for different persimmon recipes, try  persimmon pudding, fall harvest muffins, persimmon cookies and persimmon date bread!

If you've tried persimmons, how would you describe the taste??  I was struggling with this, but I'd say sweet, with hints of honey or mango.  I'd like to know your thoughts!

Friday, November 4, 2011

Gingersnap Apple Pie w/Bacon Crisp


You still have some apples left, right?

I hope so, because it's time to make apple pie!!

I'm sure it's no surprise by now that I like to mix things up a bit.  Well, if you're like me, then you'll like this twist!  That is if you like bacon...  and who doesn't love bacon?


Ok, maybe vegetarians.  Although there are vegetarians out there who make exceptions for bacon.   For those of you who don't fall in that camp, you can leave it out.  The gingersnap crust is still delicious, and I've never met someone who doesn't like a good crumb topping.


Gingersnap Apple Pie w/Bacon Crisp
adapted from Tasting Table

For the crust:
1/4c pecan halves
1c Trader Joe's Ginger Cats crumbs (or other gingersnap cookie)
3/4c white whole wheat flour
pinch salt
1/4c oil (canola, walnut, or other mild-flavored oil)
3T maple syrup

For the filling:
5 medium apples (I used a mix of some from the orchard)
juice of 1 lemon
1t cinnamon
1/8t ground cloves
1/4-1/2t freshly ground nutmeg
1/4c evaporated cane juice (or granulated sugar)
2T white whole wheat flour

For the topping:
6 pieces applewood smoked bacon, cooked (baked or fried), drained and crumbled/chopped
1/3c rolled oats
1/3c white whole wheat flour
1/2c brown sugar
2T ground flaxseed
2T cold butter, cut into small cubes
2-3T greek yogurt

Preheat the oven to 375deg.

To make the crust, add pecans, cookie crumbs, flour and salt into a food processor.  Pulse until pecans are ground and the mixture begins to resemble a coarse meal.  In a small bowl (or mixing cup), whisk together oil and maple syrup.  Add wet ingredients to the dry ingredients and stir well (I used a fork).  Add crust mixture to the pie plate and press into the bottom and sides of the dish.

Bake crust for 10min, then remove and set on cooling rack.

For the filling, peel and thinly slice apples and place in a large bowl.  Add lemon juice to the apples and toss to coat.  In a small bowl, combine the dry ingredients (flour, sugar and spices) and mix well.  Add the spiced flour to the apples and fold until the apples are just coated.  Spread apples into the cooled pie crust.

To assemble the topping, add oats, flour, sugar, flaxseed and bacon to a bowl.  Add yogurt and butter, then cut in with knives or rub between your fingers until you get pea-sized crumbs.  Sprinkle the topping over the apples and bake the pie ~45min, until the top is browned and apples are tender.  Serve warm or at room temperature.


Are you a stickler for tradition or do you like to mix things up a bit?   

Now, if only I could decide whether I like this or my Apple Pie w/Rosemary Crust & Gruyere Crumble better...

Tuesday, November 1, 2011

Pop Tarts

You never know where and when inspiration will strike.  Often it's when you least expect it.  I was eating lunch with some folks at work when the conversation somehow turned to pop tarts.  They were never my thing as a kid, and given my penchant for healthier cooking these days, I didn't give them a second thought.


That is, until I thought about my tomato jam.  I know, I know, I've already posted about it several times, but this jam uses some of summer's finest produce and a totally intriguing way.  Challenging myself to use it different ways has been part of the fun.


While I don't have a go-to healthier pie crust recipe yet, I used a cue from Winnie and used greek yogurt for some of the butter in her dough.  This seemed like a great idea and definitely helped create a healthier treat suitable for breakfast or a snack!

Enjoying food so good it makes you smile; that's good living at its finest.


Sweet & Savory Pop Tarts
crust adapted from Healthy Green Kitchen

You can certainly use whatever jam you have to fill these, and if you want to make them sweet, swap out the rosemary for 1T sugar.

2c white whole wheat flour
1/2c finely grated gruyere
1/2t sea salt
1t chopped fresh rosemary (mine was heaping)
1 stick butter, cubed
1c greek yogurt (such as Fage Total 2%)
2-4T almond milk
1 egg
tomato jam

Add flour to a large bowl along with gryere, salt and rosemary, then stir to combine.  Add butter and yogurt, and cut in using a pastry blender or a couple knives.  The dough should resemble some large pebbles at this point.  Stir in milk, 1T at a time, until the dough just comes together.  Divide dough in half, flatten into a loose rectangle, wrap in saran wrap and then refrigerate for several hours or overnight (I only waited an hour and it was fine).

Take your dough out of the fridge and let it soften a bit for ~15min.  Place one half on a lightly floured surface and roll it into a rectangle at least 9"x12" in size (I used a ruler).  Repeat with the second half of dough.  Cut each 9"x12" rectangle into nine smaller 3"x4" rectangles.  Set the trimmings aside.

Beat the egg in a small bowl to use as an egg wash.  Brush over the surface of the first dough (9 rectangles), this will be the inside of the pop tart and help hold the top on.  Add a heaping tablespoon to the center of each rectangle (Deb advises leaving at least 1/2" perimeter of bare dough around the filling).  Place a small rectangle from the second dough (not egg washed) on top of the filling.  Press around the filling with your fingertips to seal the dough on all sides, and then press with the tines of a fork.  Prick the top of each tart multiple times with a fork (for the steam to escape).  Repeat with remaining rectangles.

Carefully add the tarts to a parchment-lined cookie sheet.  Top with grated cheese or egg wash and coarse sea salt.

Here's where I goofed.  I accidentally skipped the 30min refrigeration and found they baked better at 400deg for 18-20min, until lightly golden brown.    However, original instructions called for refrigerating them for 30min while you preheat the oven to 350deg.  Then they're baked for 20-25min.  I'd say you could do either option.

Let the pop tarts cool on the cookie sheet on a cooling rack.

These are best not too long after coming out of the oven (just don't burn your tongue!), although they will be ok for a day or two at RT.  Pop the tarts (haha) in the toaster to reheat them a bit before enjoying!


As part of the Foodbuzz Featured Publisher program, I have been entered for the chance to win a trip to Greece courtesy of FAGE.  You too can enter to win one of three trips to Greece by entering the FAGE Plain Extraordinary Greek Getaway here:  http://www.fageusa.com/community/fage-greek-getaway.

Thursday, October 13, 2011

Chile Chocolate Tart

I recently received a random package from Marx Foods.  The package itself wasn't unexpected, but the contents surely was!


Dried chilies, dried black trumpet mushrooms, dried marrow beans and coconut sugar filled my box...  two of which I needed to use to create a recipe for the Random Recipe Challenge!  My first thoughts involved mushrooms and beans, but then I recalled a treat I've made at least four times in the past month and still haven't shared with you ;)


I morphed the chocolate avocado pudding I've been making into this mexican chocolate tart, incorporating both types of dried chilies as well as coconut sugar.  I'd highly recommend giving this chocolate pudding a try if you haven't already, with or without the crust, and with or without the chilies!


Chile Chocolate Tart

For a completely no-bake version, you could make a nut & date-based crust!  The choice is yours on how spicy to make this-  1 or 2 New Mexico chilies add more flavor than heat, while 1 Japones chile will kick things up a bit ;)

For the crust:
1/4c Trader Joe's ginger cats crumbs (or any other gingersnaps)
1/2c pecan halves
3/4c rolled oats
1/2c white whole wheat flour
pinch salt
1/4c canola oil
3T maple syrup

For the filling:
2 ripe avocadoes
1/2c nut butter
1/4c coconut sugar
1/4c agave nectar (or more coconut sugar)
4-6T cocoa powder (depends on how intense you want it, I used 5)
1/8t sea salt
2T vanilla extract (or the seeds from one vanilla bean)
1-2 dried chilies (I used 1 New Mexico chile & 1 Japones chile)
1t ground cinnamon
1/4c strong brewed coffee or water

Preheat oven to 375deg.

To make the crust add dry ingredients to a food processor and pulse until the nuts and oats are pulverized, the mixture resembling coarse sand.  In a medium bowl, whisk together the oil and maple syrup.  Add dry ingredients to the bowl and mix until well combined.  Transfer crust to a tart pan or pie plate and press into dish.  Bake for 20min, then set aside to cool.

Grind the chilies in a spice/coffee grinder and pick out any large pieces left behind, you want as close to a powder consistency as you can get.  Add all ingredients for the crust to a blender or food processor and blend until well combined.  Add a little extra water if you need to thin it out any more, you're looking for a thick, but spreadable consistency.  Add filling to the cooled crust and   Refrigerate 1-2hrs or overnight before serving (this will help it firm up and make it easier to cut).


Disclaimer:  The coconut sugar and dried chilies used in the creation of this recipe were free samples provided by Marx Foods.

I'm also submitting this to Ricki's Wellness Weekend and Go Ahead Honey's October Event!

Tuesday, October 11, 2011

Upside-Down One-Bowl Apple Cake

Three years ago, my sister made a phenomenal upside-down apple cake for Thanksgiving.  My entire family fell in love with it and I insisted that she give me the recipe. Since then, I have made this cake every year and usually after our fall apple picking.  This past Saturday, despite the glorious summer-like weather, Bret and I went wine tasting and apple picking with our friends, Adam and Sarah, at Nashoba Valley Winery. 


We came home with lots of apples and like clockwork, I got to work on the Upside-Down One-Bowl Apple Cake on Sunday morning.


First, I gathered my ingredients:


1/3 cup butter, cut up
6 very small red cooking apples (1 1/4 to 1 1/2 pound total) (I used 6 small Cortland apples)
1/3 cup packed brown sugar (I used dark brown sugar)
1 1/3 cups all-purpose flour
2/3 cup granulated sugar
2 teaspoons baking powder
1 teaspoon ground ginger
1 teaspoon ground cinnamon
2/3 cup milk (I used skim milk)
1/4 cup butter, softened
1 egg
1 teaspoon vanilla (I omitted this ingredient since I was all out!)

I preheated the oven to 350 degrees.  Placed the 1/3 cup butter in a rectangular baking pan. 


I put the butter in the oven for about three minutes, until the butter was melted.  While the butter was melting, I halved, de-stemmed and cored all of the apples.


I took the pan out of the even and sprinkled the brown sugar over the melted butter.  I stirred to combine it.  I then arranged nine of the apple halves, cut side down, in the butter mixture. 


I let the apples bake for about fifteen minutes until the butter mixture was bubbling.

While the apples were baking, I peeled and finely chopped the remaining three apple halves.  The original recipe calls for shredding the apples but over the years, I've found that chopping the apples works just fine and is a lot easier.

In a large bowl, I mixed all of the remaining dry ingredients together.  I then added the chopped apple, milk, softened butter and egg to the bowl.  I beat the batter with a hand mixer for about a minute until the ingredients were combined.


I spooned the batter into the pan and spread it evenly over the apple halves.  Some of the apple halves were still exposed and some of the butter mixture came to the surface.


I baked the cake for thirty-five minutes and toothpick-tested the cake.  I let the cake cool for about five minutes in the pan. 


Using a sharp knife, I loosened the cake edges from the sides of the baking pan.  I inverted the cake onto a large cutting board.  I let the cake cool down for over an hour while Bret and I went for a Sunday morning hike at Harold Parker State Forest.  When we came back, the cake was definitely cool!


I gently wrapped the cake with plastic wrap and brought it along for a day on Meghan and Eric's boat.  The cake was super moist and not too sweet.  While this cake is great served warm with ice cream, we all definitely enjoyed it on an unusually warm October day out on the water.

I'm looking forward to baking up some more delicious treats with our fresh-picked apples!  Tell me, what are some of your favorite fall apple dishes?

Monday, September 12, 2011

Goat Cheese Ice Cream w/Roasted Cherries

So I decided to mix things up.  Instead of my traditional coconut milk-based ice creams, I went rogue.  Hello egg yolks!   Don't worry (?), I didn't use cream.  I restrained myself.  Ha.


The almost too-sweet cherries were a nice complement to the tang of the goat cheese ice cream I am now in love with.  If you're not as much of a fan of goat cheese as I am, try using 4oz, or perhaps substitute cream cheese instead.


Goat Cheese Ice Cream
adapted from Kitchen Confit & Ezra Pound Cake

Confession:  I must have heated my custard too much, as it curdled.  I continued, didn't bother straining the mixture and simply threw it in the blender before chilling and churning.  I'm not sure how this affected the final texture, as I haven't done it properly yet, but worked well enough for me!

For the cherries:
2c pitted fresh cherries (or frozen, unthawed)
1/2c sugar  (I'd use even less next time)
2t cornstarch

For the ice cream:
1 1/2c milk (I used Lactaid Fat Free Smooth & Creamy...  I had a coupon and it was on sale!)
2/3c evaporated cane juice (or granulated sugar)
8oz goat cheese, RT
6 lg egg yolks

To prepare the cherries, preheat the oven to 400deg.  Toss cherries, sugar and cornstarch in a 9"sq baking dish (or anything that's large enough to hold the cherries).  Bake for 30-45 min, stirring occasionally, until the juice is thick and bubbly.  Cool to RT, then store in the fridge until making the ice cream.  Can be done a few days ahead.

For the ice cream, warm the milk and sugar in a medium saucepan so the sugar dissolves.

Meanwhile, crumble goat cheese into a large bowl and set a mesh strainer on top.

In a separate bowl, whisk together egg yolks.  Temper the egg yolks by pouring warm milk/sugar into the egg yolks, a little at a time, whisking constantly.  Once the milk has been added, pour the entire mixture back into the saucepan.

Stir the milk/egg yolk mixture with a spatula continuously over medium-low heat until the mixture thickens.  You'll be able to coat the spatula with the custard and draw a line that stays once it's thick enough.  Pour custard through the strainer and stir into the goat cheese until it's melted (or just use your blender like I did!).  Cool to RT (use an ice bath if you need it to happen more quickly), then refrigerate until thoroughly chilled, a few hours or overnight is best.

Churn ice cream according to manufacturer's directions.  Once churned, pour a layer of cherries into whatever container you use for ice cream.  Top with a layer of goat cheese ice cream, and continue alternating layers until the container is full or you're out of the ice cream and cherries.  Don't mix, as the ice cream will turn pink!  Cover with a layer of saran wrap or parchment paper and freeze until firm (a few hours).


If you really want to take it up a notch, serve a scoop with a pickled cherry brownie ;)


Pickled Cherry Brownies
adapted from Janetha's go-to brownie recipe

3 squares of Bakers unsweetened chocolate
1/2c butter (1 stick)
1 1/2c evaporated cane juice
2 eggs
1t vanilla extract
3/4c white whole wheat flour
1c pickled cherries, halved

Follow the instructions here (you can use the stove instead of the microwave), using a 9"sq pan and baking for 30-40min.  Mine were done perfectly at 35 min, a toothpick came clean but they were still fudgy when cooled!

Monday, August 29, 2011

Strawberry-Raspberry Shortbread Cookies

As I mentioned previously, I flagged a lot of great recipes in the latest issue of Bon Appetit.  My baked flounder with tomatoes and cilantro was a big hit, so I decided to try my hand at another recipe from the magazine - Shortbread Cookies!

I followed the recipe pretty closely but made a few small changes of my own.


First, I pre-heated the oven to 400 degrees while I gathered the ingredients:


  • 2 cups whole wheat flour

  • 1/2 cup sugar

  • 1 1/2 teaspoons baking powder

  • 10 1/2 tablesppons unsalted butter, room temperature

  • 1 large egg, room temperature

  • 1 large egg yolk, room temperature

  • 3 tablespoons (about) strawberry-raspberry jam

I whisked together the flour, sugar and baking powder in a large bowl.


I cut in the butter until the flour mixture was coarse.


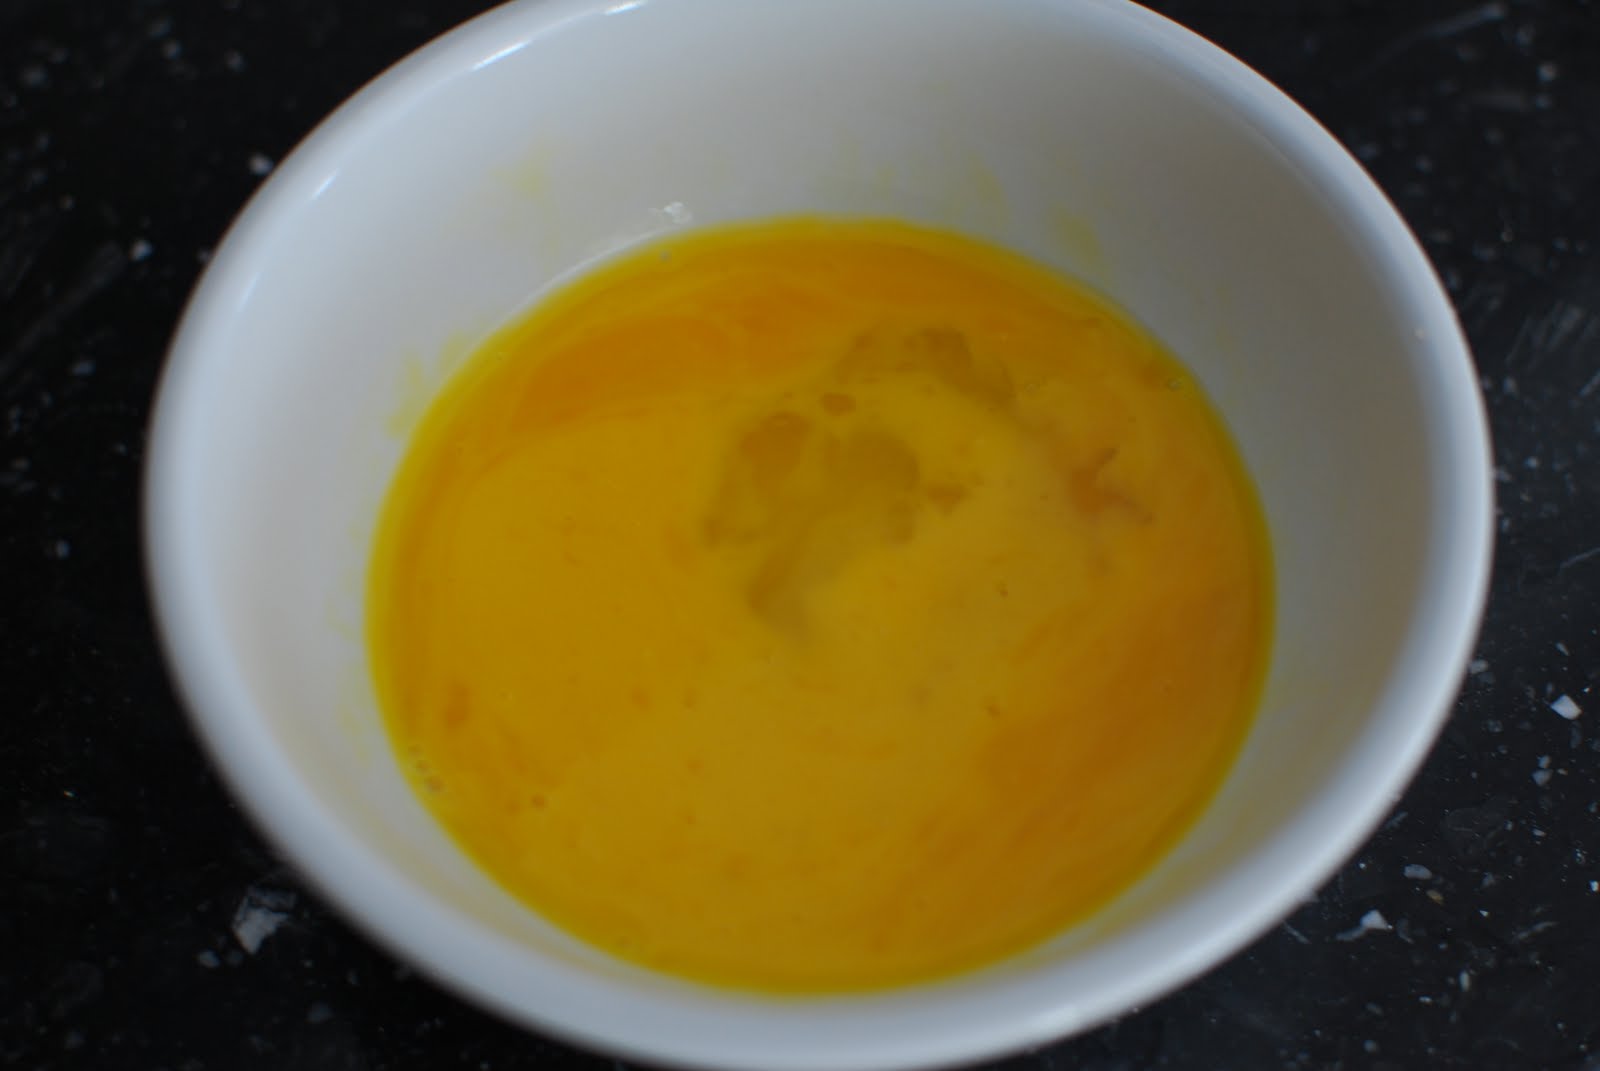
I whisked the egg and egg yolk in a separate bowl.


I poured the egg mixture into the coarse flour mixture and stirred until a crumbly shortbread cookie dough began to form.


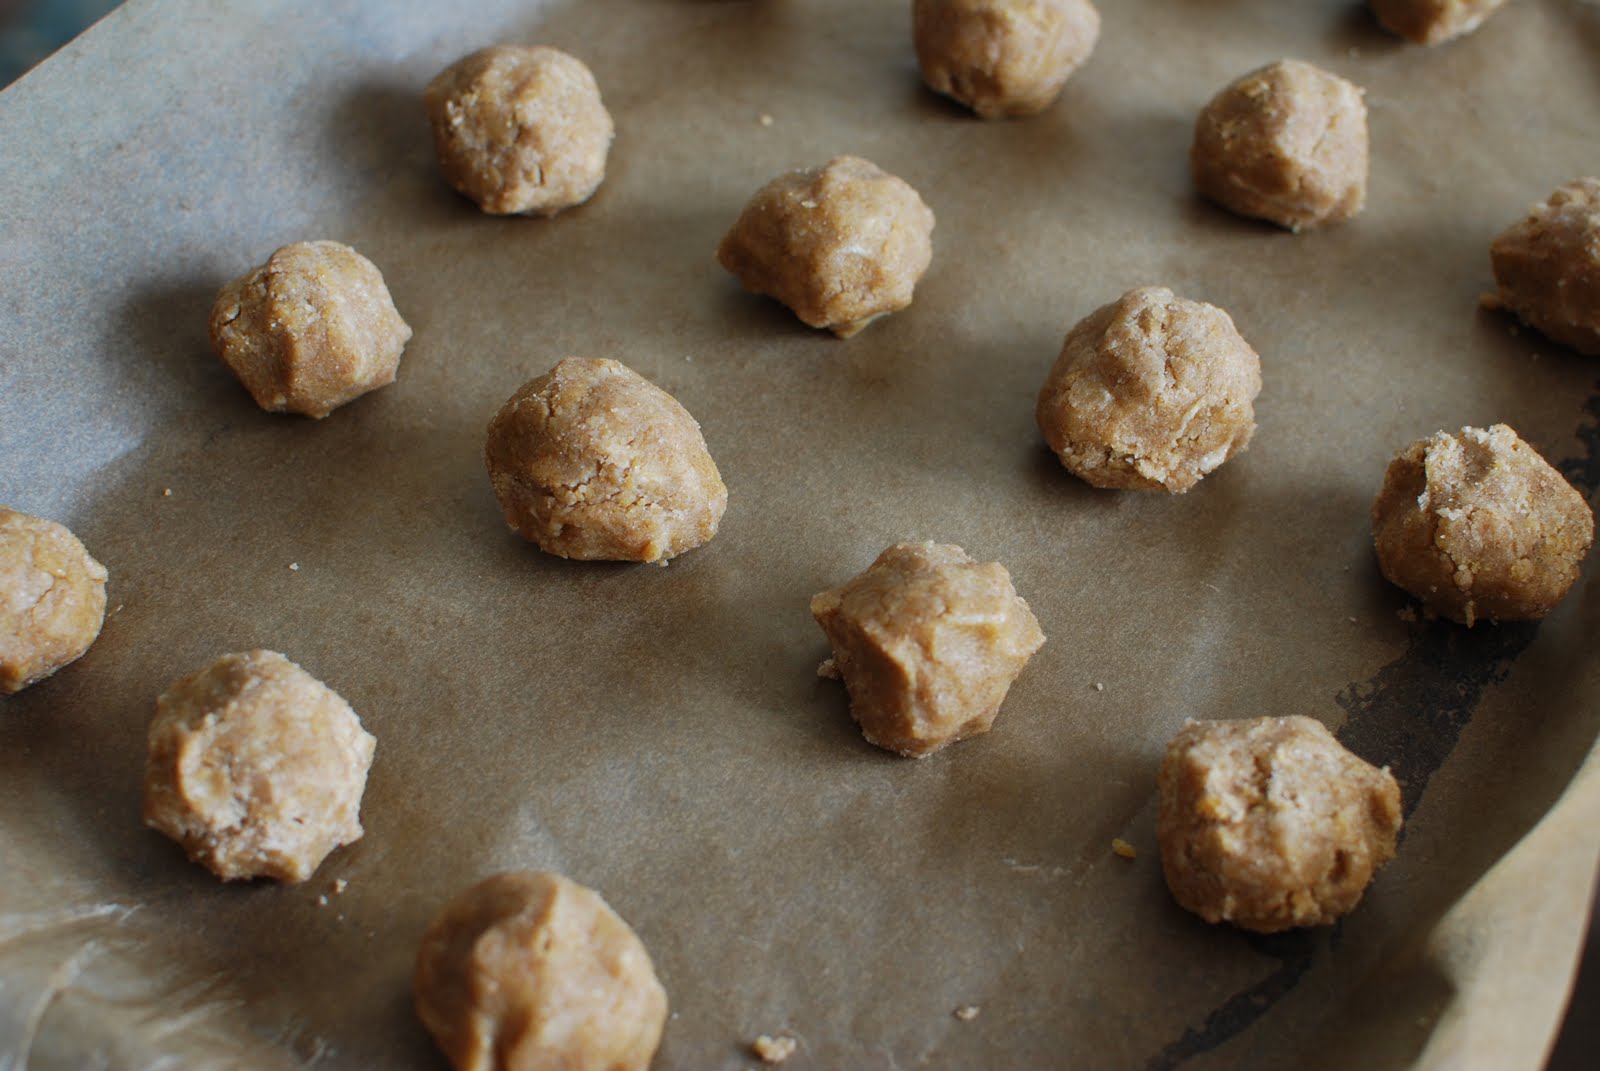
I rolled two tablespoons of dough into a ball and lined the dough balls on a parchment-lined baking sheet.  I left about two inches of space in between the dough balls.


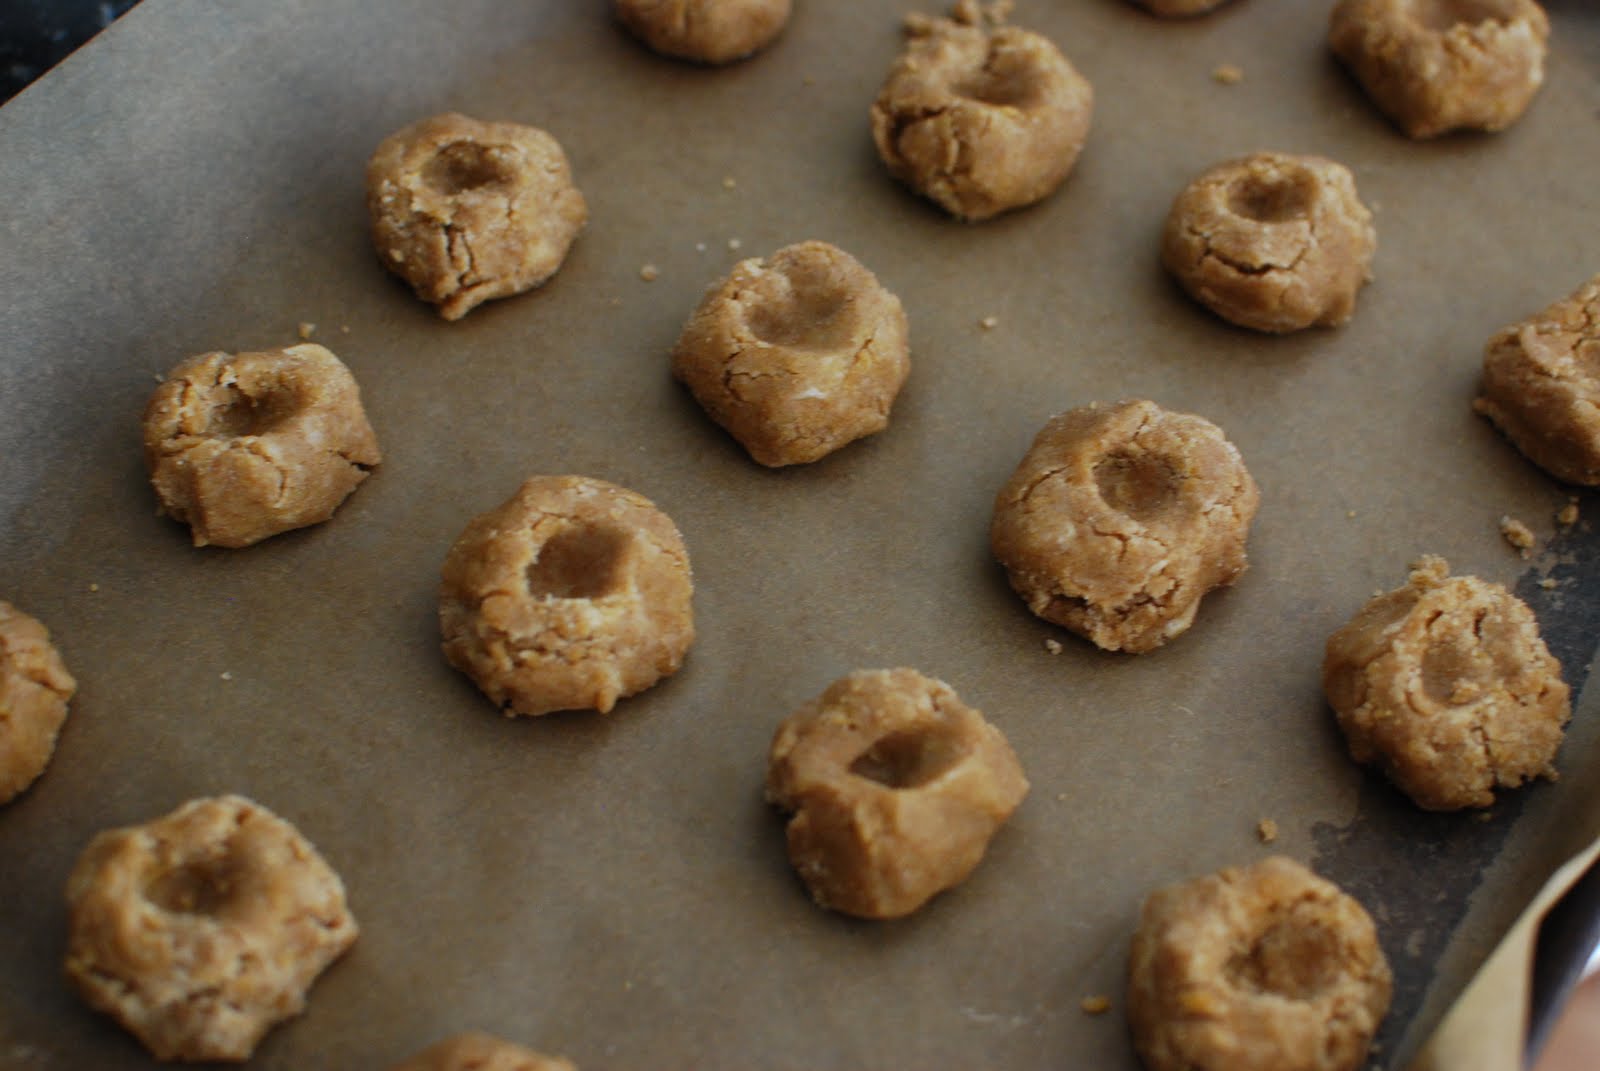
I used my index finger to make small indentations in the dough.


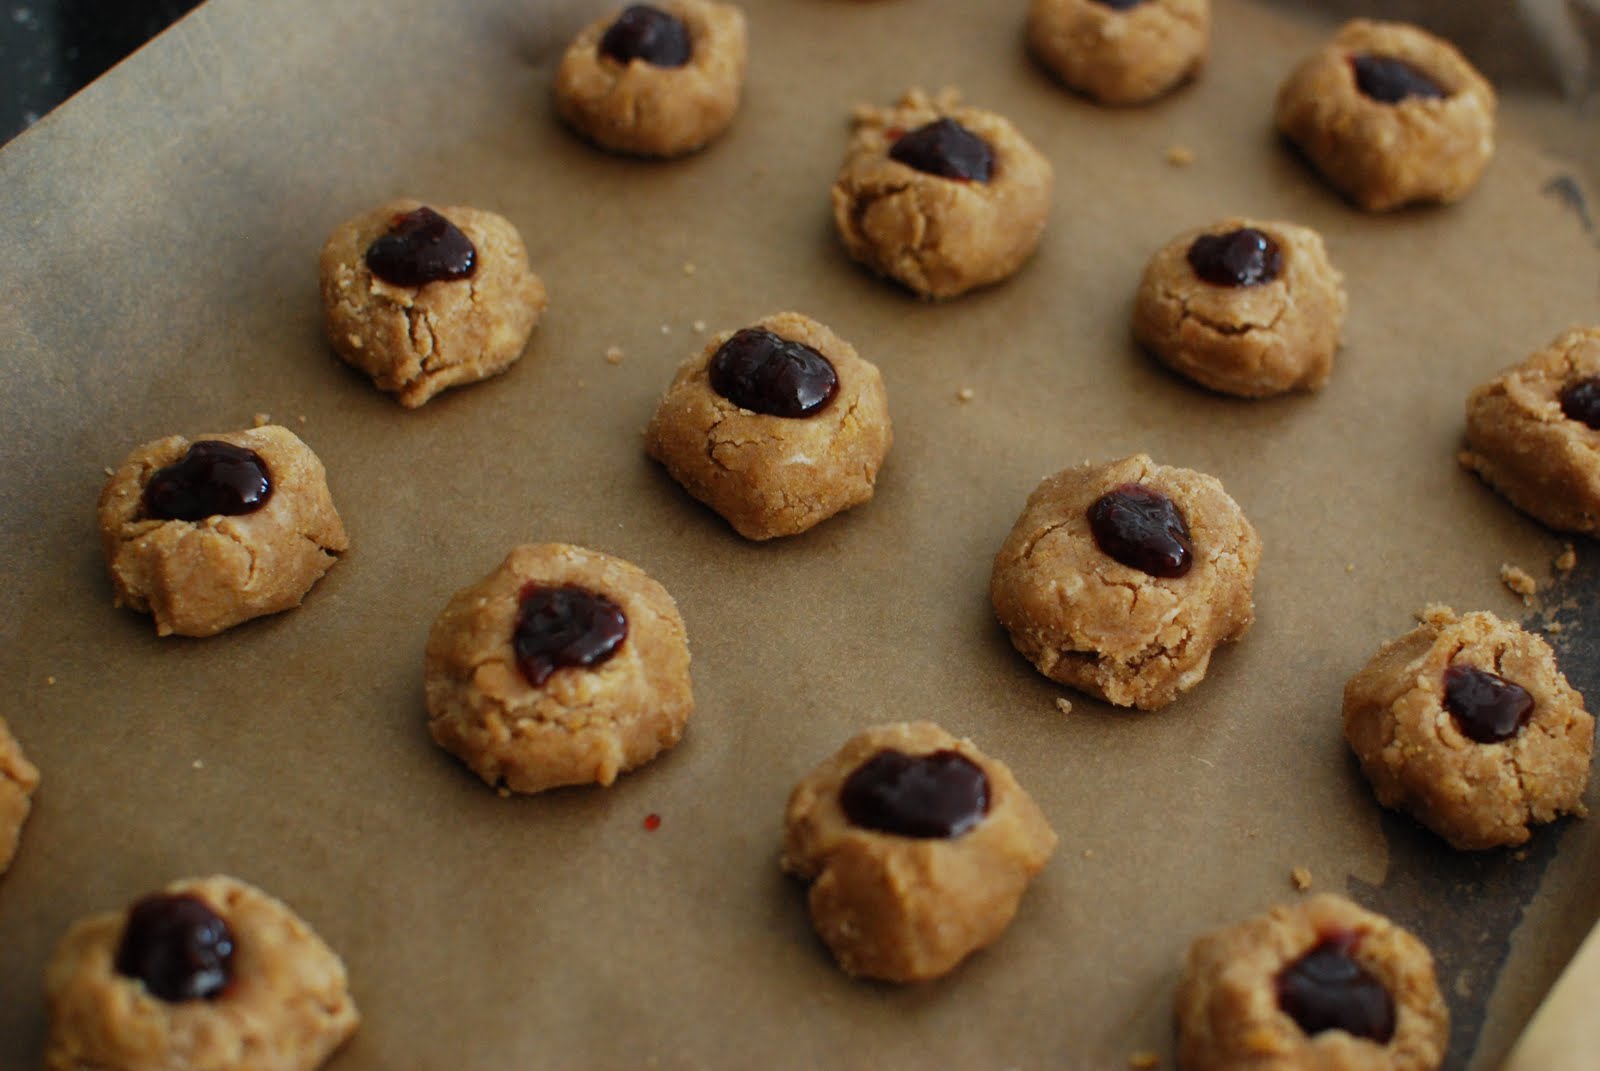
I fill the indentations with strawberry-raspberry jam.


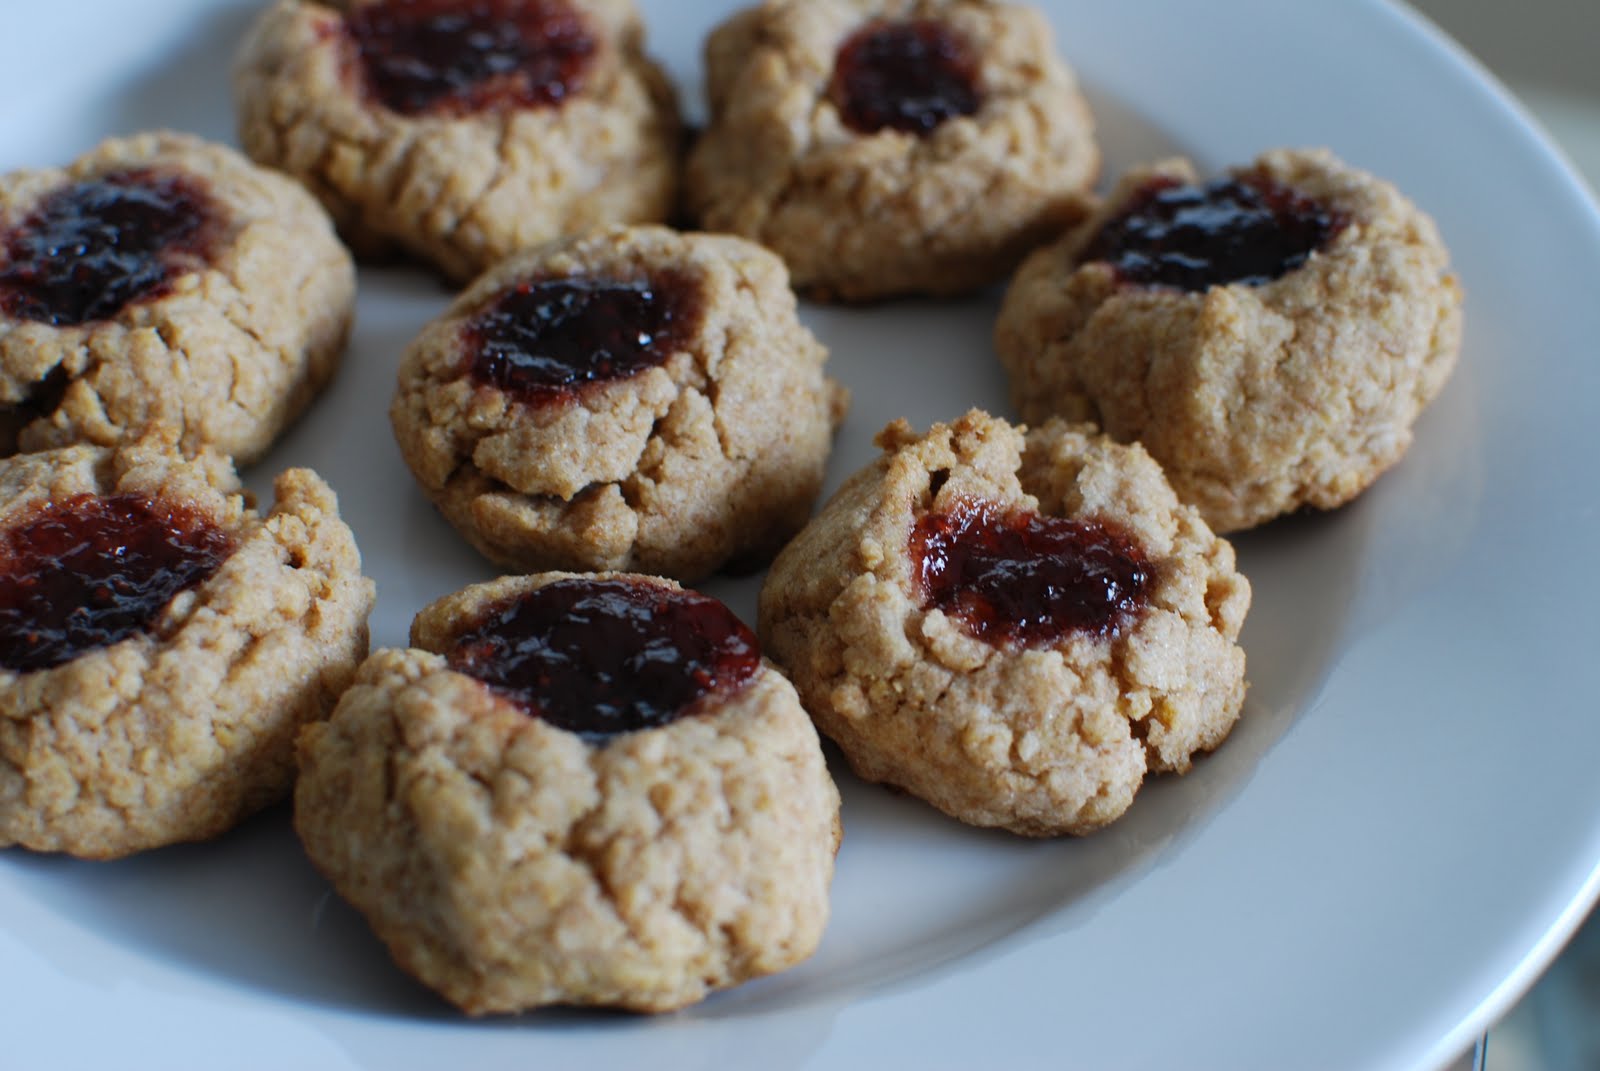
The cookies went into the oven to bake for ten minutes before I allowed them to cool on the tray.


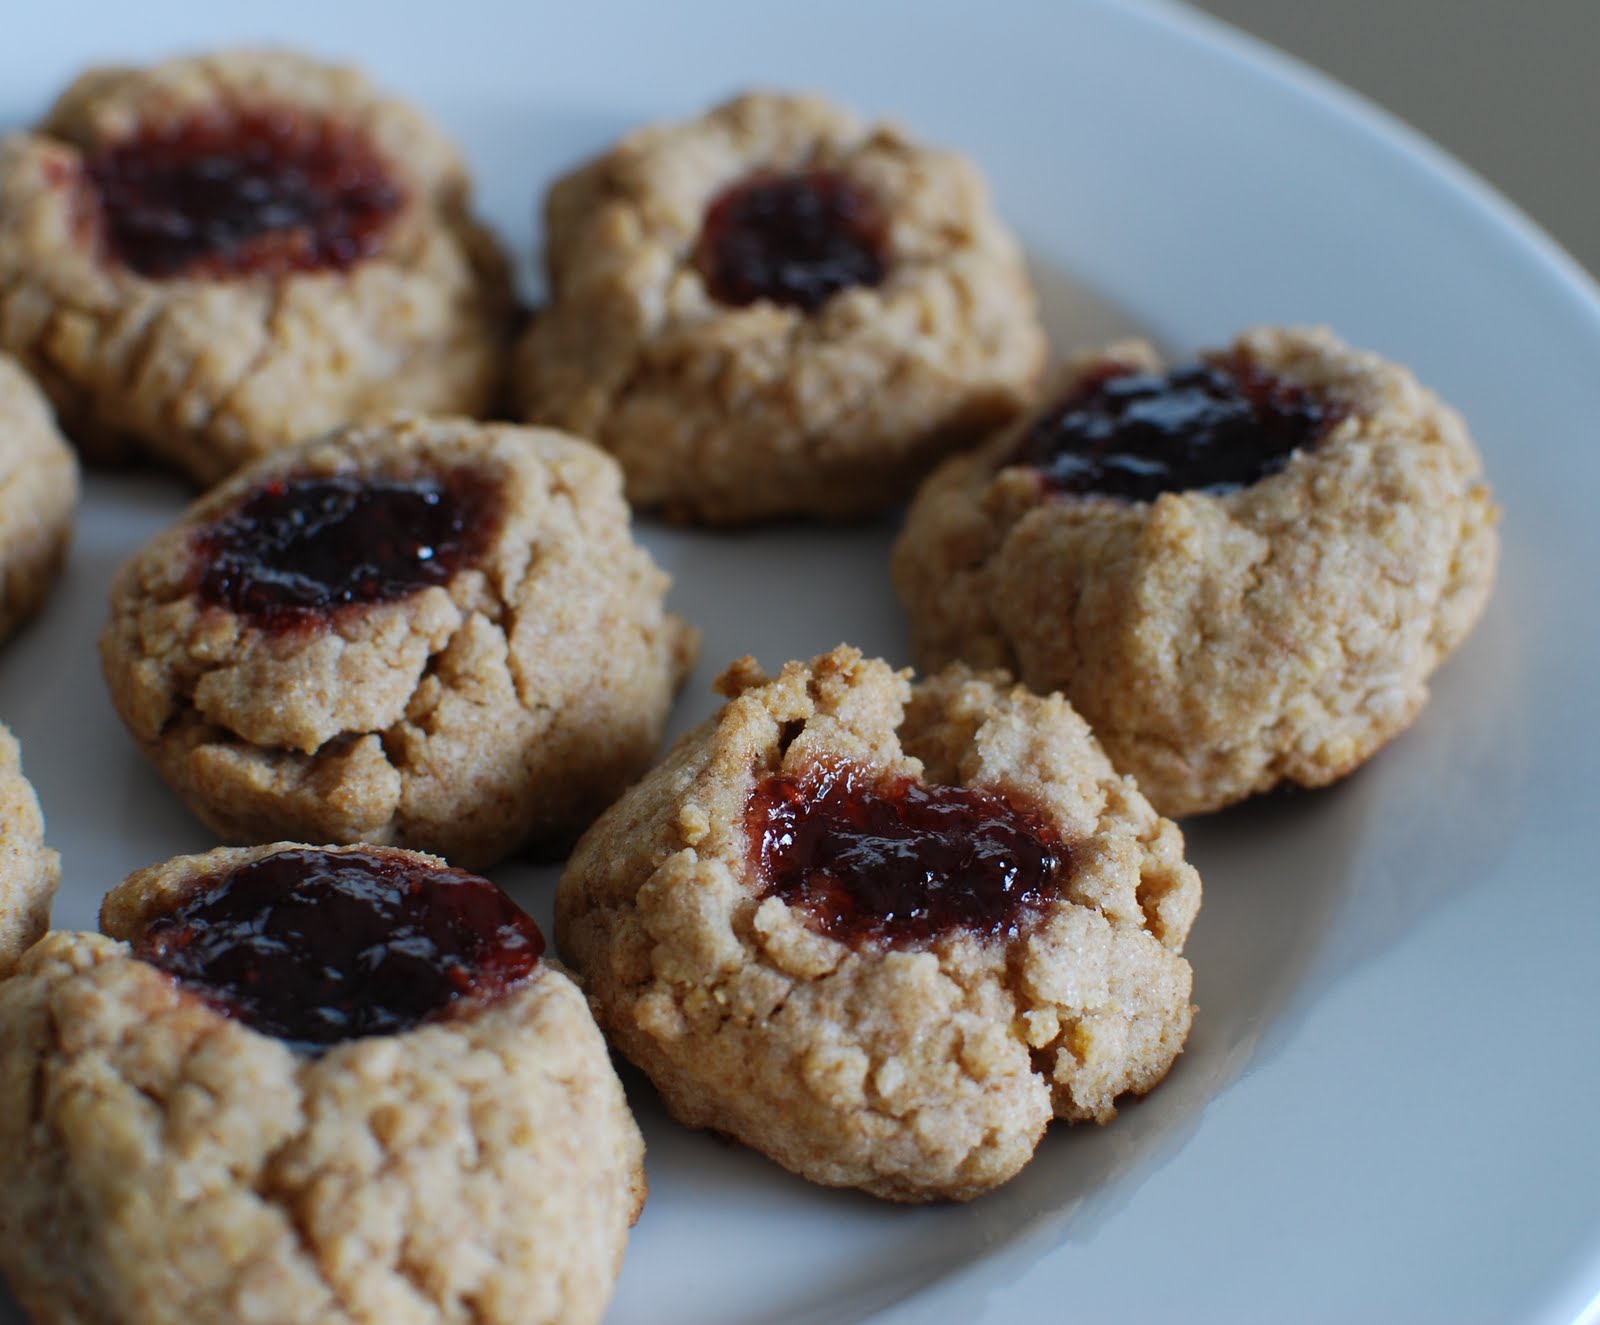
These shortbread cookies were so nutty and crumbly.  Bret couldn't stop raving about them since he love cookies made with whole wheat flour.  Plus, they made for a nice sweet snack during the weekend, while we anticipated Hurricane Irene.

I haven't done too much baking lately.  Tell me, what have you been baking lately?