Showing posts with label King Arthur Flour. Show all posts

Sunday, April 10, 2011

Chewy Chocolate and Peanut Butter Chip Cookies

After another quick overnight work trip to Martha's Vineyard on Thursday, I found myself feeling really lethargic when I returned home on Friday.  Bret and I had dinner reservations for Friday evening but we decided to cancel the reservations and just stay in for the night.  I knew we made the right decision because after sleeping in on Saturday morning, I felt like a new person.  I managed to do a load of laundry, clean out my email inboxes, and even run along the Charles River for about three miles - all before noon.

The sun was shining and I had the whole day ahead of me.  Bret asked me if I had any interest in baking up some whole wheat chocolate chip cookies.  I made these cookies about a month ago and Bret seriously couldn't get enough of them.

I followed the same recipe as the whole wheat chocolate chip cookies as I made the cookie dough.


But when it came time to add the chocolate chips, I decided to switch it up a little and do a combination of semi-sweet chocolate chips and peanut butter chips.


I added a cup and a half of chocolate chips to the cookie dough.


And then I added a cup and a half of peanut butter chips.


The recipe tells you to chill the dough overnight but I just put it in the fridge for about two hours before I preheated the oven to 375 degrees and spooned the cookie dough out onto parchment-lined baking trays.  I took my time baking the cookies by putting in one tray at a time to bake for about eight minutes per tray while I caught up on some of my favorite blogs.  After the cookies cooled, I plated them and maybe tried one (or two) while they were still warm.


The chewy chocolate and peanut butter chip cookies were even better than the original version.  I loved the addition of the peanut butter chips to the cookie dough and was so glad I made the substitution.


I was so glad I spent a few hours baking on Saturday and I'm looking forward to spending the rest of the weekend outdoors enjoying this gorgeous weather.

What have you been up to this weekend?

Monday, March 14, 2011

Honey-Whole Wheat Biscuits

After a late night out on Saturday evening, I was looking forward to a really relaxing Sunday.  I found some leftover "kitchen sink" spicy vegetable soup in the freezer and I decided to thaw it out for dinner.  I browsed through my favorite cookbook - King Arthur Flour's Whole Grain Baking Cookbook - to find a recipe for bread or rolls to compliment the soup.  I finally settled upon a recipe for Honey-Whole Wheat Biscuits and I decided to give it a try.

First, I put the mostly-thawed soup on the stove in the Dutch oven to slowly heat up while I worked on the biscuits.


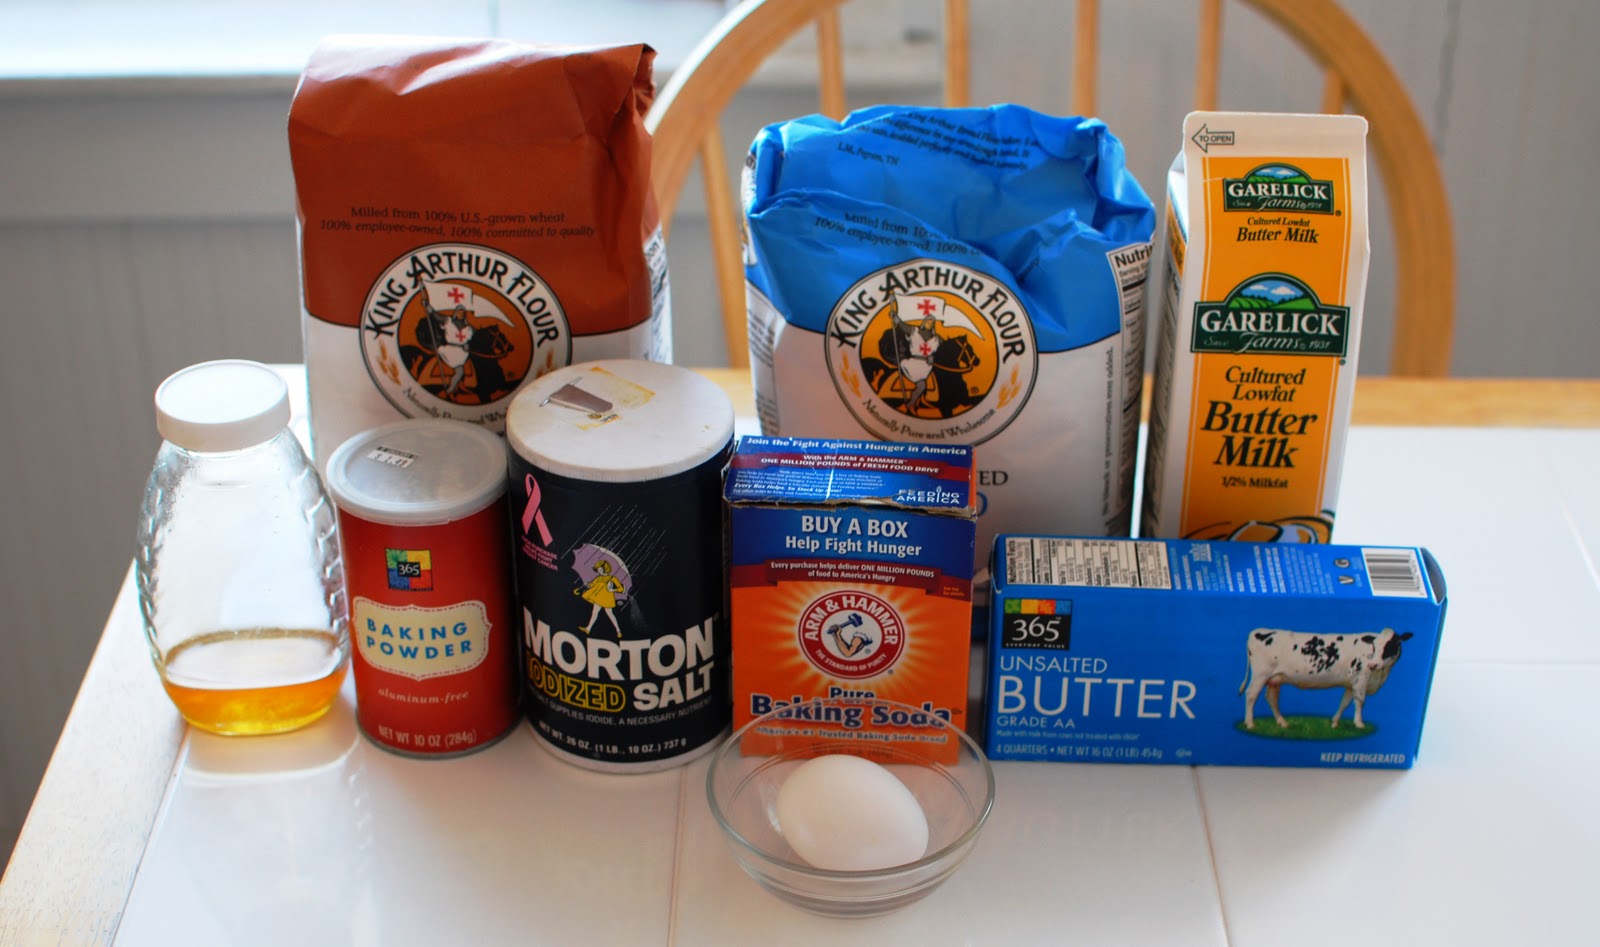
Then, I gathered up my ingredients for the biscuits:


  • 2 1/2 cups white whole wheat flour (you can also use traditional whole wheat flour)
  • 1/2 cup unbleached bread flour
  • 2 1/2 teaspoons baking powder
  • 1/2 teaspoon baking soda
  • 3/4 teaspoon salt
  • 1/2 cup (1 stick or 4 ounces) cold unsalted butter
  • 1 large egg
  • 3/4 cup buttermilk, plus more for brushing
  • 3 tablespoons honey
I pre-heated the oven to 400 degrees and lined a baking sheet with parchment paper.

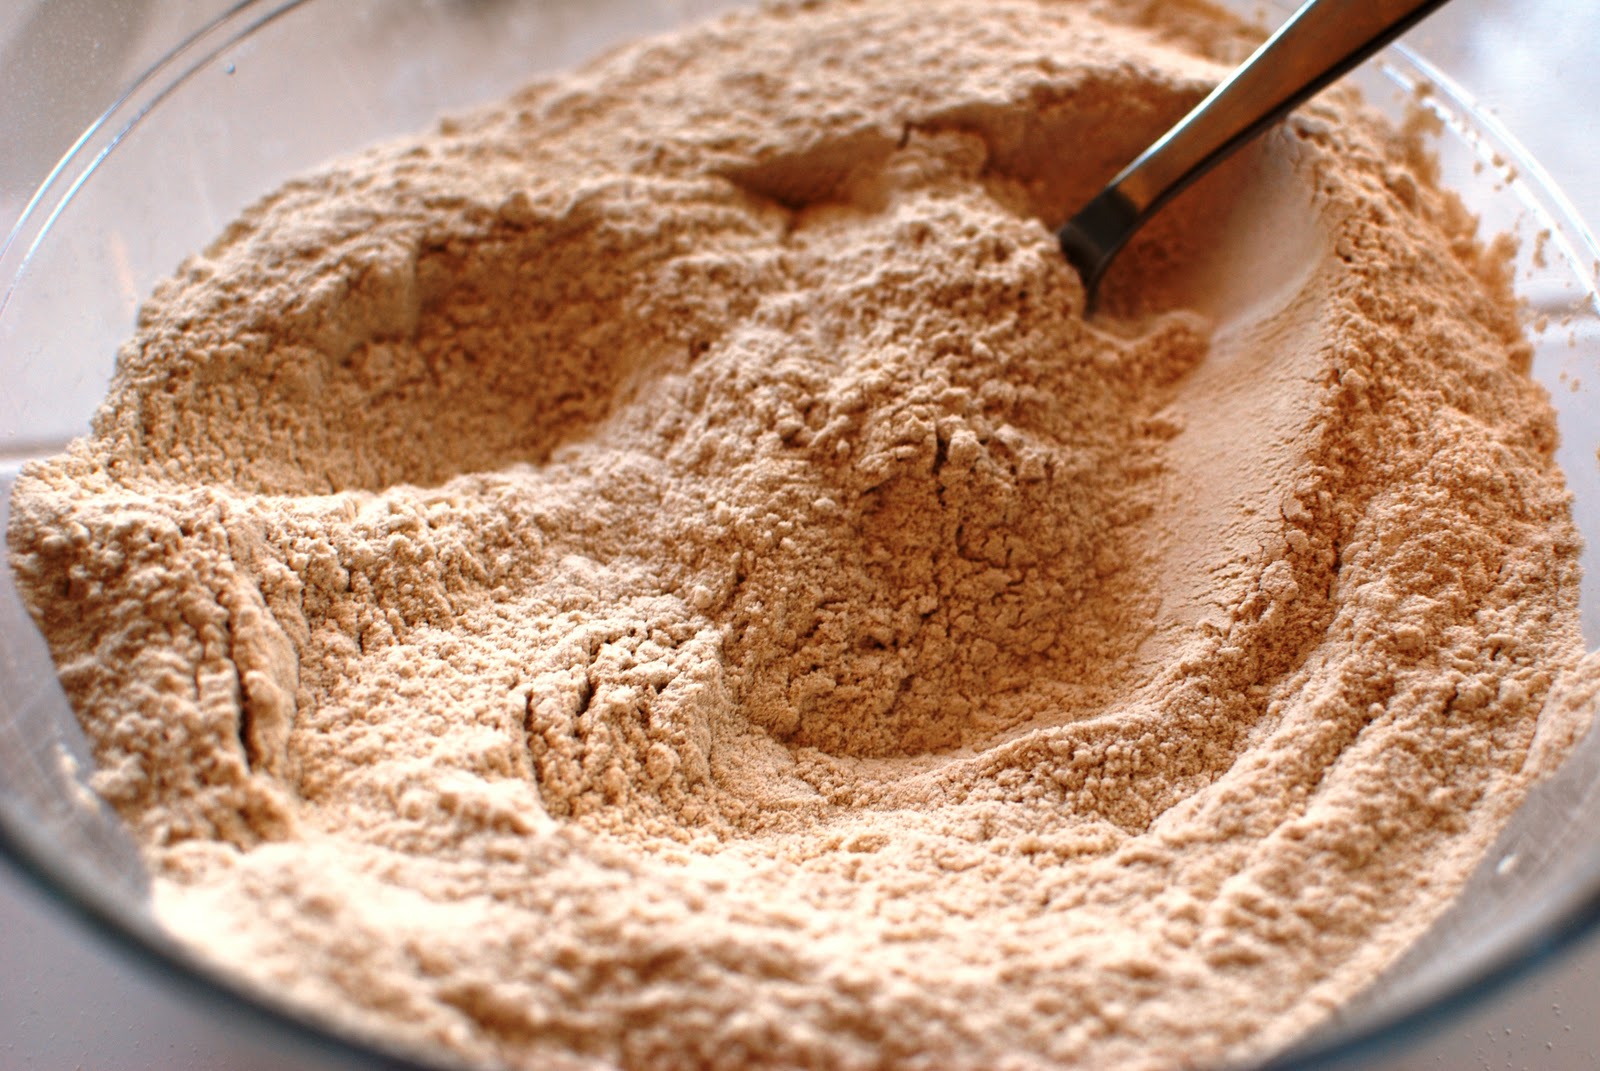
I whisked together the flours, baking powder, baking soda and salt in a large mixing bowl.


Using the food processor, I cut the butter into a coarse crumb texture and set it aside.


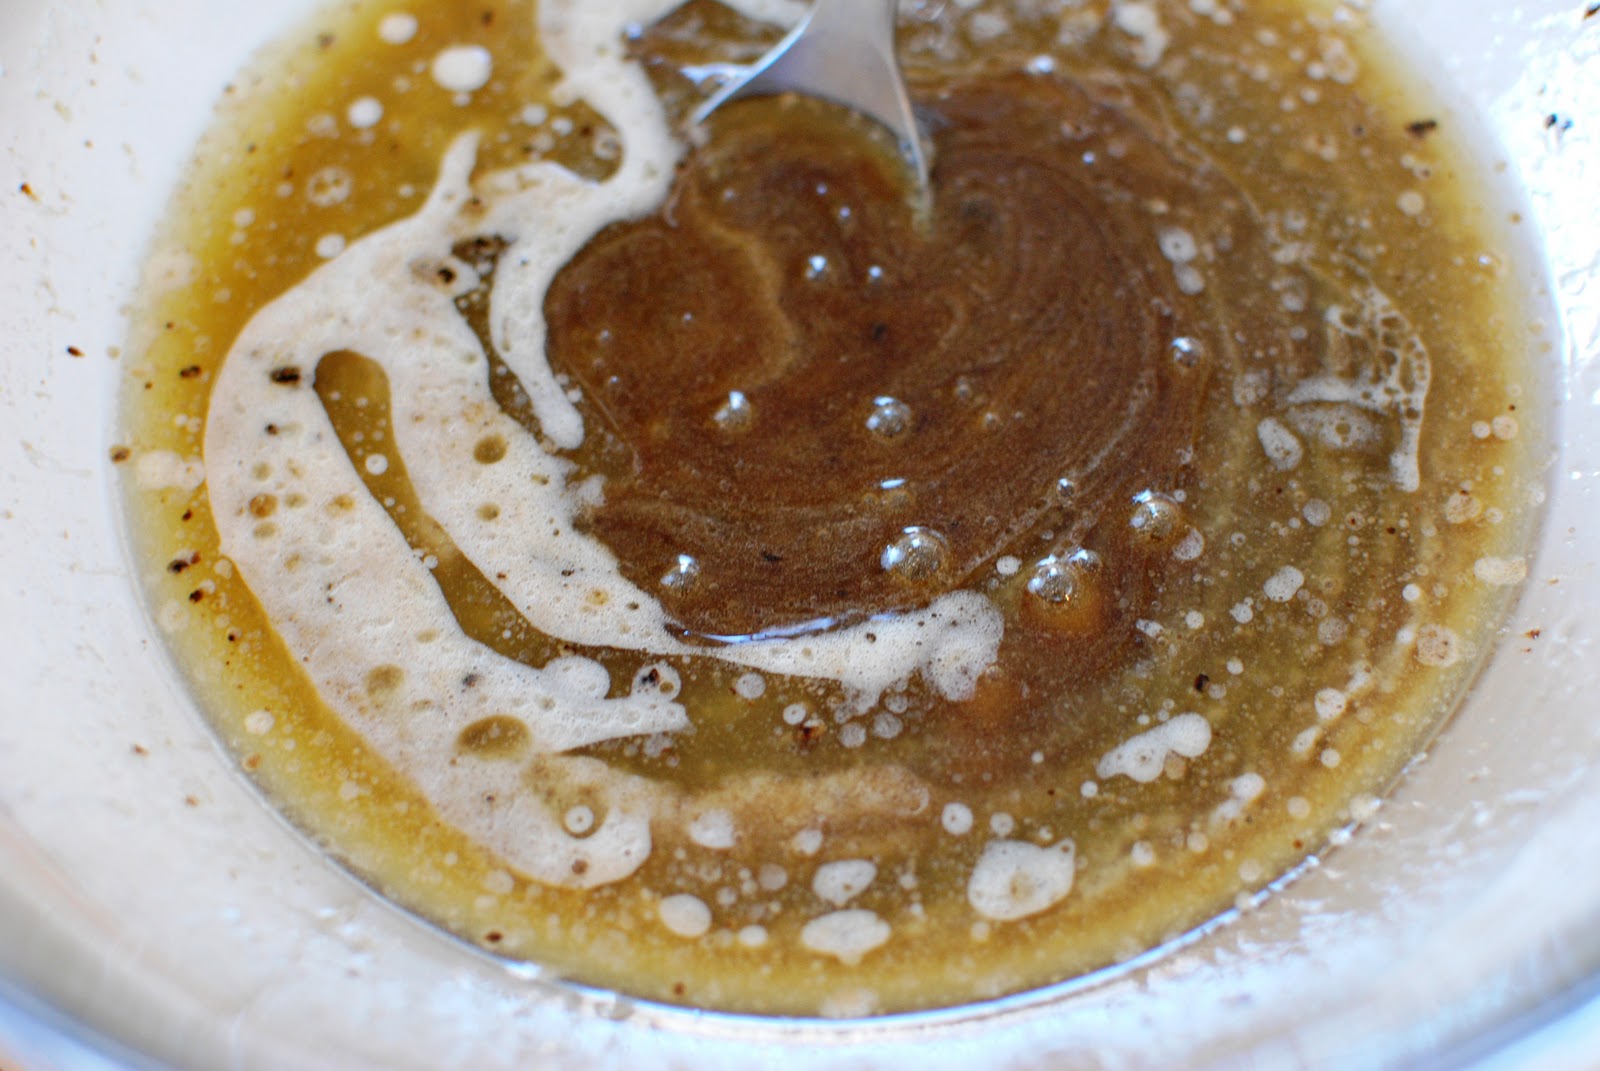
In another separate bowl, I whisked together the egg, buttermilk and honey. 


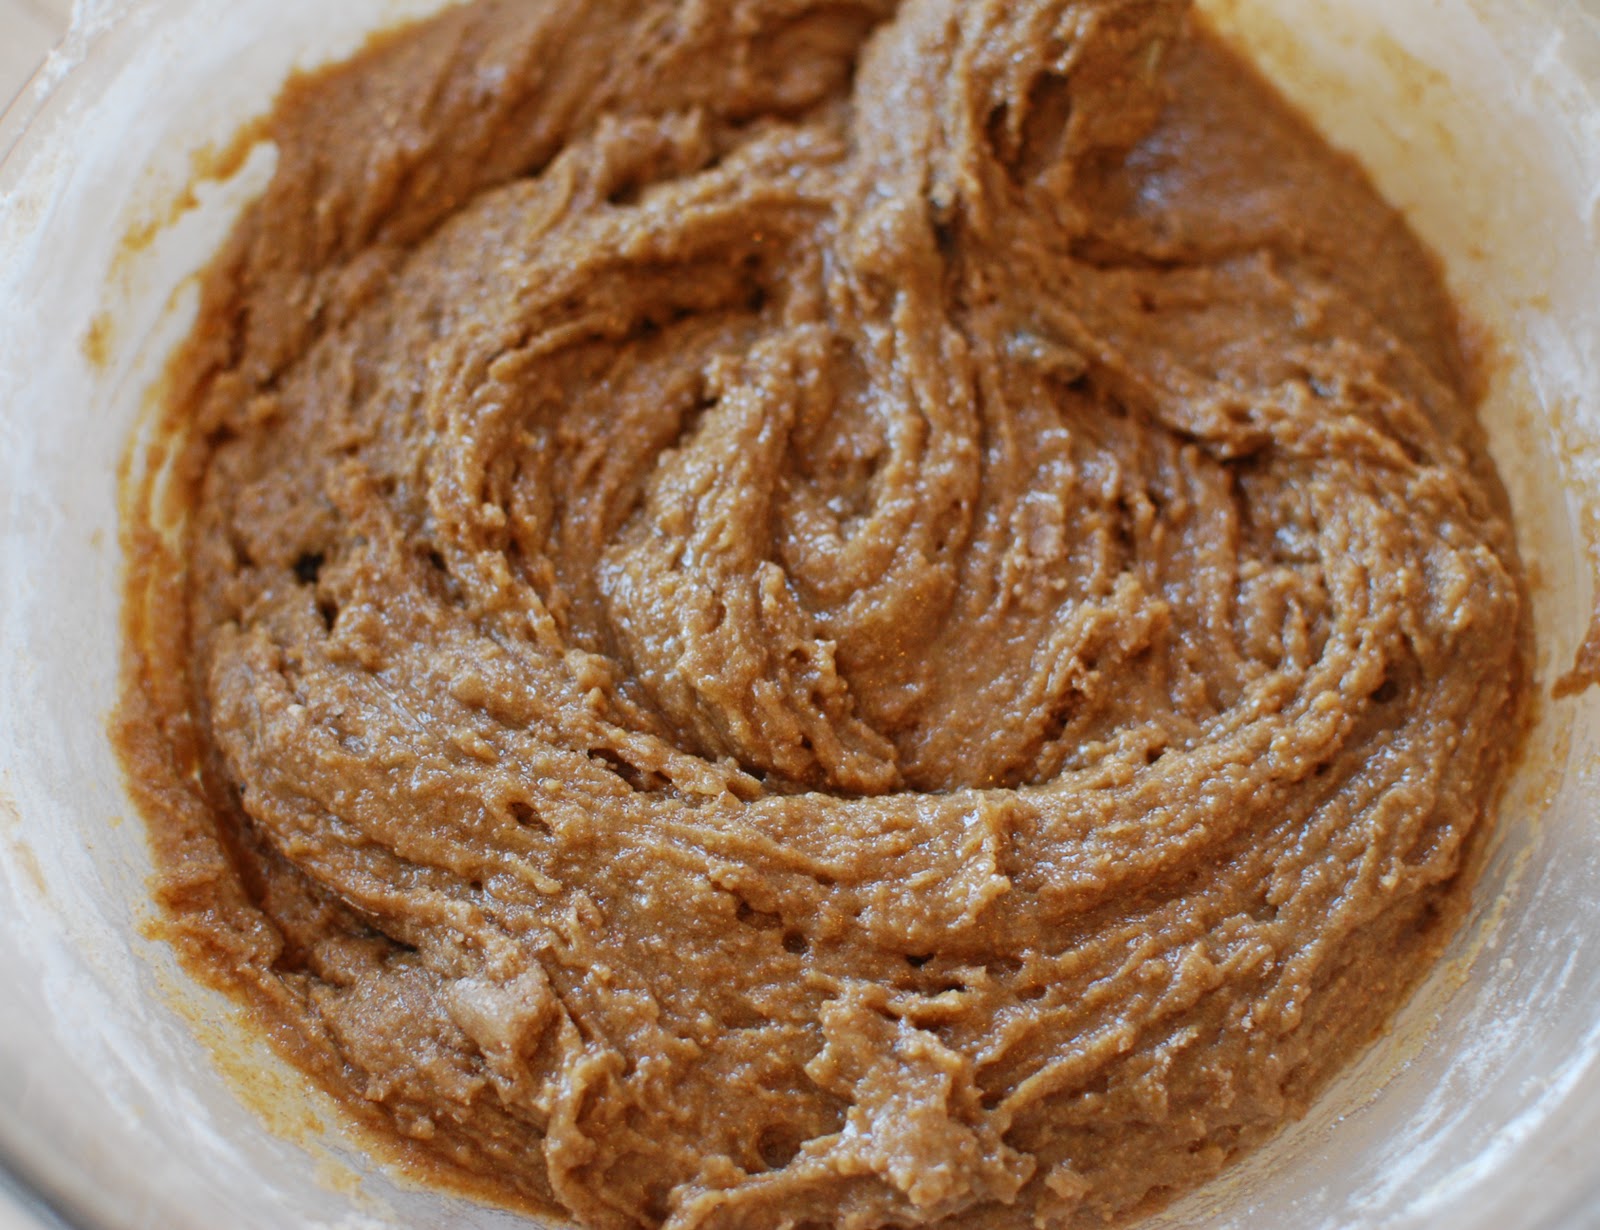
I then added the butter and the liquid mixture to the flour mixture.  I blended the dough together lightly and quickly with a fork until the mixture was evenly moistened.


I lightly floured a board and turned the dough onto the floured board.  I used both my hands and a dough scraper to fold the dough several times until it came together.


Bret helped me out and lightly rolled the dough out with a rolling stick until it was about 3/4 inch thick.  For some reason, he is just way better at rolling out dough than I am!


I cut the dough using the top of a drinking glass (which I had lightly sprayed with cooking spray).  The cookbook actually advises you against doing this because the edge of the glass is rounded and not sharp like a biscuit cutter.  Using a glass will pinch the dough's layers before cutting through them, and this can keep the dough from rising - which makes a more dense biscuit.  But since I didn't have a biscuit cutter (and didn't feel like running out to get one), I decided to take my chances.


I put the biscuit rounds on the parchment-lined baking sheet and brushed the top of the biscuits with buttermilk.


I baked the biscuits for about fifteen minutes, until the tops were golden brown.  We ate the biscuits hot out of the oven with a big bowl of vegetable soup.  The biscuits didn't rise as much as I'd like but they were still light and oh so delicious!


And the soup was still super spicy and flavorful after several months in the freezer!


I had a couple of meals out this weekend so these biscuits were definitely the best thing I whipped up in the kitchen all weekend.  Tell me, what was the best thing you made in your kitchen this weekend?

Wednesday, March 9, 2011

Whole Wheat Chocolate Chip Cookies

For the past few nights, I've been craving something sweet for dessert but didn't have anything in the kitchen that would satisfy my sweet tooth.  I decided to cave into my cravings yesterday and whip up some Chewy Chocolate Chip Cookies.  This is a recipe in King Arthur Flour's Whole Grain Baking Cookbook, which has become my go-to cookbook whenever I decide to do some baking.


The recipe is pretty straightforward.  First, I gathered my ingredients:
  • 3/4 cup (1 1/2 sticks) unsalted butter
  • 1 cup packed light or dark brown sugar (I used dark brown sugar)
  • 2 teaspoons vanilla extract
  • 1/2 teaspoon salt
  • 1/2 teaspoon baking soda
  • 1/2 teaspoon espresso powder (optional) (I definitely used the espresso powder!)
  • 1/4 teaspoon baking powder
  • 1/3 cup light corn syrup or brown sugar corn syrup (I used light corn syrup)
  • 1 tablespoon cider vinegar
  • 2 large eggs
  • 2 1/4 cups traditional whole wheat flour
  • 3 cups semisweet or bittersweet chocolate chips (I used semisweet chocolate chips)
Using the microwave, I melted the butter in fifteen second intervals and then stirred in the brown sugar.  I continued heating the brown sugar and butter mixture in the microwave until it was just beginning to bubble.  I poured the brown sugar and butter mixture into a medium-sized bowl and let it cool to room temperature.


I then stirred in the vanilla, salt, baking soda, espresso powder, baking powder, corn syrup and vinegar.  To be honest, it smelled a little strange with the cider vinegar in it.


I then beat in two eggs.


And then I also stirred the flour in.


I finally added the chocolate chips. 


I was happy to see that this recipe does not skimp on chocolate chips!


The recipe calls for this dough refrigerating overnight but I was impatient and just let it refrigerate for about three hours.  I preheated the oven to 375 degrees.  I lined several baking trays with parchment paper and dropped the cookie dough by the tablespoon onto the trays. 


I baked the cookies for five minutes on the bottom shelf of the oven and then another four minutes on the top shelf until the edges seemed to slightly brown.

I let the cookies cool completely on the tray before putting them on a plate. 


These cookies definitely hit the spot and I loved that they were soft and chewy.


I knew it would be deadly to have this many cookies lying around since this recipe made a lot of cookies, so I sent some with Bret to work for his co-workers and I also am bringing some cookies to a friend today.

What was the last thing you baked or ate to satisfy your sweet tooth?

Thursday, November 25, 2010

Thanksgiving Pumpkin Bread Pudding

Happy Thanksgiving!  I'm spending the day with my family and my fiance.  My mom is a phenomenal cook and she puts on quite the spread for Thanksgiving.  By the time you're reading this, I'll probably be in the kitchen doing whatever task I'm assigned.  My mom enjoys doing all of the cooking for Thanksgiving but I usually manage to sneak in at least one dessert.  This year, I decided to make King Arthur Flour's Pumpkin Bread Pudding from the Whole Grain Baking cookbook.


While the recipe calls for the use of whole wheat bread, I decided to substitute it with Nature's Pride's OvenClassics Oatmeal Bread.  I received a complimentary loaf of bread courtesy of the Foodbuzz Tastemaker program and it has been sitting in my freezer for about a month.  On Monday night, I took half of the loaf out of the freezer and let it thaw and stale in the fridge for twenty-four hours.


On Tuesday night, I found that the bread wasn't quite as stale as I'd like it to be so I cubed it up and spread the pieces on a baking sheet lined with aluminum foil.  The recipe called for six cups of stale bread but I had more like seven and a half cups.  I put the baking tray in the oven for eight minutes at 250 degrees and let it sit for an additional five minutes in the oven with the oven off.


While the bread was in the oven, I got the liquid ingredients of the pudding together:
  • 1 cup raisins (I omitted this because I'm not a big fan of raisins)
  • 1 can pumpkin puree
  • 2 large eggs
  • 1/2 cup of packed light brown sugar (you can also use packed dark brown sugar)
  • 2 cups half-and-half
  • 2 tablespoons dark rum
  • 1 teaspoon ground cinnamon
  • 1/2 teaspoon ground nutmeg
  • 1/2 teaspoon ground ginger
  • 1/4 teaspoon ground cloves
  • 2 tablespoons crystallized ginger (optional) (I omitted this since I didn't have it on hand)
In a medium bowl, I whisked together the pumpkin puree, eggs and light brown sugar.


I then whisked in the half-and-half, rum, cinnamon, nutmeg, ginger and cloves to the pumpkin mixture.  You could definitely smell the rum and I liked that it would be a boozy bread pudding!


I took the stale bread out of the oven and put it in a large bowl.  Since the bread was warm, I put it in the fridge to cool down. 


When the bread felt like it was more at room temperature, I poured the pumpkin mixture onto the cubed bread.  I used a slotted spoon to make sure that all of the bread was coated.


I covered the bowl and let the mixture sit overnight in the fridge.  On Wednesday I took the pumpkin mixture out of the fridge and let it sit at room temperature.  I then got to work on the bread pudding topping by dicing up a generous 1/4 cup of pecans.  I then combined 1/4 cup whole wheat flour, 1/4 cup light sugar, and two tablespoons of unsalted butter in a bowl with my hands until it made a crumbly mixture.  I then stirred in the diced pecans.


I then pre-heated the oven at 350 degrees and greased a 9-inch round baking dish.  I gave the bread pudding a final stir and then poured it into the baking dish. 


I sprinkled the pecan topping evenly on top of the bread pudding and put it in the oven.


I let the bread pudding bake for forty minutes.  I wanted the bread pudding to bake through almost completely so that I could warm it up (and get the wonderful brown sugar color on top) on Thanksgiving at my parents' house.  I let it cool completely before I put the cover on and refrigerated it overnight.


The pumpkin bread pudding looked amazing and I hope that it tastes as good today as it looked last night!

Happy Thanksgiving!  What was the best part of your Thanksgiving?  And don't forget to enter my Dancing Deer giveaway, which ends at 11 PM EST tomorrow!

Wednesday, October 27, 2010

First Homemade Pizza

The first official Pizza I've ever made on my own, using none other than the recipe and techniques I learned at King Arthur Flour. Those classes at the Baking Education Center paid off tremendously, and even thought I was nervous as I set out to create my dough, I was confident in my ability at the same time. (That's right, I was nervously confident.)Pizza Dough Ingredients:
-2 cups (8 ounces) King Arthur Unbleached All-Purpose Flour
-1 1/4 teaspoons instant yeast
-3/4 teaspoon salt
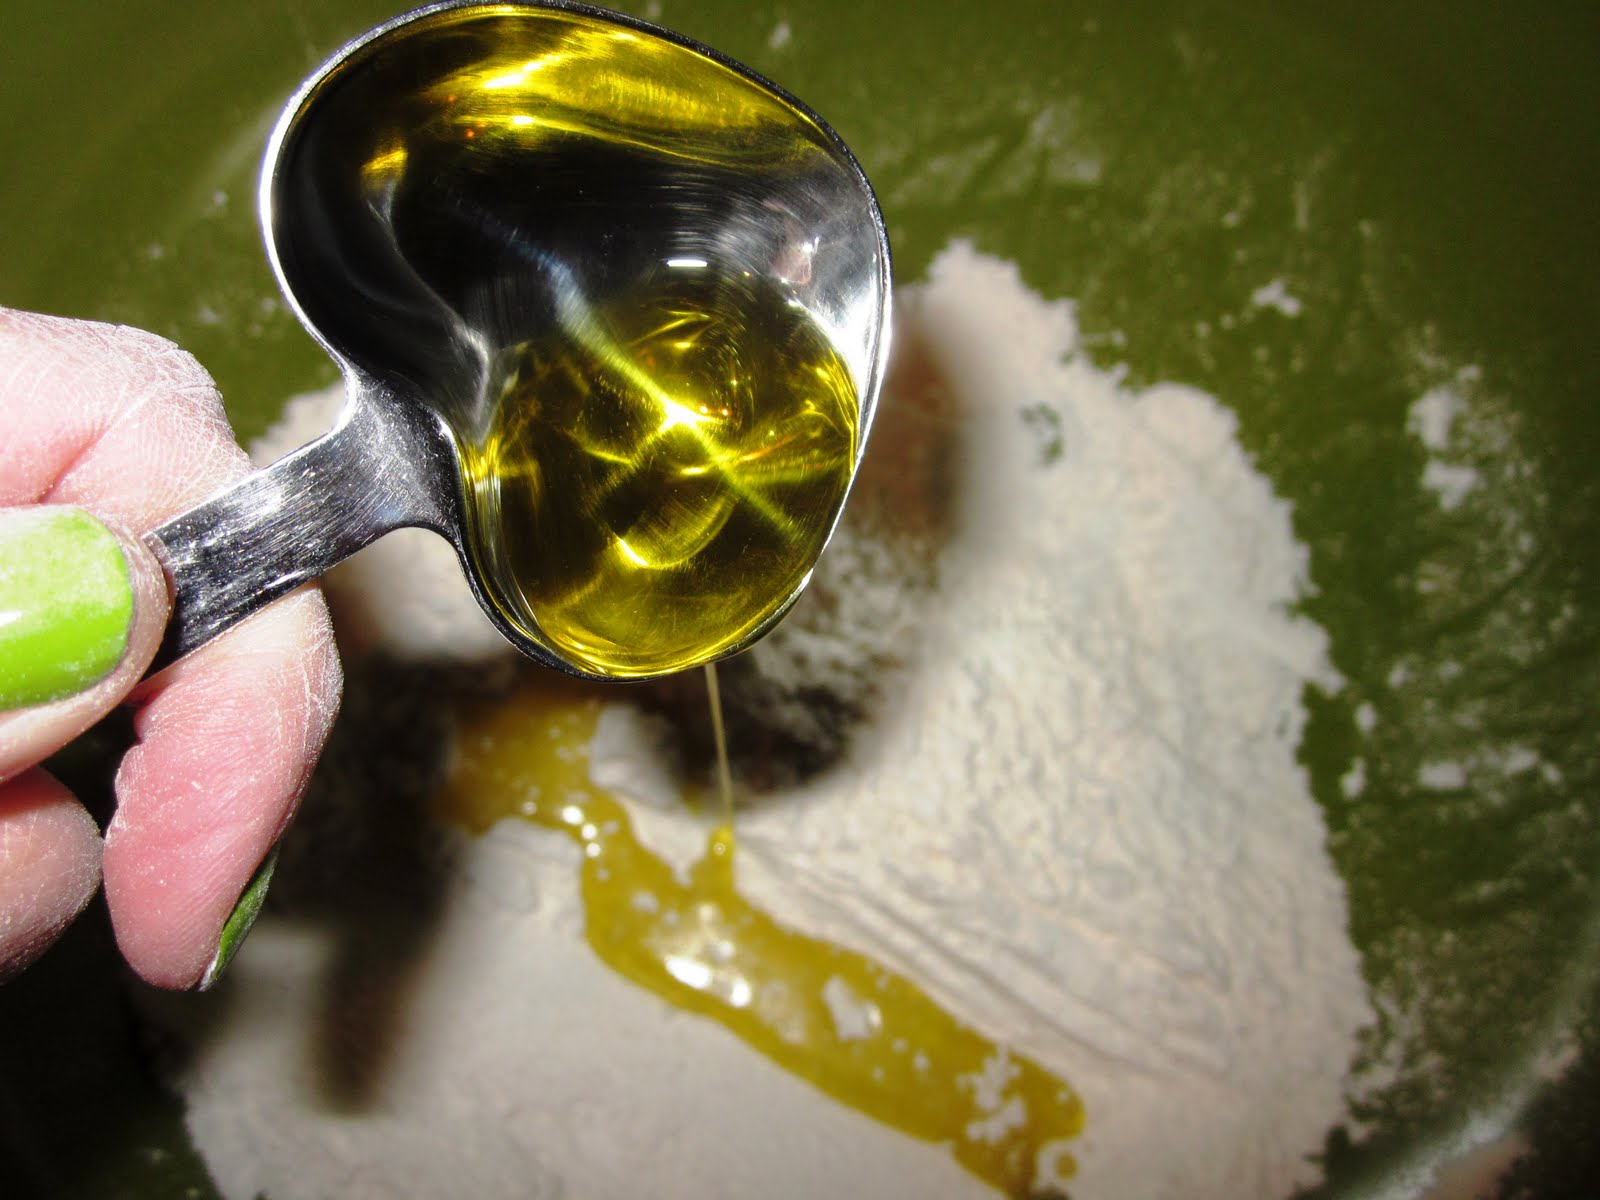
-1 tablespoon olive oil
-1/2- 3/4 cups warm water1) In a large mixing bowl combine the dry ingredients
2) Stir in the olive oil
3) Stir in the water, adding the last few tablespoons slowly to see if they are needed.
4) Turn the shaggy mass onto a lightly floured work surface and knead until smooth and shiny.
5) Rise the dough in an oil covered bowl until doubled in bulk
6) Turn out the risen dough into a floured surface to shape the pizza.I find it incredibly tough to shape a round pizza. Since my pan is round, I let that aid in my endeavor and molded the dough around the pan. I added whatever ingredients I had in the fridge that seemed suitable. I had an opened jar of Bertolli Olive Oil and Garlic tomato sauce, shredded sharp cheddar cheese, ricotta cheese, onion,and some fresh basil from my plant. Basil is supposed to be added after the pizza cooks. It becomes crispy in the oven and looses its freshness. I remembered this the second after I sprinkled it on. Not a fatal mistake, I could always top it with fresh basil once it came out of the oven. Adam and I both thought the pizza, cooked for about 12 minutes at 450* came out pretty awesome for my first try. The actual crust was crispy, the pizza dough itself soft and slightly chewy. A crispier crust could obviously be achieved by placing the pizza directly on the oven rack, but I enjoyed the consistency of this one. I could have gone a little heavier on the sauce but overall it was flavorful and cheesy. I love ricotta cheese on pizza.
I've also been busy sorting through my summer wardrobe and perfecting my packing skills. Yes, I am a sunglass-a-holic.As you read this, by now I've touched down in the Sunshine State!! I am vacationing in various parts of Florida; spending quality time with family and friends. My absence is not permanent and I will return with recaps, hopefully sometime in the midst of it all!! My apologies in advance for the lack of blog comments in the upcoming week or two. Just know I am still reading your blogs from my iPhone on the beach!