Showing posts with label health. Show all posts

Tuesday, March 15, 2011

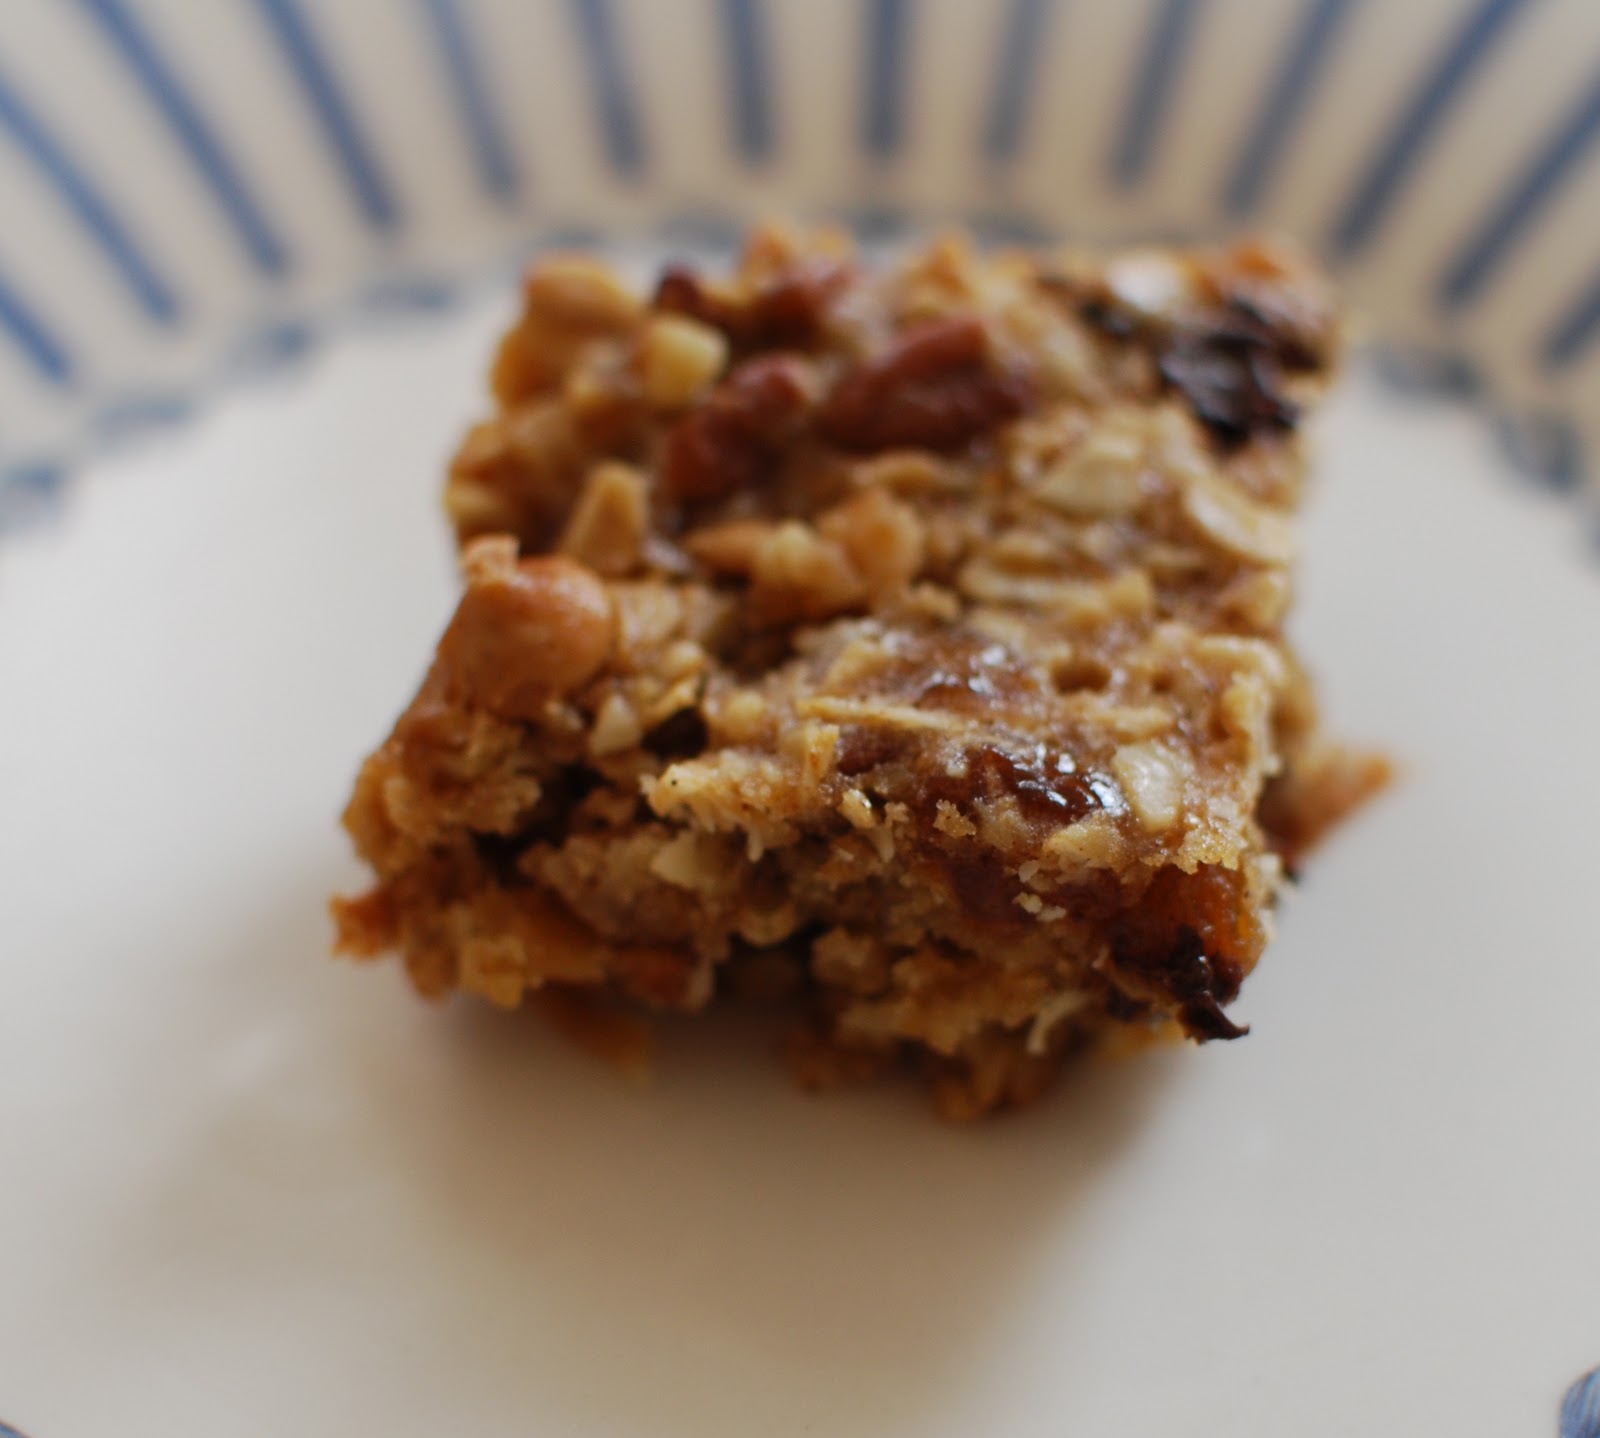
"Clean Out the Pantry" Granola Bars

Last month, I took a stab at making homemade granola bars.  I was amazed at how super easy they were to make and how much Bret loved them!  Since I've been baking up a storm lately, I had a lot of leftover ingredients that I knew would go perfectly in homemade granola bars and sort of made a "clean out the pantry" version.


First, I pre-heated the oven to 350 degrees.

In a large bowl, I combined all of my dry ingredients:
  • 2 1/2 cups of oats
  • 1/2 cup dark brown sugar
  • 1 teaspoon ground cinnamon
  • 1 cup white whole wheat flour
  • 1/2 cup golden raisin
  • 1/2 cup chopped pecans
  • 1/2 cup diced walnuts
  • 1/2 cup coconut flakes
  • 1/2 cup semi-sweet milk chocolate chips
  • 1/2 cup peanut butter chips
  • 3/4 teaspoon salt


I then added my wet ingredients.  Since I added a lot more dry ingredients than my first version, I decided to double the amount of wet ingredients and crossed my fingers that the granola would turn out okay!
  • 1 cup vegetable oil
  • 1 cup agave nectar
  • 2 eggs beaten
  • 4 teaspoons vanilla extract


This granola mixture was definitely more wet than the previous version.  I poured the granola batter into a parchment-lined cake pan and baked the granola bars for about thirty minutes.


When the granola was done baking, I let it cool in the pan for about forty-five minutes before cutting them into squares.


These granola bars were more cake-like and less crumbly than my previous version, which I really enjoyed.  I also liked how they weren't overly sweet, even with the addition of chocolate chips and peanut butter chips.


Do you like granola bars?  Do you make your own?  If you buy them, what is your favorite brand?

Saturday, February 19, 2011

7th Annual "A Spoonful of Ginger" Event

I recently received an email about the 7th Annual "A Spoonful of Ginger" event and was also offered a complimentary ticket for the evening.  This event involves part food tasting and part art appreciation all in the name of a good cause - to raise funds and awareness for the Joslin Diabetes Center's Asian American Diabetes Initiative.


"A Spoonful of Ginger" is a fabulous evening of fine food and exquisite art – held in the new Art of the Americas Wing at the Museum of Fine Arts – will bring together Boston's finest chefs to raise funding and increase awareness of the growing incidence of diabetes among Asian Americans.

This year’s event will honor Dick &; Deb Carlson, Eugene & Lai Wong, and Boston Chef Joanne Chang for their long-standing commitment to the Joslin Diabetes Center and the Asian American Diabetes Initiative (AADI).

Participating chefs and restaurants include Ming Tsai of Blue Ginger, Jasper White of Summer Shack, Joanne Chang of Flour Bakery and Myers + Chang, Wesley Chen of Changsho, Jose Duarte of Taranta, Cafénation, Chinatown Café and many others.

All proceeds from A Spoonful of Ginger support Joslin’s AADI which enhances the quality of life and health outcomes for Asian Americans living with diabetes through research, education, outreach and culturally appropriate treatments.

Date:                Monday, March 28, 2011

Time:               6:30 p.m. – 9:30 p.m. 

Location:         The Museum of Fine Arts – Art of the Americas Wing
                         465 Huntington Avenue, Boston MA

Cost:    A Spoonful of Ginger tickets: $250 each. All proceeds benefit Joslin’s AADI

To purchase tickets:  Please visit www.events.joslin.org/ginger, or contact Joslin’s Development Office at 617-309-2531. 

About the Asian American Diabetes Initiative (AADI): Approximately 24 million people (8 percent of the population) have diabetes in the United States. Asian Americans are nearly twice as likely to develop diabetes as the general population—approximately 10 percent of all Asian Americans have diabetes and even more remain undiagnosed. This issue requires immediate attention because Asian Americans are one of the nation’s fastest-growing minority populations. Recognizing this need, Joslin Diabetes Center founded the AADI in 2000. The mission of the AADI is to enhance the quality of life and health outcomes for Asian Americans living with diabetes through research, education, outreach and culturally appropriate treatments. For more information, please visit http://aadi.joslin.org/

I'm really looking forward to this event and I hope to see some familiar faces there!  


Full disclosure: Bishoff Communications has provided me with a complimentary ticket to this event but I'm passing along the information because I think it is a great cause!

Wednesday, February 16, 2011

Spa Day and Sunday Brunch at Met Back Bay

On Sunday, I had a really long overdue girls' day with one of my best friends.  Kim and I both received gift certificates to Bella Sante recently and we decided that it would be fun to go together. 

I started the morning off with a forty-five minute indoor bike ride while watching old-school 90210, took a quick shower and then hurried off to Bella Sante for my massage.  I have never been to Bella Sante before and it instantly felt really luxurious.  I loved their clean, sleek and modern locker rooms, the tea options and comfortable waiting room.  I was surprised at how many people were there for treatments at 9 AM on a Sunday since I thought Kim and I would be the only early birds.  But after my massage, I understood why so many people would want to start their Sunday off at Bella Sante because it instantly made me so much more relaxed.

My massage was exactly what I needed.  My friends Karyn and Karen purchased a 50 minute Bella Sante massage for me as a birthday gift, which was a traditional Swedish massage.  My therapist, Mary, was so wonderful and she gave me the firm but not deep massage that I was looking for.  Kim opted for the exfoliant treatment and she said that it felt great for her skin.

After we both felt so relaxed and rejuvenated from our spa treatments, we headed off to Met Back Bay for brunch.  I've never been to the Met Back Bay before and I adored what they did with the space.  I loved all of the red leather booths contrasting with the painted quotes on the wall.  It felt both cozy yet modern at the same time.

Kim graciously offered to treat me to brunch as a belated birthday gift and we had such a nice time.  We were seated in a nice booth window seat and spent the next two hours catching up.  It took us awhile to order while we gabbed away but our server was so great and she never felt us feel rushed or pressured. 

Kim and I both started out brunch with a cup of coffee and a Bloody Mary.  We both asked for our Bloody Mary to be super spicy and while it was delicious, it didn't really have the heat I was looking for.  I additionally forgot to take a picture of the cocktail but that's what happens when you're having fun.

We wanted to start with the oysters but the restaurant was sadly out of both the oysters and the calamari.  We were both seriously bummed because we had been talking about ordering oysters all week!  Luckily, our entrees didn't disappoint.  Kim ordered the Eggs Benedict, which came with the most adorable tower of homefries.  I ordered the pork stuffed hash brown which had a layer of wilted spinach, pulled pork, hash brown and two fried eggs with a jalapeno hollandaise sauce.  I asked for poached eggs instead (since I can't resist a good egg yolk) and this was definitely a good substitution.


The hollandaise sauce had a nice little kick to it and the egg yolk went well with the crispy potatoes.  I could have done with a little less hollandaise (or maybe on the side) but still, I finished this entire plate without a second thought.

Kim and I spent the rest of the morning running some errands on Newbury Street until we couldn't handle the cold and decided to head back to our respective homes.  It was great to have such a relaxing Sunday Funday and I realize I need more days like this.

Thanks Kim for such a great morning!  And thanks to Karen and Karyn for the fabulous gift certificate!

Met Back Bay on Urbanspoon

Bella Sante is located at 38 Newbury Street, Boston, MA.
The Met Back Bay is located at 279 Dartmouth Street, Boston, MA.

Tuesday, February 15, 2011

Maple Pumpkin Peanut Butter Cookies

Last month, I was excited to find out that I had won some Better Butter products on my friend Elina's blog - Healthy and Sane.  If you haven't checked out Elina's blog, you totally should.  She writes a very personal blog detailing her successes and struggles with balancing a healthy lifestyle with her love for good food.  I think her blog touches on subjects that most of us can relate to and I'm always so appreciative of her honesty.

As I learned from Elina's blog, the founder and owner of Better Butter started the company because she loved peanut butter but was frustrated at how caloric it was.  She started to experiment to create a healthier alternative to peanut butter.  From Elina's giveaway, I received a variety pack along with a full size jar of my choice.  Since I adore anything pumpkin, I chose the Maple Pumpkin Better Butter.  I of course had to have a spoonful as soon as it arrived and I loved that this nutty butter had such strong flavors of maple syrup and pumpkin.  Even though it would be great to use for a peanut butter and jelly sandwich, I decided to try using the Maple Pumpkin Better Butter to make some peanut butter cookies!


Bret and I were originally going to go to party at the House of Blues on Saturday night but Bret wasn't feeling well so we decided to stay in.  I thought this was the perfect opportunity for me to bake up some peanut butter cookies.  I did a quick search online and found this ridiculously simple and easy recipe.  This recipe only uses four ingredients:
  • 1 cup of peanut butter (I replaced it with 1 cup of the Maple Pumpkin Better Butter)
  • 1 egg
  • 1 teaspoon of vanilla extract
  • 1 cup sugar
I pre-heated the oven to 350 degrees.  And then I simply mixed all of the ingredients together.


The recipe said to roll out the cookie dough into balls but my cookie dough was way too wet.  I wasn't sure if it was the smoother consistency of the Better Butter or what but I decided to go with it anyway.  Instead, I carefully spooned a tablespoon of the wet dough onto two parchment-lined baking tray.


I put one tray in on the middle rack and baked it for ten minutes.  The cookies ended up being thin and flat instead of the thick chewy cookie that a peanut butter cookie usually resembles.  I took the first tray out to cool and put the second tray in the oven.  I noticed that the first sheet still seemed a little under-baked in the middle so when the second tray finished baking after ten minutes, I turned off the oven, kept the second sheet on the middle rack and put the first sheet on the bottom rack.  I let the cookies continue baking with the oven off for another ten minutes.


After I removed the cookies from the oven and they had fully cooled, I was ready to try one out.  These cookies were definitely pretty sweet.  I think it could have used less sugar than the recipe called for, especially with the sweetness of the maple syrup.  The cookies were thin but soft and I think they would made great cookies for ice cream sandwiches.  But for me, they are pretty great on their own with a glass of milk.


Do you like peanut butter?  What is your favorite way to eat/cook/bake with peanut butter?

Thursday, February 10, 2011

Reworking Leftovers with Pita Pizza!

Because I only cook for two people, I often find myself with a lot of leftovers.  I actually love leftovers because I'd rather bring leftovers in for lunch than buy an over-priced or unhealthy lunch at work.  On Tuesday night, I had a decent amount of leftover roasted cauliflower and pesto-marinated chicken from Monday night's dinner.  Bret brought some into work for lunch on Tuesday so I wanted to find a way to re-work these leftovers in a creative way.

My immediate thought was to make a pizza with these ingredients but I didn't have enough leftovers to make a whole pizza.  So I decided to make individual-sized pita pizzas that were super easy and really flavorful.

To start, I placed two flax, oat bran and whole wheat pitas right on the rack in the oven at 350 degrees.  While the pitas were crisping up, I sliced both the roasted cauliflower and the pesto-marinated chicken into bite size pizzas.  By the time I was done chopping, I was ready to put my pizzas together.

I took the pitas out of the oven and spread some leftover pizza sauce on them.  I then added dollops of mascarpone cheese, which I thought would go well with the fig and gorgonzola pesto.  I then topped it with the leftover roasted cauliflower and pesto-marinated chicken slices.  I finished the pizza off with one more dollop of mascarpone cheese in the middle.


I placed the pizzas on an aluminum foil-lined tray in the oven for about eight minutes and the pita pizzas were done.  I absolutely loved this slightly sweet pizza and it turned our leftover ingredients into a fun little meal!


You'll have to forgive the photos.  I was even too lazy to use anything more than my point and shoot!

Tell me, what are some dishes you've made to turn leftovers into a whole new meal?

Wednesday, February 9, 2011

Homemade Granola Bars

After baking up some mini chocolate chip cookies for my friend's bachelorette party, I realized that its been a long time since I've baked anything in my kitchen.  After I finally recuperated from the bachelorette party and the Super Bowl this weekend, I decided to get back into the kitchen on Monday night and do some more baking but decided to make something a little healthier.  I've recently seen a variety of different recipes for homemade granola bars and I decided to give it a try myself. 

I finally settled on trying this recipe, which I of course slightly modified to make my own.

First, I pre-heated the oven to 350 degrees.

In a large bowl, I combined all of the dry ingredients:
  • 2 1/2 cups oats
  • 1/2 cup dark brown sugar
  • 1 teaspoon ground cinnamon
  • 1 cup whole wheat flour
  • 1/2 cup golden raisins
  • 1/2 cup chopped pecans
  • A generous 1/2 cup coconut flakes
  • 3/4 teaspoons salt

I then added the liquid ingredients:
  • 1/2 cup vegetable oil
  • 1/2 cup agave nectar
  • 1 egg (beaten)
  • 2 teaspoons vanilla extract

Once all of the dry ingredients were moistened, I spooned the granola mixture into a small brownie pan that was lined with parchment paper.


I baked the granola bars in the oven for twenty minutes.  I took the pan out of the oven when the edges started to brown.  I let the granola cool in the pan for about twenty minutes before cutting it into squares.  The granola seemed a little crumbly so I put it in the fridge to harden and this trick worked perfectly!


I made granola squares instead of granola bars since they were pretty thick.  The homemade granola squares made a perfect bite for breakfast....and for a snack when I was hungry!

Tell me, what have you baked in your kitchen lately?

Tuesday, February 8, 2011

Roasted Cauliflower and Pesto-Marinated Chicken

Last month, I absolutely fell in love with a simple preparation for roasted broccoli.  In fact, Bret did too and I've never seen him so excited about a side vegetable dish!  After Bret's enthusiasm for my roasted broccoli, I decided to give roasted cauliflower a try last night.  I decided to do a very similar preparation that was super easy and flavorful.

First, I pre-heated the oven to 425 degrees.  Before I got to the cauliflower, I first got to work on my protein.  I sliced up two boneless chicken breasts into chicken finger size and marinated it with half a tin of Pestos with Panache's Fabulous Fig and Gorgonzola pesto and a few tablespoons of olive oil.


While the chicken was marinating, I washed a head of cauliflower and chopped the florets off.


I tossed the florets in a large bowl with a few tablespoons of butter-infused olive oil, salt, pepper, and garlic powder - the same seasonings I used for the roasted broccoli.  This time, however, I also added a few tablespoons of grated Parmesan cheese that I had leftover from my blogger inspired turkey en croute.


I lined a baking tray with aluminum foil and gave it a quick spray of cooking spray.  I put the cauliflower on the tray in a single layer.


I put the cauliflower on the middle rack for fifteen minutes and allowed the cauliflower to roast.  While the cauliflower was roasting, I put the chicken fingers in a shallow baking pan and also put that on the middle rack with the tray of cauliflower.


After fifteen minutes, I took the tray of cauliflower out and turned all of the florets over so that both sides would get a nice roasted color and texture.  I put the tray back in the oven for another fifteen minutes on the bottom rack.

Like the roasted broccoli, the roasted cauliflower was a big hit.  Again, it had that nice rich buttery flavor and the Parmesan cheese definitely added to the dish!  The texture of the roasted cauliflower was nice - crispy and not mushy.


The chicken was so flavorful from the sweet fig and tangy gorgonzola pesto.  The chicken was so moist and it was the perfect simple dinner for a Monday night.

Tell me, what is your favorite vegetable to roast?

Wednesday, February 2, 2011

Herbed Whole Wheat Pizza Dough

After a trip to the King Arthur Flour facility this past fall, I started to gain a little more confidence in the baking department.  Using the King Arthur Flour Whole Grain Baking cookbook, I have previously baked whole wheat bread (which was my first time baking a yeast bread) and also some wonderful wheat baguettes.  On Sunday, the baking bug bit me again and I decided to make homemade pizza dough to make pizza for Monday night.  While at King Arthur Flour, I learned to make pizza dough and this was the first time I got to try making it at home.

I found a recipe in the King Arthur Flour Whole Grain Baking cookbook for herbed whole wheat pizza, which I used with some small modifications.

First, I mixed together the following ingredients:
  • 2 cups of whole wheat flour
  • 1 tablespoon plus 1 1/2 teaspoons of instant yeast
  • 1 1/2 cups cool water 
  • 1 tablespoon of honey. 
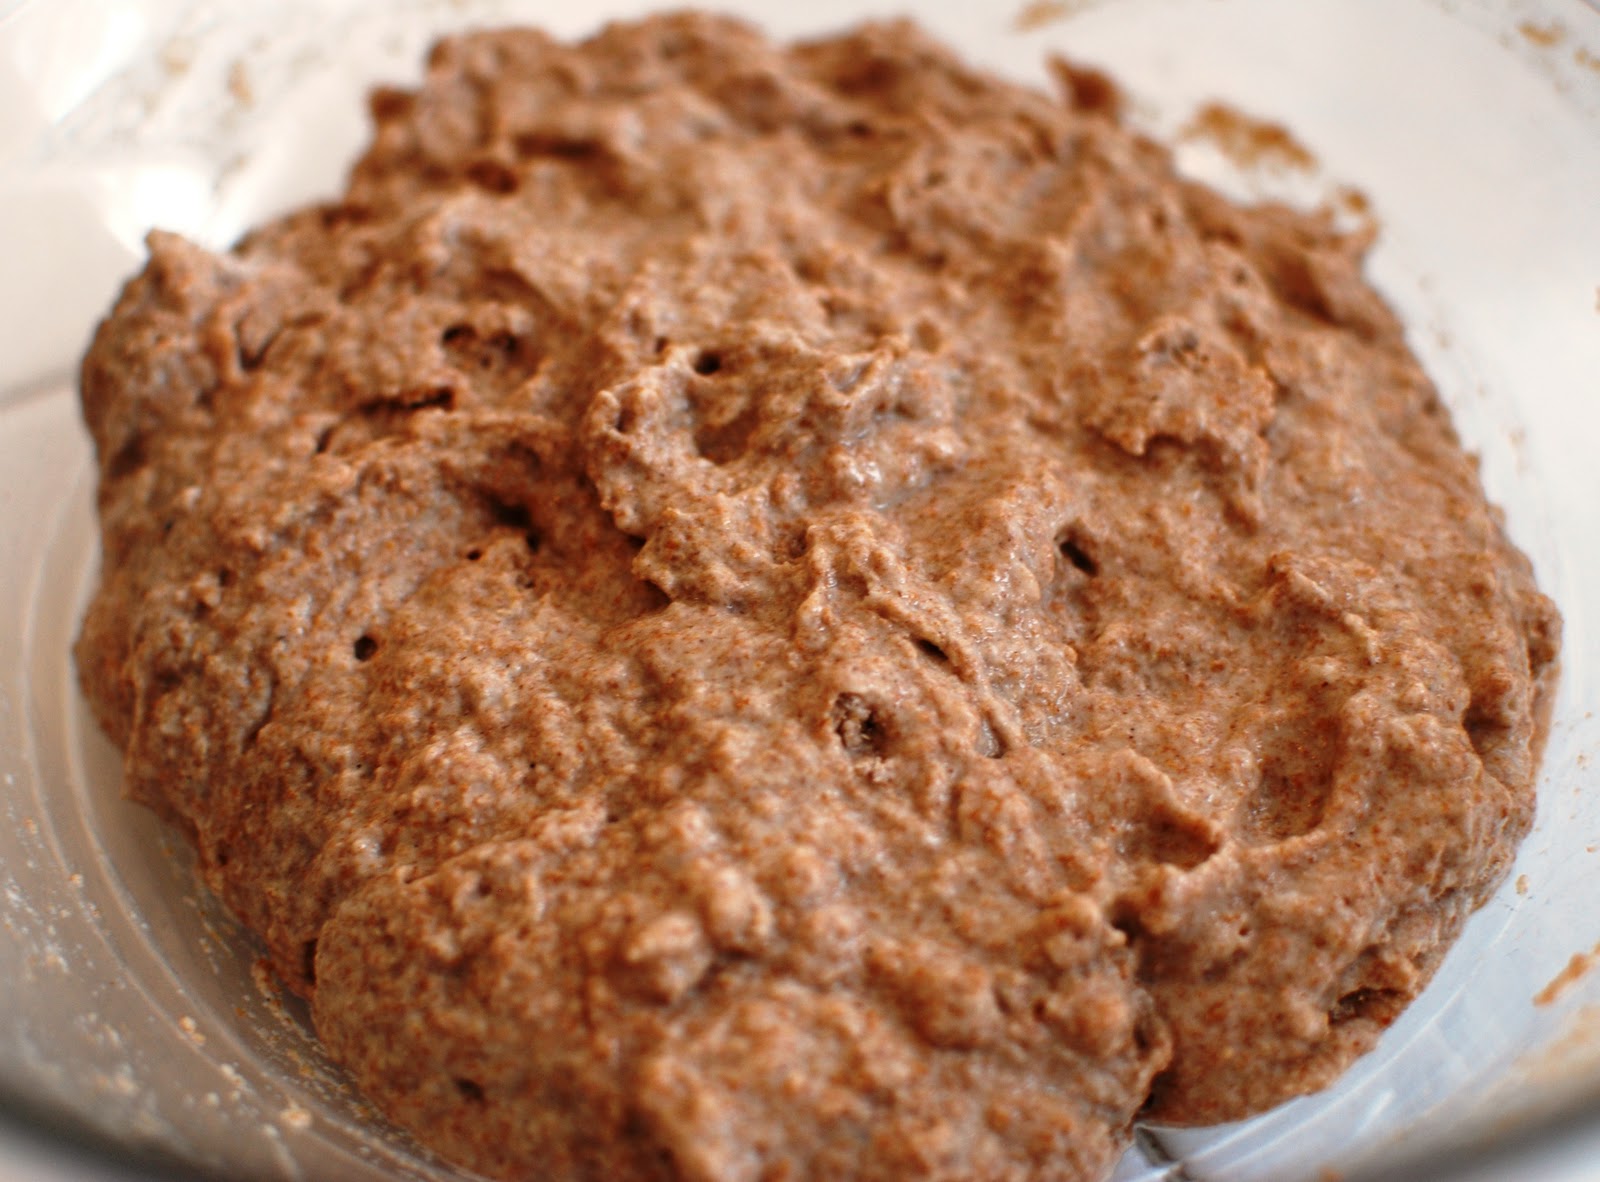
This made a loose wet dough.  I left the dough in the bowl, covered it with plastic wrap and let it rest for an hour. 


After an hour, the dough had expanded slightly.  I then added the following ingredients:
  • 1 tablespoon herbs de Provence infused olive oil (the original recipe called for regular olive oil)
  • 2 teaspoons salt
  • 2 tablespoons herbs de Provence (the original recipe called for 1 tablespoon each of dried oregano and dried basil)
  • 1/2 teaspoon cayenne pepper
  • 1 3/4 cups of wheat flour
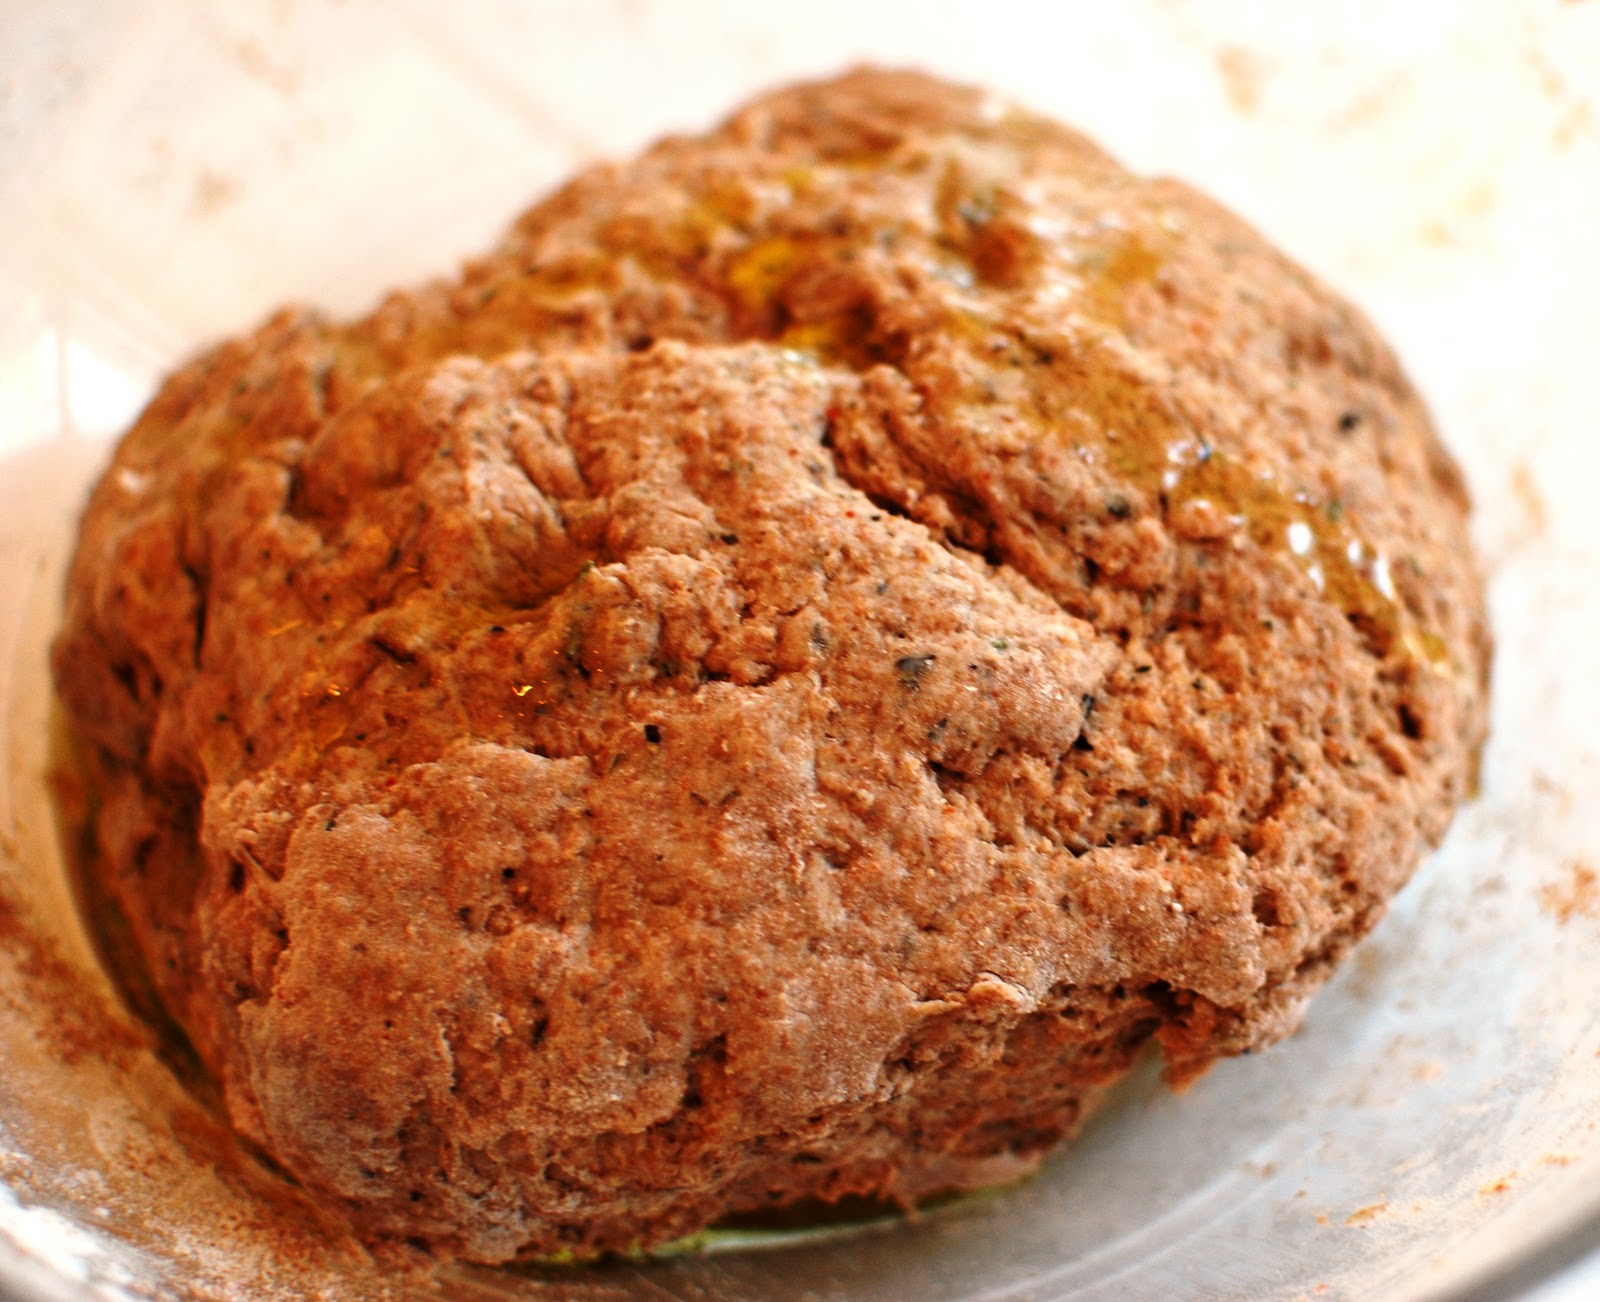
I mixed the dough in the bowl and it turned into a shaggy mass.  The dough was a little too dry for my liking so I added a few tablespoons of water to the dough to moisten it up.


I then kneaded the dough on a lightly floured board.  It didn't quite turn into a shiny dough but it was definitely elastic.  I was a little nervous because the dough seemed a little heavy but I decided to trust the recipe and put it in the bowl.  I drizzled a little more of the herbs de Provence infused olive oil on the dough and covered it with plastic wrap. 


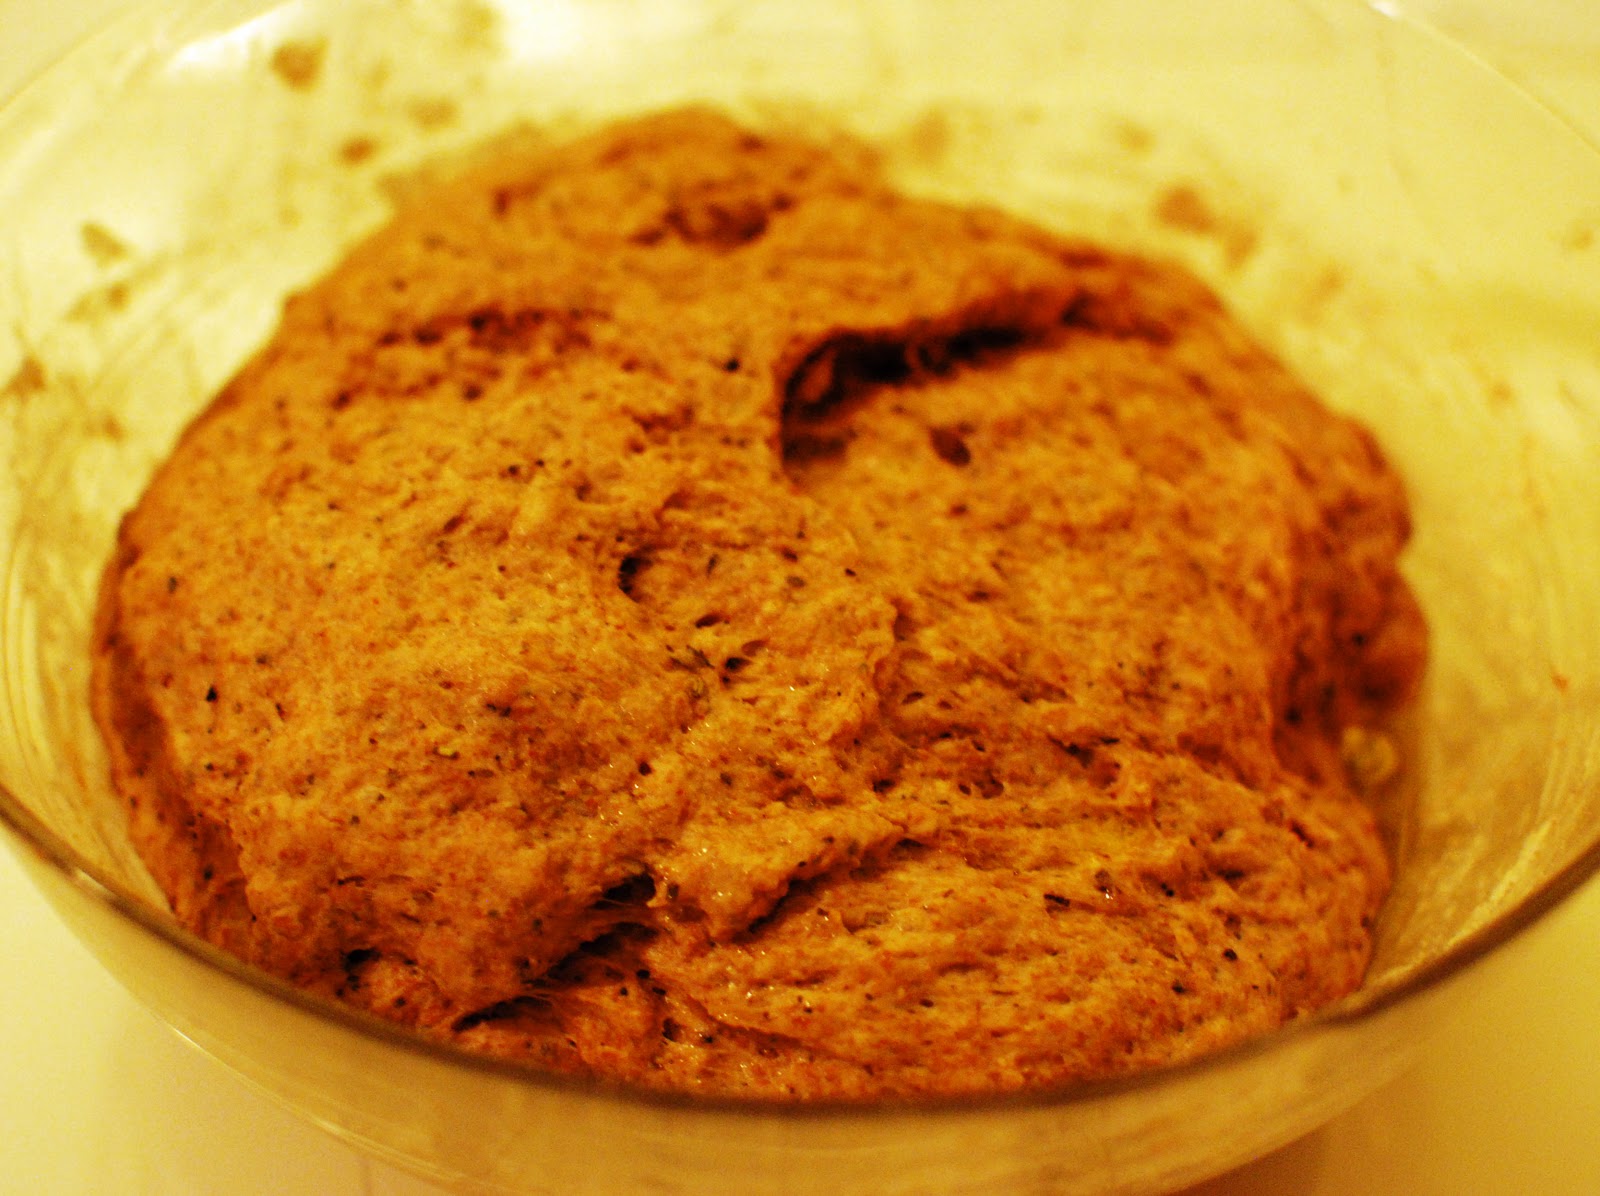
The dough rested for about two hours and it rose quite a bit!  The dough was definitely lighter and fluffy and I was glad that I didn't doubt the recipe. 


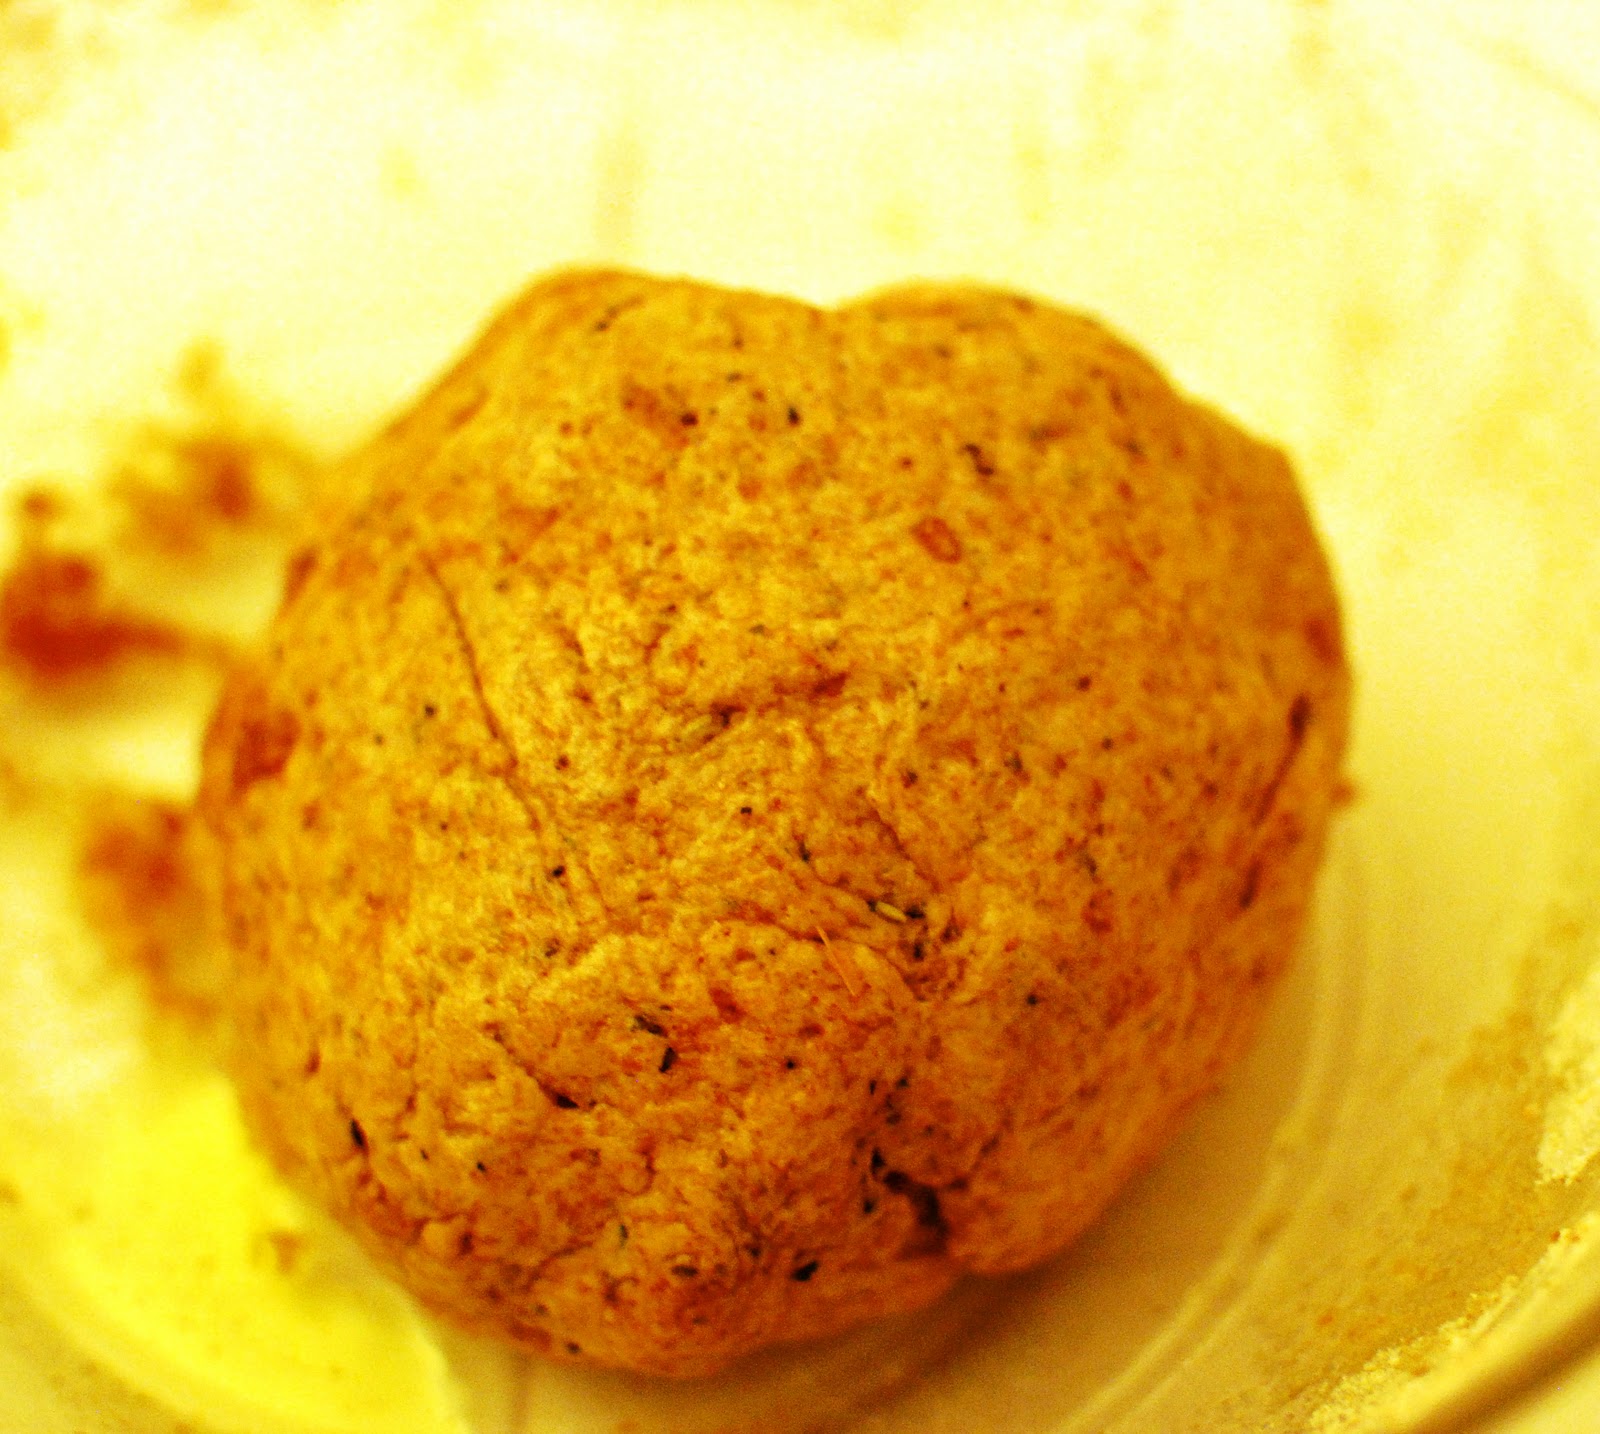
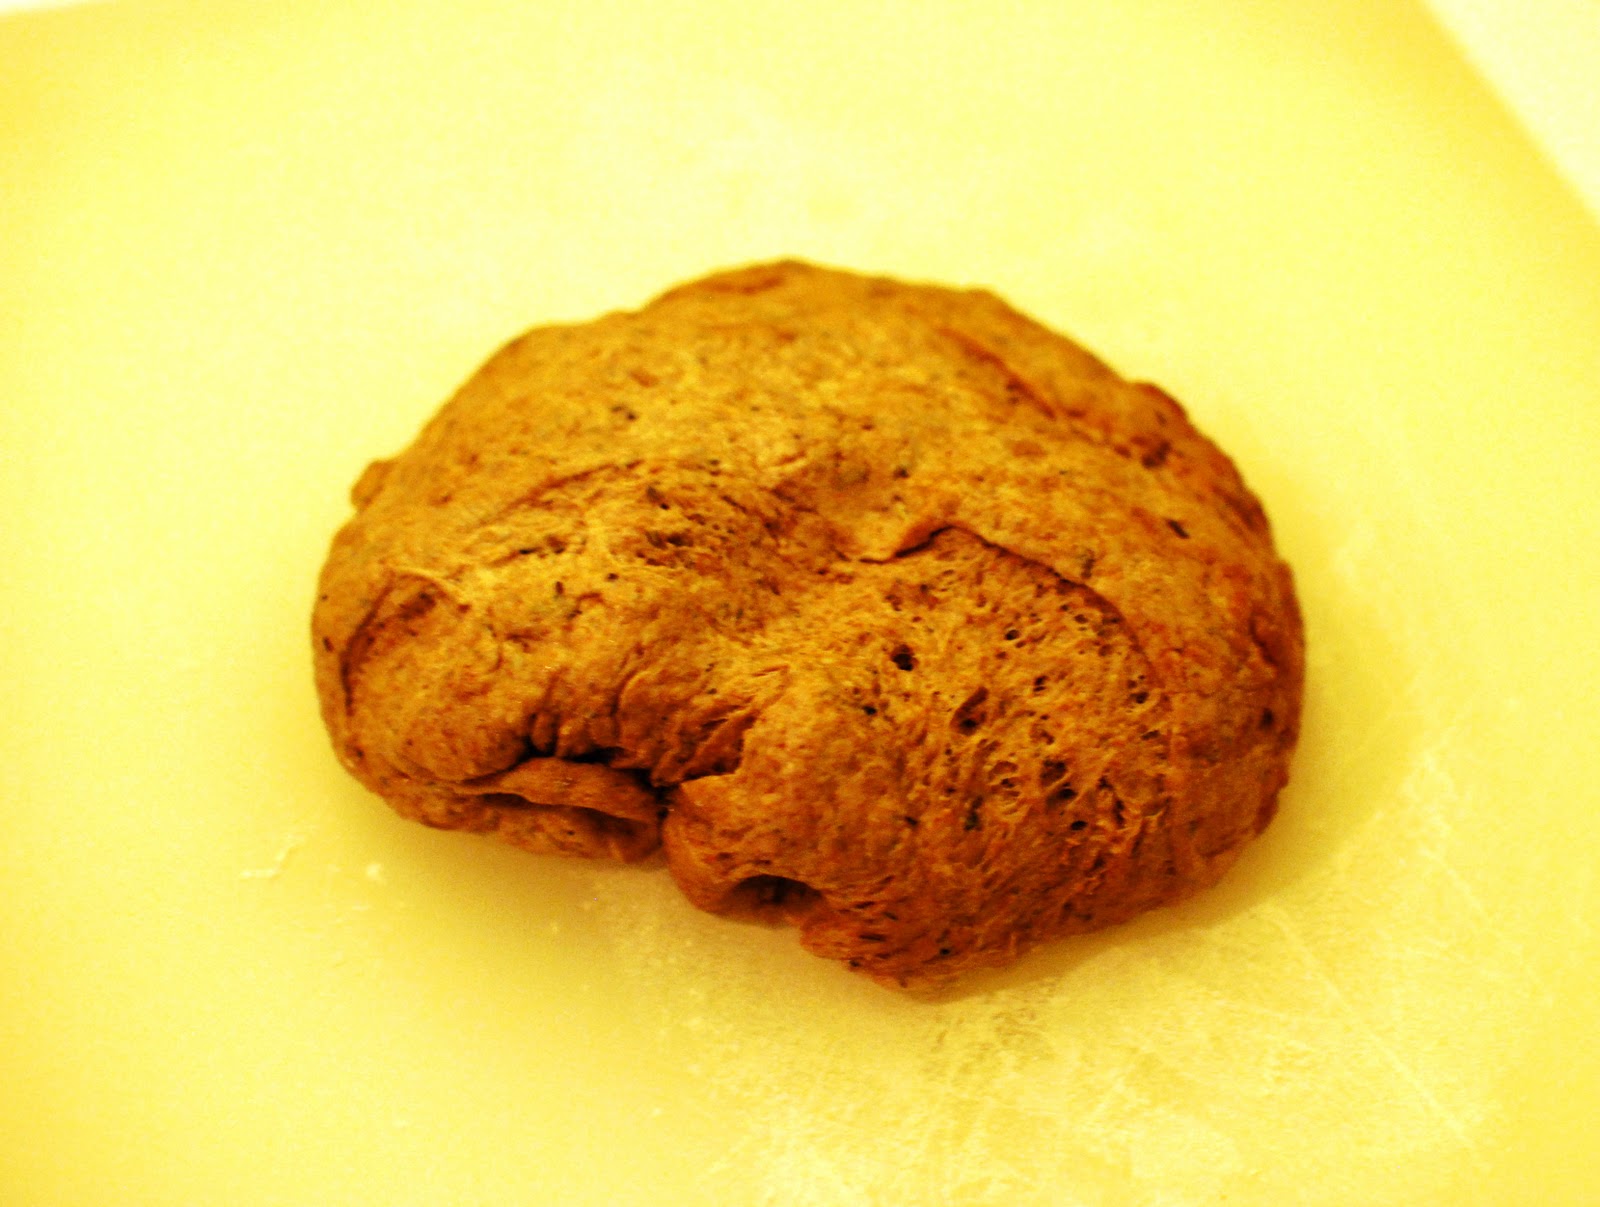
While the dough rested, I went to get a manicure so Bret nicely volunteered to get his hands dirty for the final step.  He split the dough into two masses and rolled each one.  One of them was tightly wrapped in plastic wrap and then put in a sealed container for the freezer (for one of those nights when we don't feel like cooking).  The other ball was put back into the bowl, drizzled with a little more of the herbs de Provence infused olive oil, covered with plastic wrap and put back in the fridge until Monday night.


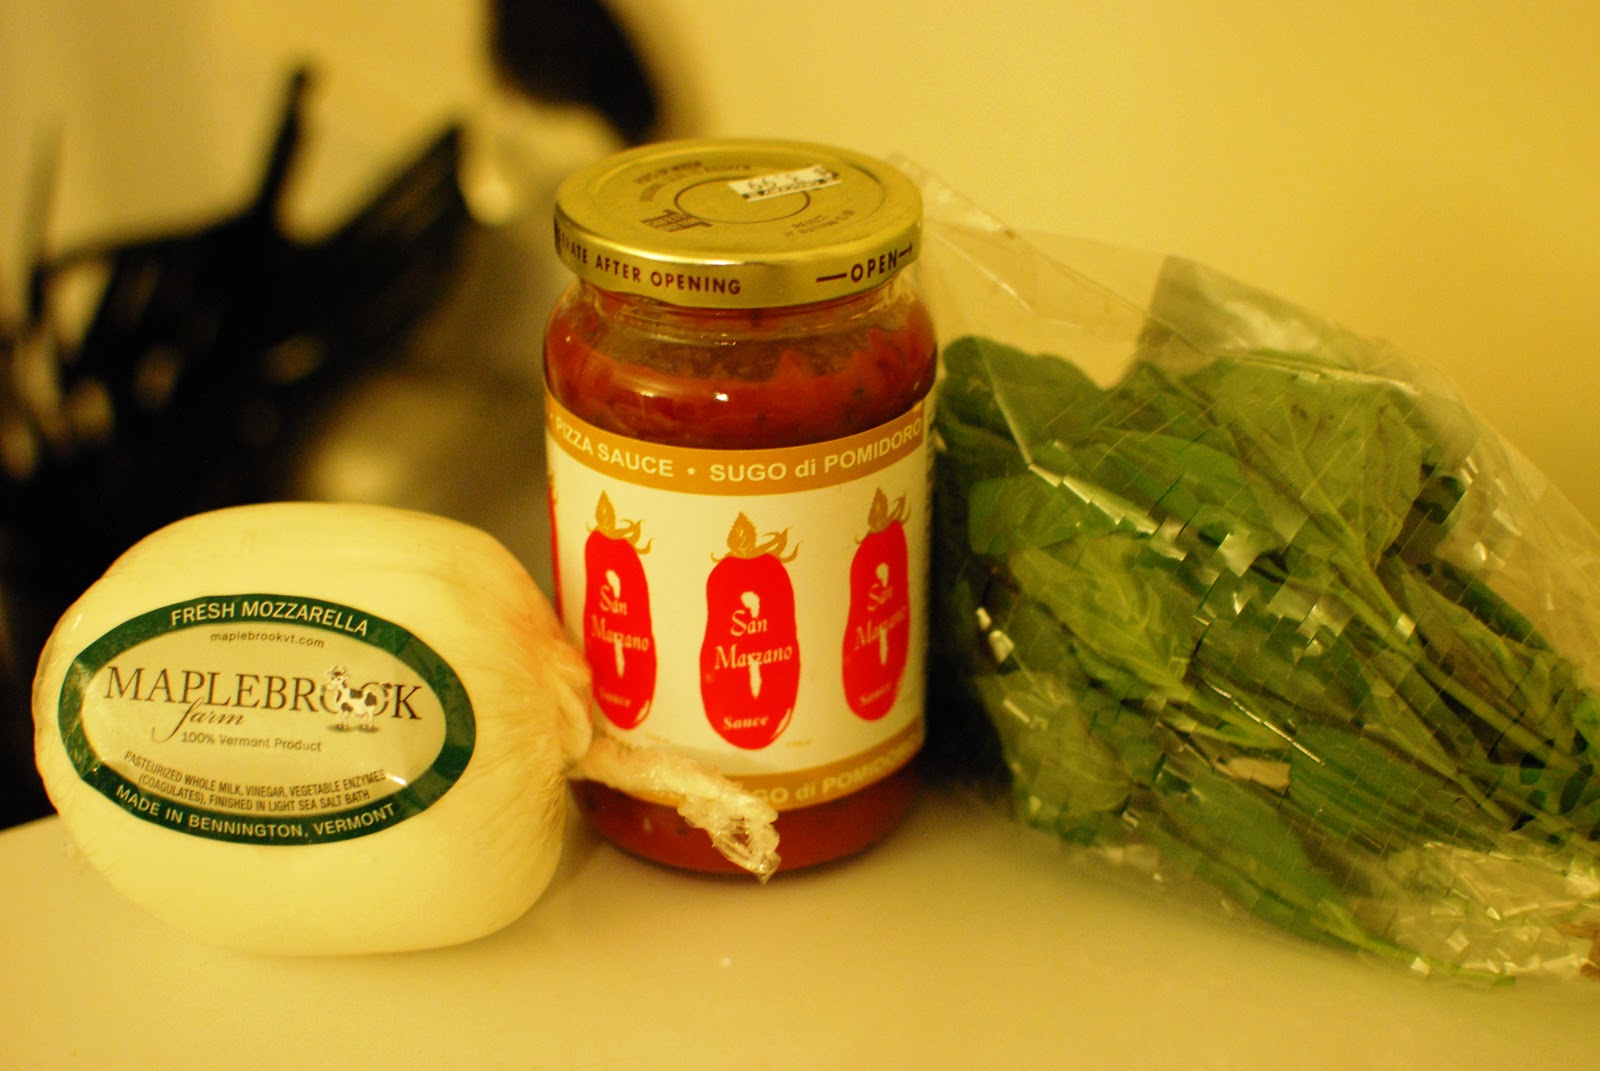
On Monday night, Bre took the ball of dough out of the fridge and let it rest while we both worked out at the gym.  On my way home from the gym, I picked up three simple ingredients - pizza sauce, mozzarella, and basil - to top the pizza.


I warmed up the oven to 375 degrees and started rolling out the pizza dough.  The herbs in the whole wheat dough smelled unbelievable!  I used both my hands and a small rolling stick to stretch the dough out into a circle.


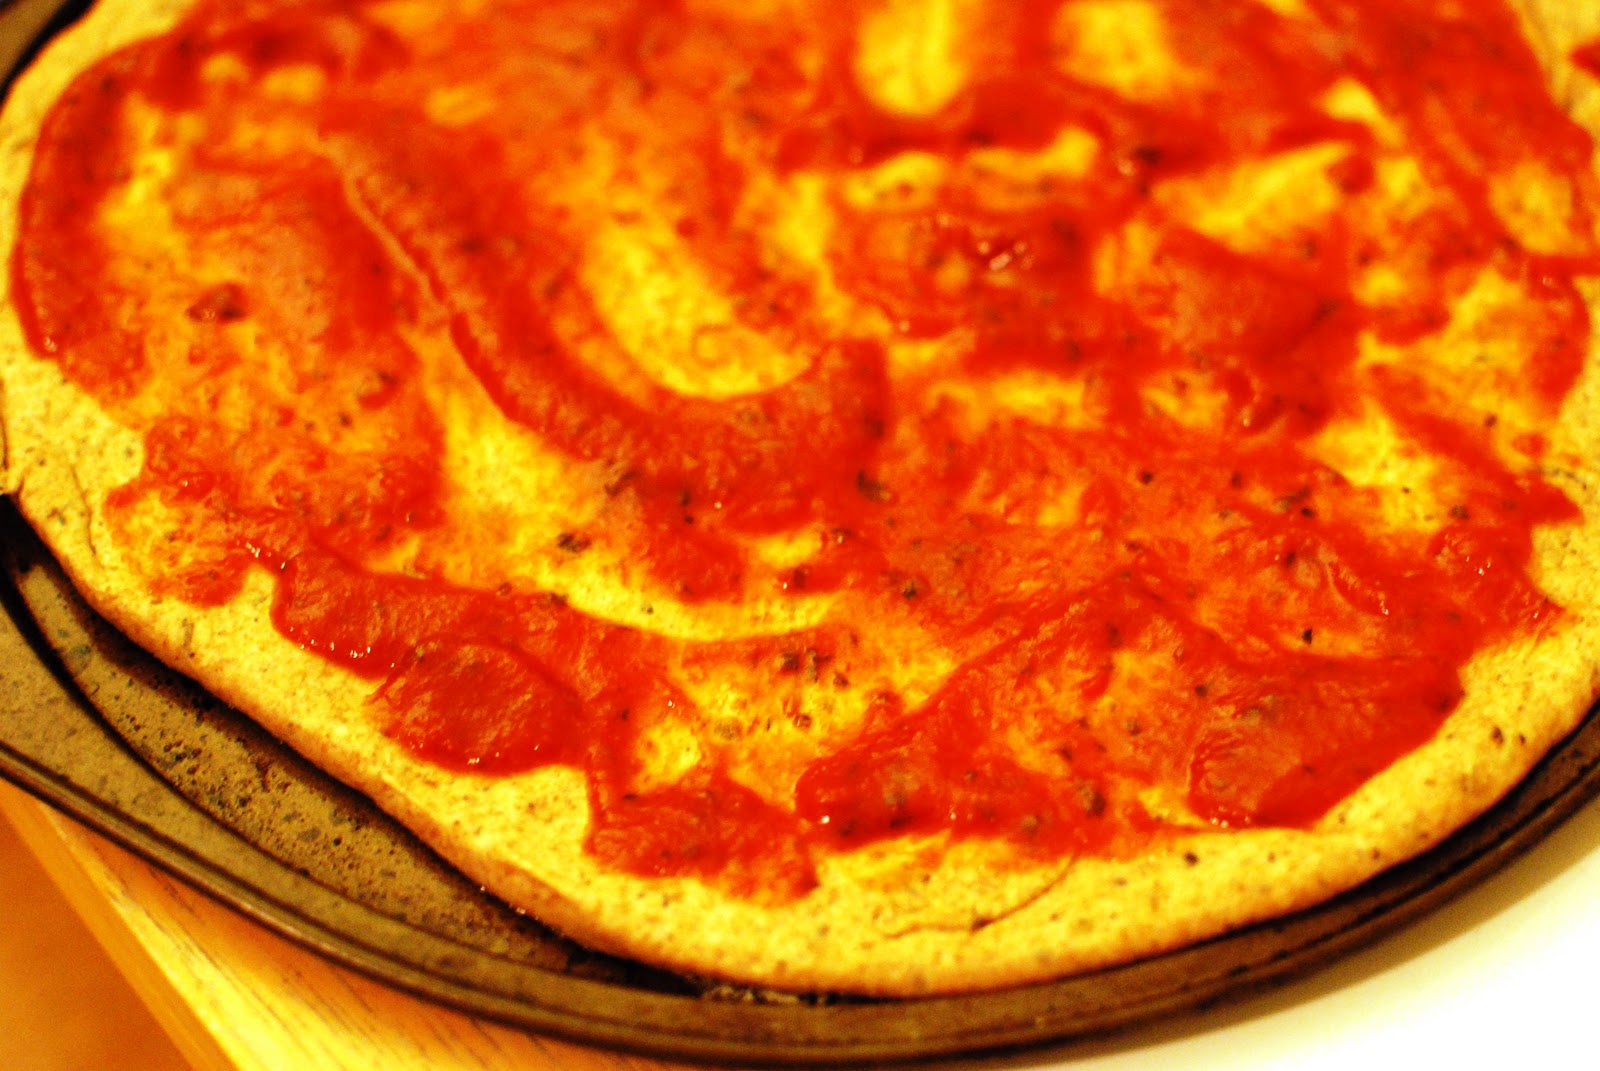
My friend Kim makes awesome homemade pizza and she gave me some great tips on how to bake a really great pizza.  First, I spooned some sauce on the dough and let the dough and sauce bake in the oven for eight minutes.


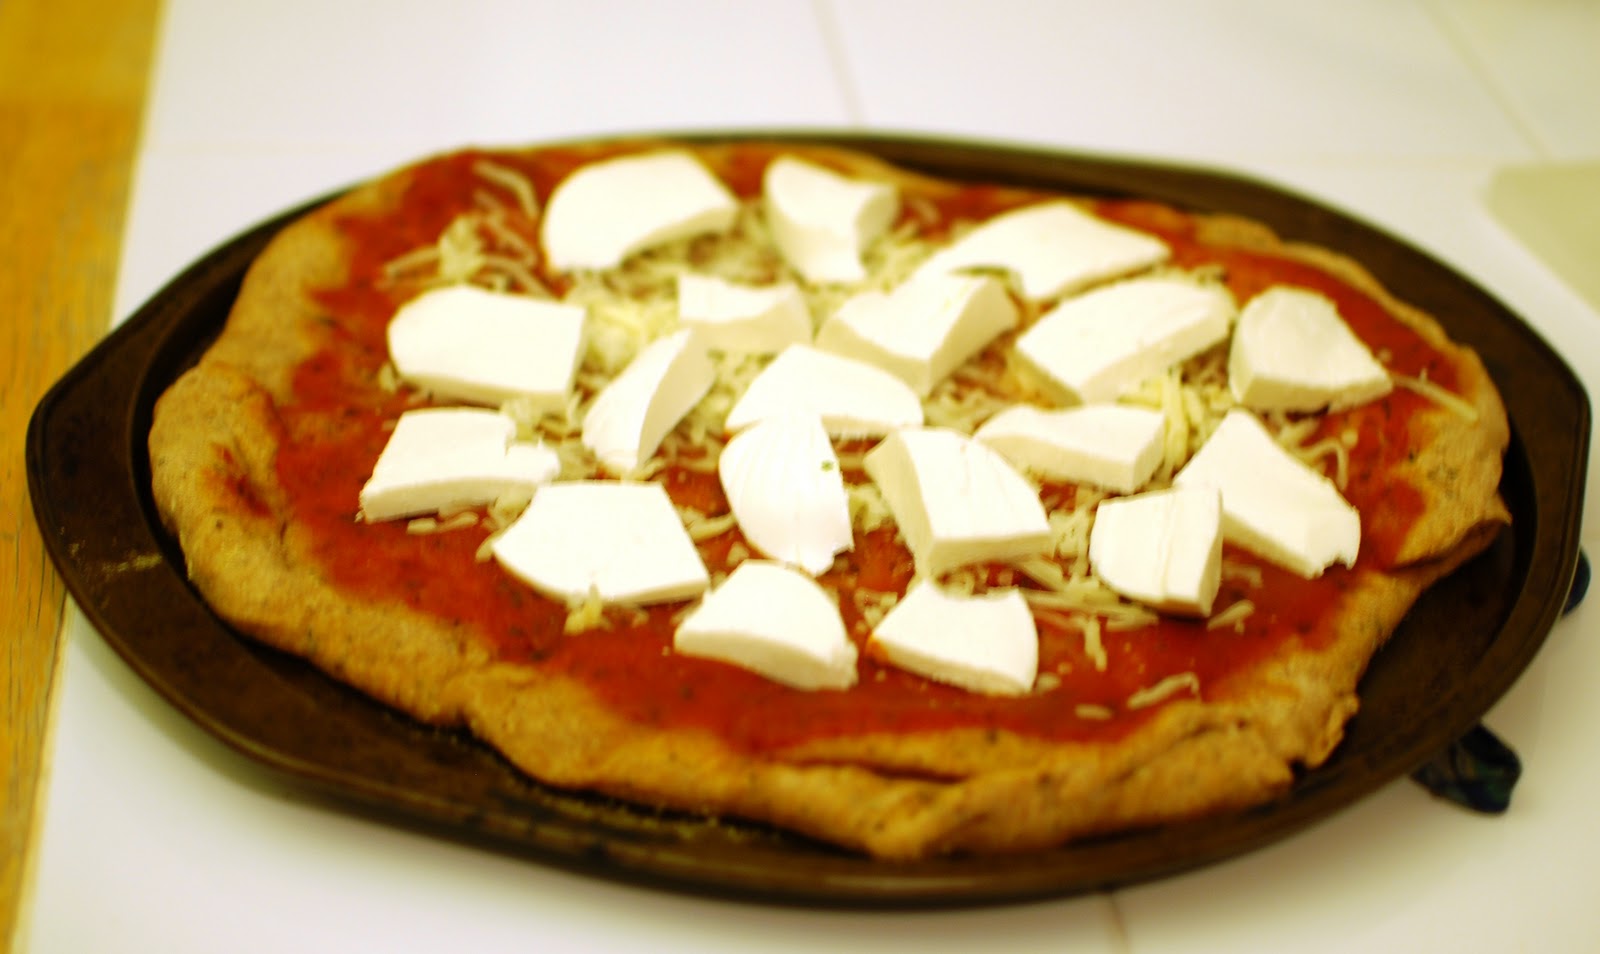
After eight minutes, I took the pizza dough and sauce out of the oven and topped the pizza with both shredded and slices of mozzarella.


The pizza went back into the oven for ten minutes and then broiled for two.  When the pizza was done, it looked perfect.  The cheese had melted nicely and the final touch was to top it with chopped basil.


The whole wheat pizza dough was so flavorful.  The herbs de Provence really was the star of the pizza dough and it brought the whole wheat pizza dough to a whole other level.  There was a very surprising mild heat from the cayenne pepper, which I loved.  Plus, there was plenty of pizza for leftovers!

Do you like making homemade pizza?  What do you like top your pizza with?
Tuesday, February 1, 2011

Garlic and Herb Mashed Cauliflower and Two Giveaway Winners!

On Friday night, I had plans to make roasted cauliflower with my Blogger Inspired Turkey en Croute.  But Bret asked if we could make mashed cauliflower, which is one of his favorite ways to prepare and eat cauliflower.  We started making this dish a few years ago as a lighter alternative to mashed potatoes and make it from time to time when we are trying to eat less starches.

I had already thawed a bag of cauliflower in the fridge during the day, so I simply cooked it in the microwave with a little bit of water until it was steaming hot.  Yes, I know that I could have used fresh cauliflower but I have found that frozen cauliflower makes this dish so much easier and in this instance, convenience wins in my kitchen when it doesn't compromise flavor.


Bret got to work on the cauliflower and mashed it down with an immersion hand blender.  While he mashed, I added a few tablespoons of skim milk, a pat of butter and fresh cracked salt and pepper.  But the secret ingredient was the Laughing Cow's Light Garlic and Herb wedges.  I always have them in my fridge to snack on and this was the perfect addition for the mashed cauliflower.  I added a wedge at a time and of course made sure to do lots of taste testing.  In total, we used three wedges. 


When the mashed cauliflower had a mashed potato-like consistency, I spooned it into a shallow baking pan and let it bake for about five minutes at 400 degrees while me turkey en croute finished cooking.


While nothing can ever replace mashed potatoes, mashed cauliflower comes in pretty close.  It is less heavy than mashed potatoes and the Laughing Cow cheese masked the sharpness of cooked cauliflower.  The creamy mashed cauliflower went perfectly with the incredibly flavorful turkey en croute.


I'll have to play around with this recipe some more in the future and maybe add blue cheese or gorgonzola to the mashed cauliflower instead? 

Thanks to everyone for entering my SeamlessWeb gift card giveaway.  Using Random.org, the two winners are #13 - Bianca of Confessions of a Chocoholic and #18 - Kim of "Teta" Means "Booby" Spanish.  I'll be emailing you both with more information about your SeamlessWeb electronic gift card!

Saturday, January 29, 2011

Blogger Inspired Turkey en Croute

Yesterday, I was reading through some of my favorite blogs when I fell upon Megan's blog post for Chicken en Croute Fiona Style.  I had some turkey cutlets thawing in the fridge and my original plan was to just roast them with some vegetables.  But Megan's blog post seemed a lot more interesting and I knew I wanted to give it a try.

My version is adapted from Megan's adapted recipe from The French Women Don't Get Fat Cookbook.  With so many blogger modifications, I'm calling my version a Blogger Inspired Turkey en Croute.  "En croute" typically refers to something being wrapped and baked in a pastry shell so this is a loose interpretation of "en croute" but this version is a much healthier option.

First, I gathered my ingredients:
  • Zest of 2 lemons
  • Zest of 2 limes
  • 2 garlic cloves minced
  • 5 tablespoons fresh parsley
  • 4 teaspoons minced fresh rosemary
  • 1 cup grated Parmesan cheese
  • 2 teaspoons Herbs de Provence olive oil
  • Salt and freshly ground pepper
  • 2 eggs
  • 4 turkey cutlets, pounded to 1/2 inch thickness
Following Megan's recipe, I preheated the oven to 400 degrees and lined a baking sheet with aluminum foil.  I pounded my turkey cutlets thin.


In a shallow bowl, I combined all of the ingredients except the eggs and the turkey cutlets.  This was definitely a combined effort between Bret and I - I chopped up all of the herbs and he grated all of the fruit.  The breading smelled unbelievable from the freshly chopped herbs and the citrus zest. 


In another bowl, I whisked together the two eggs and added a splash of water for a looser consistency.  I dipped each turkey cutlet into the egg mixture and then dredged it into the herb mixture and made sure to coat each side thoroughly.


I then placed the turkey cutlets in the oven and baked it for twenty minutes.  While the chicken was baking, the kitchen was filled with the smell of the Parmesan cheese and citrus.  It was a strange combination of scents yet very inviting.


The turkey en croute was incredibly flavorful.  The saltiness of the Parmesan cheese contrasted nicely with refreshing notes of citrus.  The turkey itself was incredibly moist and juicy.  I seriously was amazed at how flavorful this turkey was and impressed that the breading contained no actual bread crumbs at all!


I served my Blogger Inspired Turkey en Croute with herb and garlic mashed cauliflower (blog post to come) and this made the perfect dinner for Friday night....with plenty of leftovers for today.  Thank you Megan for providing the inspiration behind such a wonderful meal!

Tell me, do you like to stick to a recipe or modify it at your whim?

Friday, January 28, 2011

Mexican Inspired Chicken Lettuce Wraps

With all of the snow that we've been getting, I wish I could trade in my winter coat for a bathing suit and sunglasses in Mexico!  Since it is unlikely that I'll be waking up in Cozumel anytime soon, I'll just have to make do with cooking and eating meals that remind me of sunny days in Mexico.

My inspiration for this dish came from a lonely avocado.  On a whim, I bought an avocado about a week ago and threw it in the fridge to prevent it from softening.  I found the avocado sitting in the fridge on Wednesday night and I wanted to find a creative way to put it to use.  On Thursday morning, I trimmed and cubed two boneless chicken breasts.  Now normally I leave this job for Bret but he was off at work before I even woke up and I just had to deal with trying not to gag as I handled raw meat early in the morning.  I threw the cubed chicken breast in a storage bag with a few tablespoons each of  roasted chili oil, spicy chipotle rub, garlic powder, and crushed red pepper flakes.  I also added healthy dashes of Tabasco sauce and Mexican hot sauce, along with a pinch of salt and fresh cracked black pepper.  I gently tossed all of these ingredients together in the sealed storage bag and then put the bag in the fridge to marinate while I was at work.


After an invigorating gym session, I was famished for dinner and couldn't wait to put this meal together!  First, I warmed up a wok with some vegetable oil and when the wok was hot, I added the marinated chicken.  One by one, I then added a chopped red onion, three cloves of minced garlic, two chopped red Fresno chiles (loosely de-seeded) and a can of drained and rinsed black beans.


While all of these great ingredients started to come together, Bret cubed up the avocado and gave it a good squeeze of lime juice to prevent it from browning and a pinch of salt.

While these ingredients would have made a great filling for taco, I instead decided to wrap it in my new favorite finger food - lettuce wraps!  I layered the spicy chicken mixture with a slice of avocado and a squeeze of lime juice.


The chicken mixture was seriously spicy but the avocado provided cool relief!

I'm seriously becoming addicted to lettuce wraps and could definitely use some more inspiration for fillings.  Do you have any lettuce wrap ideas you'd like to share?

Tuesday, December 14, 2010

Fun and Fearless Fitness: 10,000 Steps

Although I will never be a healthy food/lifestyle blogger, I am very conscious of my struggles to find a healthy balance of food and exercise in my life.  I still try to go to the gym after work, but during months like December, it is hard when there are holiday parties, activities, and happy hours almost every weeknight and weekend!  On the days that I don't go to the gym, I've been pretty good about getting on the stationary bike for an hour in the morning.  We purchased the bike in October and for the most part, I've been fairly consistent about riding it.  In November, I was out of work for a week with the flu and it sort of threw me off track but I'm slowly getting back into it.

I've been trying to find other ways to stay active in addition to my gym and bike sessions.  One of the ways that I do this is by trying to add more steps into my day.  Living in the city without a car, I already walk quite a bit.  I already walk to and from work and walk to run most of my errands but I've been trying to find little ways to add even more steps where I can.  For instance, I ride the elevator in my building since I work on the 36th floor.  However, since October, our bathroom has been under renovations and I've been walking up and down three flights of stairs to the alternative bathroom just to add some more exercise to my day.

As one of my Hanukkah gifts, Bret got me a walking pedometer.  


I was pretty excited because I've wanted one of these for awhile to help me measure how many steps I'm taking.  On Sunday night, Bret helped me set the pedometer up.  I used it on Monday by clipping it to my skirt and going about my day.  The pedometer resets at midnight so that I can measure my steps every twenty-four hours.  On Monday, I clocked in at 9,315 steps.

I've done some research and a lot of studies suggest taking 10,000 steps a day.  There is a feature on the pedometer for aerobic steps for the steps that you take while working out at the gym.  But I think my goal is to take 10,000 steps a day without including exercise.  I'm not quite sure how well this little experiment will go but I'm willing to give it a try!

Have you ever measured how many steps you take a day?  Do you have any tips on how to add more steps to my day?

Saturday, October 16, 2010

A Food Blogger's Healthy Investment

One of the biggest struggles that any food blogger has is finding time to do it all.  Between demanding work hours, food blogger events, cooking in the kitchen and hanging out with family and friends, I'm finding it harder and harder to find time to do it all.  Unfortunately, as a result, there is one area of my life that seems to be suffering the most because of it - my health and fitness.  I'm finding less and less time to head to the gym, especially since it doesn't open super early or stay open really late.  I've been remedying this recently by walking and running in the morning when I know that I won't be able to head to the gym after work.  But as the weather gets colder and the mornings grow darker, I know that this is not a permanent option.

I must say that although I am not a "healthy lifestyle" blogger, my health and my fitness are definitely important to me.  A few years ago, I was at the gym six days a week and probably at my healthiest.  I'm not talking about the number on the scale or the size of my clothing (although both numbers were significantly smaller than they are these days).  I just felt like I had more energy and pep on a daily basis. 

Of course, I have been venting my frustrations to Bret  about this for some time and after many discussions, we decided to do something to really change the situation.


We ordered an upright exercise bike! While our place is decent-sized, there was no way that we could fit a treadmill or an eliptical machine...so we decided to order this bike instead.  My plan is to get at least 45 minutes of cardio in the morning on the days when I know I won't have time to go to the gym after work.  It was a bit of an investment, but there really is no price on your health.  I went to the gym today but I'm excited to jump on it tomorrow morning to give it a spin!

Do any of you share the frustration of not having time to work out?  How do you manage to make fitness a priority when your schedule gets busy?