About a year ago, I made these caramels, and I found the process pretty frustrating. The caramels are very time-consuming to make, and once I finally had them made and they had set up overnight, all I had left to do was peel the foil off of them. You would think this would be easy since I had sprayed the foil with non-stick spray, but that wasn't the case at all. I spent at least half an hour peeling foil off the caramels. It would break off in little bits, and eventually I ended up discarding some of the caramels because I just could not get the foil off.
This time, I had heard about a new product from Reynolds Wrap: non-stick foil. Let me just tell you, non-stick foil was one of the best baking purchases I have ever made. It peeled right off the caramels in one whole sheet! It saved my caramels and saved me a ton of time and hassles. I ended up using it for several other baking projects during the holidays and will never try to make caramels and other sticky baked goods and candies without it again. If you plan to make these caramels, get the non-stick foil.
Also, give yourself plenty of time. Mixing the ingredients together is easy, but the caramels need to be stirred for about an hour. You may want to pull up a chair.
It wasn't a huge inconvenience to me because I could still see the TV from the kitchen since we have an open floor plan. If your kitchen is more closed off, I suggest some good music or a book or a magazine that you can keep by the stove with you to pass the time.
Once the caramel is made, you simply need to pour the mixture into the pan and let the caramels set up overnight. Then they need to be cut and dipped in chocolate and left to set up again (I leave some of them plain too). They will take a lot of time to make, but they will be totally worth it -- especially when you notice your family fighting over them or just watching to make sure someone is not eating more than their fair share of caramels. They're the perfect salty-sweet treat for candy lovers.
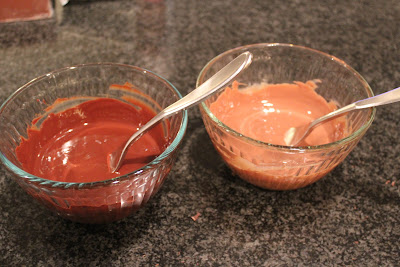
Soon, I plan to get a good thermometer so I can temper the chocolate, but for these I just melted some chocolate in the microwave and dipped the caramels in it. They still tasted great but lacked that "snap" and shine you get from tempered chocolate.
Chocolate-Covered Vanilla Caramels With Sea Salt (adapted from Food & Wine, December 2009)
Ingredients
2 sticks unsalted butter
2 1/2 cups sugar
1 cup light corn syrup
1 cup heavy cream
1 vanilla bean, seeds scraped and reserved
2 teaspoons kosher salt
8 ounces bittersweet chocolate, melted
8 ounces milk chocolate, melted
Sea salt flakes (I used Maldon)
Grapeseed or vegetable oil
Preparation
Line a 13- by 9-inch sheet pan with non-stick foil and spray with non-stick spray.
In a heavy saucepan, melt the butter over medium heat.
Add the sugar, corn syrup, and cream, and bring the mixture to a boil over medium heat, stirring until the sugar dissolves.
Stir in the vanilla seeds.
Cook the mixture over medium-low heat, stirring until a golden caramel forms and mixture registers 245 degrees on a candy thermometer, about 1 hour.
Remove the caramel from the heat, stir in the kosher salt, and scrape the caramel into the prepared pan.
Let cool and set completely overnight.
Spray a sheet of parchment with nonstick spray and line 2 baking sheets with wax paper.
Invert the caramel onto the parchment, and peel off the foil.
Pour a little grapeseed oil on a paper towel and wipe a sharp knife with the oiled paper towel. Use the oiled knife to cut the caramels into squares, re-oiling as necessary.
Dip the caramel squares into the melted chocolate. I like to do some in bittersweet chocolate, some in milk chocolate, and some undipped. Feel free to adjust the chocolate amounts for your tastes.
Transfer the dipped squares to the prepared baking sheets. Sprinkle lightly with sea salt and refrigerate for 10 minutes to set.
Wrap any undipped caramel squares in wax paper.
Store in refrigerator, but let caramels come to room temperature before serving.
What are your favorite homemade candies?


No comments:
Post a Comment