If you know my dad, you know that it would probably be a little more complicated than that ;) And it was! But he was only thinking of me, so I say that with love <3. Given the limited space in my Boston apartment, dad wanted to make something that could be put away when it wasn't in use. His solution was to use angle moulding (like this) instead of a cardboard box. I'll do my best to explain how it went down...

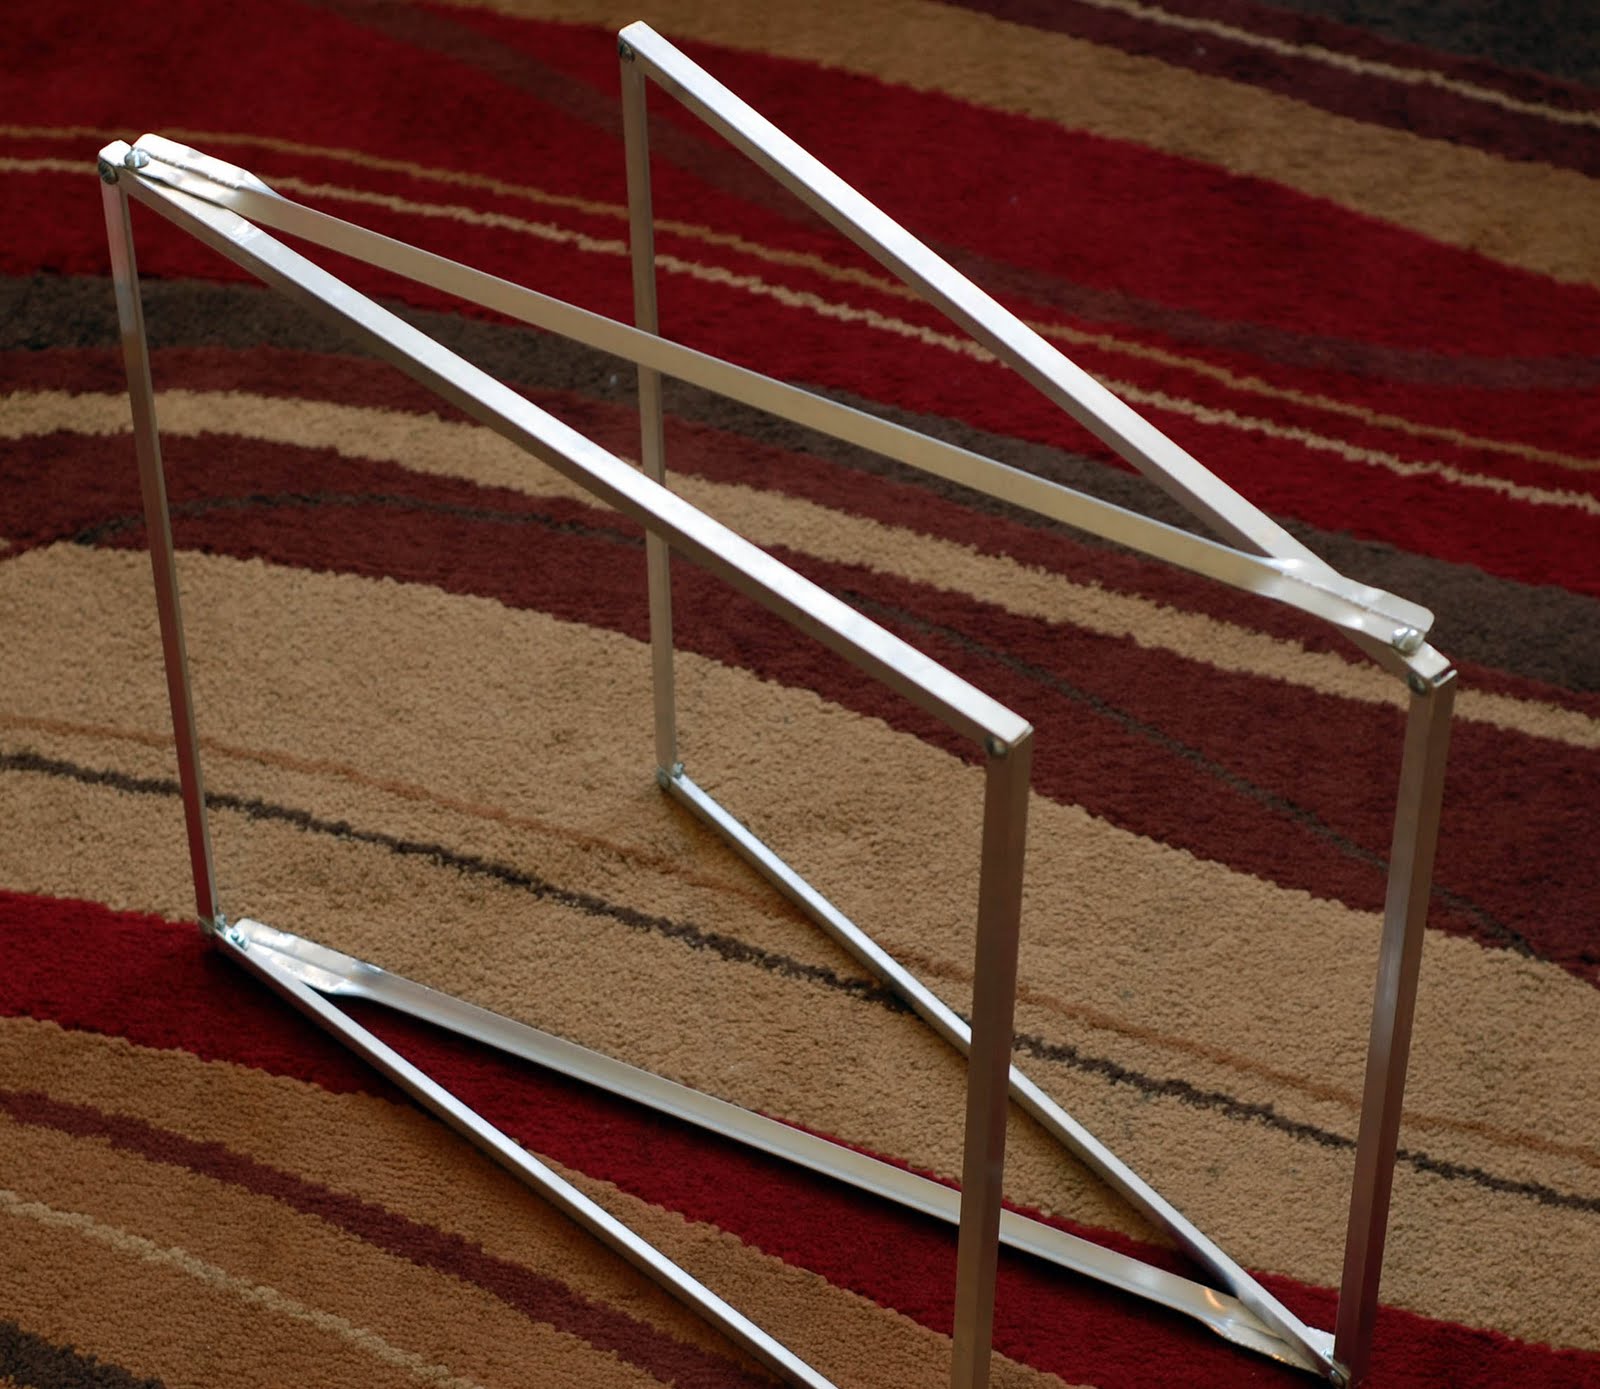
First up was measuring out lengths of angle to make the box, I think we went with 18"h x18"d 24"w. Thus, 8 pieces 18" long (to make 2 square sides) and 2 pieces 24" long (to attach the squares together). Then I got to cut the angle using a vice grip and saw. I was pretty focused ;)

Then dad marked the angle and I got to drill holes in the angle where we would attach the corners to make a box. For the two longer pieces, we flattened out the edge of the angle before drilling holes, so they could be attached to the front of the the square sides.

With 8 pieces, I put together two squares (for the sides of the box).

On top of the screw went a washer, lock washer and nut, then tightened.

Don't forget to check to make sure everything is aligned!

Once the two squares were assembled, we screwed on the longer pieces of angle that attached the two squares together. A little finagling was required to make sure they were tight enough to stand up, but loose enough to allow it to fold in on itself.
Lucky for me, my mom happened to have an old white sheet that pretty much fit over my light "box" (frame?), so I just have it draped over the angle. The frame sits on an old foam core board, and I can swap in/out poster board, napkins and placemats. I have some velcro that I can use to attach different backgrounds/tissue paper/fabric when I get my act together, but for now I've kept it simple.
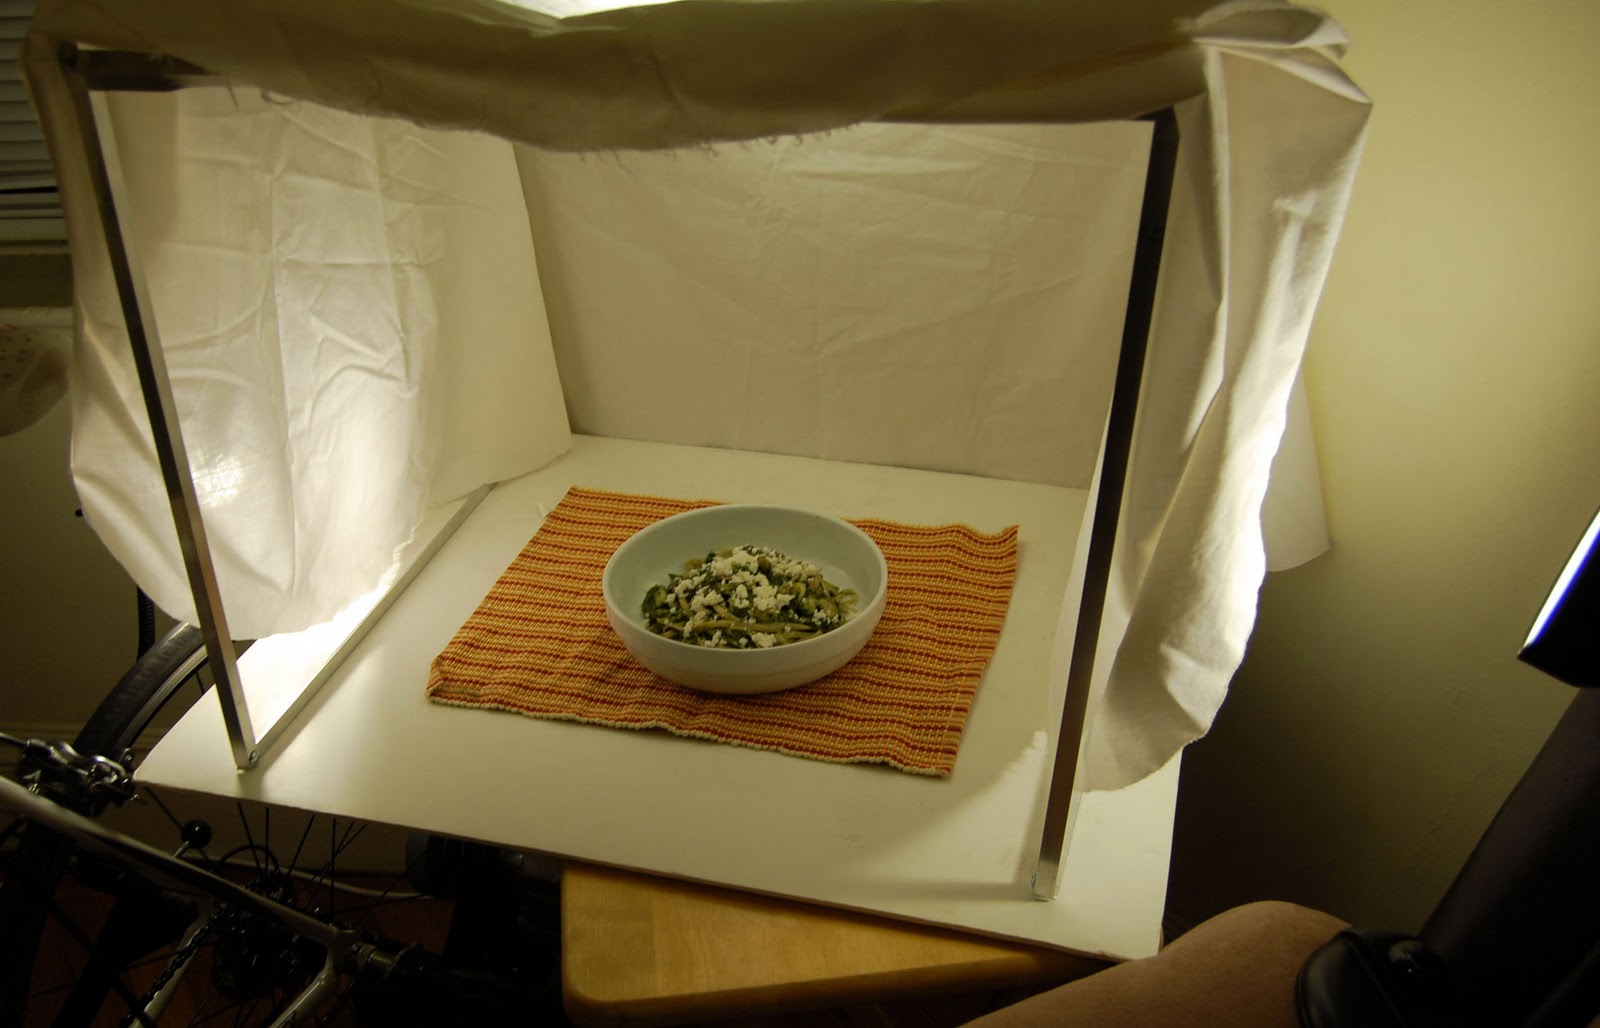 |
| Voila! |
I'm still playing around with it, but it has certainly helped my night-time shots! My lights can probably be optimized (I've got three situated around it), but it's a start. I've got some compact fluorescent bulbs in lamps, but honestly I'm not sure they're the best.
 |
| Pasta w/Spinach Sauce & Shrimp |
Does anyone have any tips or tricks you'd like to share?? My photography, especially playing with lighting, is very much in progress!!


No comments:
Post a Comment